Pizza Dough Hydration Levels Explained – Why Moisture Matters
There are so many pizza recipes out there and so few of them discuss hydration levels. Maybe that’s the reason why I receive so many questions asking me how hydration relates to pizza dough and which is the best one to use for a home oven.
When preparing pizza dough for use in a home oven, I recommend a hydration level between 70-80%. Compared to the average hydration level of 55% used in many pizzerias, this hydration level is quite high in order to preserve as much moisture as possible during the longer cooking times required in a home oven. The longer a pizza cooks, the more moisture is evaporated from the crust—using a hydration level of 70% (or above) compensates for this.
But this doesn’t mean hydration levels are one-size-fits-all. In fact, different types of pizzas baked in different types of ovens often require very different hydration levels in the dough.
Bottom Line: If you’re cooking in a home oven, use this 70% hydration pizza dough recipe or this poolish pizza dough starter recipe. If you’re cooking in a pizza oven (like an Ooni), use this 65% hydration level pizza oven recipe.
Let’s go over how hydration works, why it’s so important when making pizza in a home oven, and how professional bakers deal with highly hydrated dough.
Homemade Pizza Dough Needs High Hydration To Retain Moisture
If you’ve ever made pizza at home before, and ended up with a dry, barely edible crust, you’re probably wondering why pizzeria pizza crust stays so chewy and moist. It all has to do with the hydration level of the pizza dough.
What Does Hydration Level Mean? The Hydration level of a pizza dough simply refers to the ratio of water to flour. For example, 700ml of water mixed with 1000g of flour will create a dough with a 70% hydration level. Likewise, 650ml of water mixed with 1000g of flour equals a 65% hydration level, and so on.
Generally speaking, the longer a pizza is going to be in the oven, the higher the hydration level you’re going to need. This is because pizza dough dries out as it cooks, and without adequate moisture, your pizza crust will completely dry out after 10 minutes or more in the oven.
In a practical sense, this means those of us with regular home ovens should always opt for pizza doughs with hydration levels above 70%. However if you have a pizza oven that goes above 800°F, then you can get away with hydration levels as low as 50% and still get a moist crust.
Max Oven Temperature Makes A Big Difference

While a professional pizza oven is twice as hot as a conventional home oven (1000°F vs 500°F), that doesn’t you can simply bake the pizza for twice as long in a home oven and have everything turn out the same.
Quite the contrary. In fact, the chemical makeup of a pizza dough changes too much when exposed to high heat for that long, even though the temperature is 2 times lower than a pizza oven. Namely, all the moisture in the dough evaporates during the longer cooking time.
Counterintuitively, a high temperature pizza oven of 850°F – 1000°F actually helps the crust retain moisture. This is because a pizza can cook in as little as 60 seconds at 1000°F, while a pizza in a 500°F oven can take 10 minutes or more to fully cook. So, when it comes to retaining moisture, total cooking time is more important than temperature.
To counteract this effect, we use a higher hydration recipe for pizza dough intended to be baked in a regular home oven. This allows the dough to bake for longer and get a nice and crispy exterior while preserving a moist and chewy interior. It’s a simple fix that provides amazing results.
Some Math Required: Pizza Dough & Bakers Percentages
The world of pizza making is often very inward looking. So much so that it’s easy to forget that making pizza is closer to baking bread than it is cooking a lasagna.
This is because baking is more like a science than simply cooking to your own personal preferences. Very small percentage differences in one ingredient vs another can yield wildly different results when it comes to baking.
The very same thing is true when it comes to making pizza dough. Pizza toppings are more or less a matter of personal taste, but the pizza dough really needs to follow a recipe exactly in order to get good results time after time.
Baker’s Percentages Provide Consistent Results
This is where a common baking concept known as baking percentages can be so helpful when making pizza dough.
Baking percentages is a simple mathematical method for understanding the ratios of ingredients in your pizza dough. This method allows you to easily scale down (or up) a recipe and know exactly what kind of pizza dough or crust you’ll end up with. Bakers percentages also allows you to add or subtract ingredients while still maintaining the hydration or yeast level you need.
Baker’s Percentages Help Calculate The Weight Of Ingredients Relative To The Total Amount Of Flour
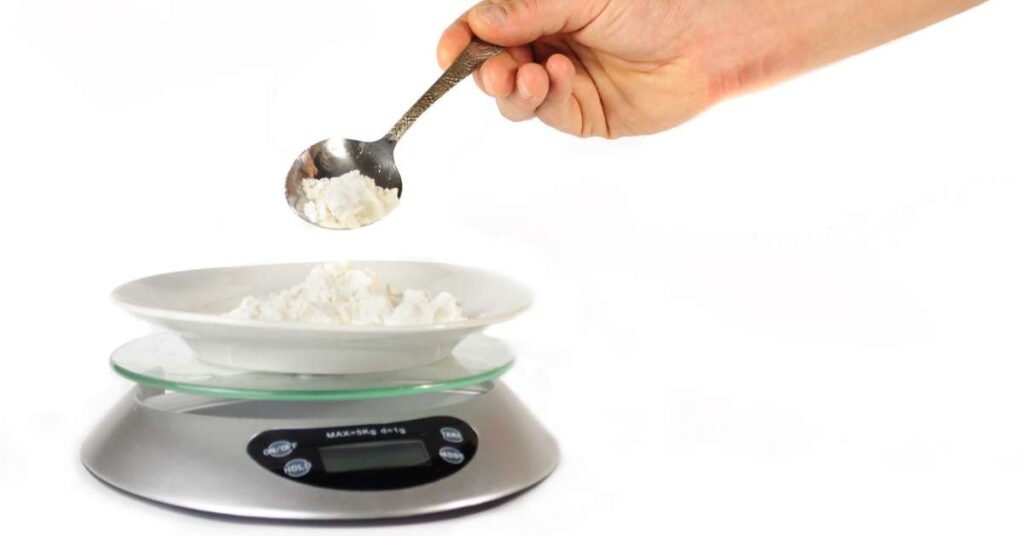
Note: Baker’s percentages are based on weight, so you’re going to need a weigh scale to start benefiting from this method. That said, I always recommend using a weigh scale anyways since they are more accurate regardless of the time of year, humidity, etc.
Weighing your ingredients using the same measurements (in this case grams and milliliters) let’s you visualize the percentages of each ingredient in terms of the total weight of the entire recipe. For example, 680ml of water combined with 1000g of flour will give you 68% hydration—though of course the yeast and salt will affect this number slightly as well.
This is where baker’s percentages math comes into play. As you can see from my example above, the hydration percentage we came up with is based on the total amount of flour. This is useful because flour forms the basis of most baking recipes, and it gives us a central point of reference off which to base our math.
Need a weigh scale? Check out my favorite pizza making accessories here.
Baker’s Percentages Are Calculated By Dividing The Ingredient Weight By The Total Flour Weight And Multiplying By 100

Baker’s percentage math is very simple and will go a long way towards improving your pizza making skills. It’s also just a great skill to know in general for any type of baking.
The baker’s percentage equation goes as follows:
baker’s percentage % = total ingredient weight / total flour weight X 100
baker’s percentage equation
As you can see, it’s very simple math, and it can often be done in your head.
You’ll recall my previous example of 680ml of water and 1000g of flour equaling a 68% water level. But if I want to keep this same hydration percentage with only 300g of flour, I can simply reverse the math and multiply it by 68% (0.68). This very quickly will give you a water weight of 204ml.
Use Baker’s Percentages To Make The Perfect Pizza For You
Baker’s Percentages can be quite empowering because it allows you to make any kind of pizza dough you want without relying on a recipe. All you need to know is the percentage each ingredient should be relative to the flour you’re using.
So, for the kind of pizza I recommend making (based on Neapolitan standards), you’ll want roughly a 65-75% hydration level, 3% salt, and less than 1% yeast (literally just a pinch).
So, keep these concepts in mind when figuring out what kind of hydration level you prefer and which one works best for your oven.
Below is a table with some common pizza dough ingredient combinations enough for a standard 500g ball of pizza dough (2 servings) at different hydration levels:
| Flour | Water | Dry Yeast | Salt | Hydration |
|---|---|---|---|---|
| 316g | 174ml | .25g | 9.5g | 55% |
| 306g | 184ml | .25g | 9.2g | 60% |
| 297g | 193ml | .25g | 8.9g | 65% |
| 292g | 198ml | .25g | 8.8g | 68% |
| 289g | 202ml | .25g | 8.7g | 70% |
| 280g | 210ml | .25g | 8.4g | 75% |
| 272g | 218ml | .25g | 8.2g | 80% |
How Hydration Affects Pizza Dough
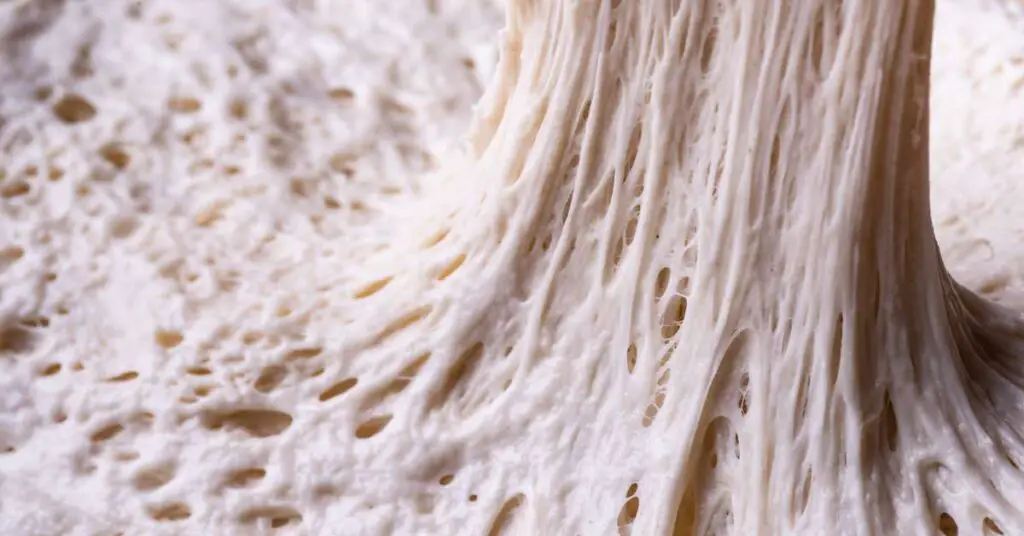
We’ve talked a lot about pizza dough hydration and how it can affect the softness of the crust and dough, but what exactly is going on inside the dough to make the difference?
Pizza dough hydration has to do with how much water there is compared to the amount of flour. When water mixes with flour, gluten bonds begin to form, turning the mixture into a dough that can stretch and maintain its shape. However, the higher the hydration level, the weaker these gluten bonds become, and the softer the crust is after baking.
Water + Flour = Gluten
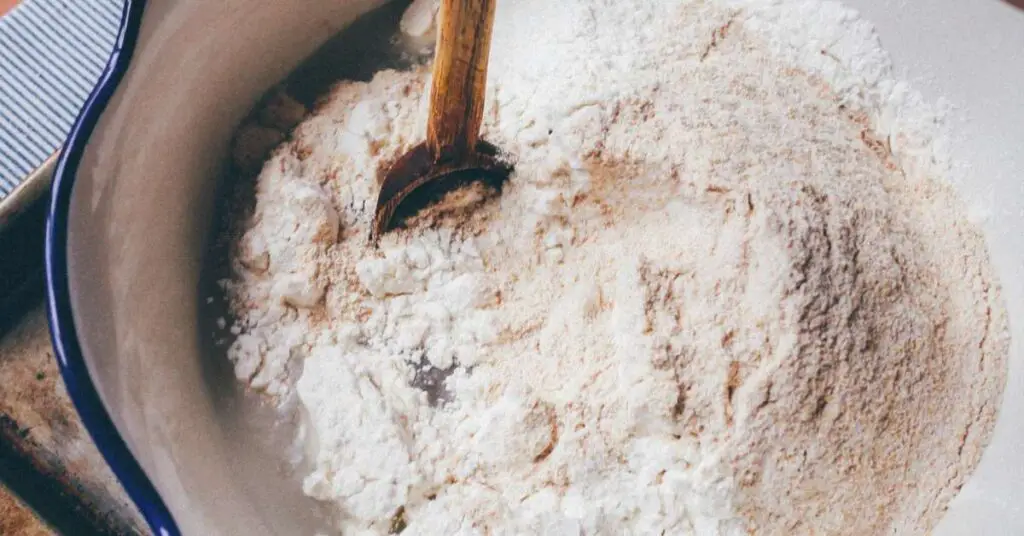
Pizza dough needs water to form gluten and become strong, but the more water there is, the weaker these bonds become. So, as you can surmise, there is a fine line between too much water and just enough.
A dough with too little water will be dense, brittle, and tear easily when pulled due to an underdeveloped gluten network. If you add a little bit more water to the dough, the gluten will strengthen to the point where it’s difficult to stretch and shape without it snapping back into place.
But with just a bit more water to push the hydration level over 50%, suddenly you’ll have a dough that you can shape relatively easily. This hydration level works fine for those using high temperature pizza ovens, but in a low temperature home oven this pizza dough will dry out while baking.
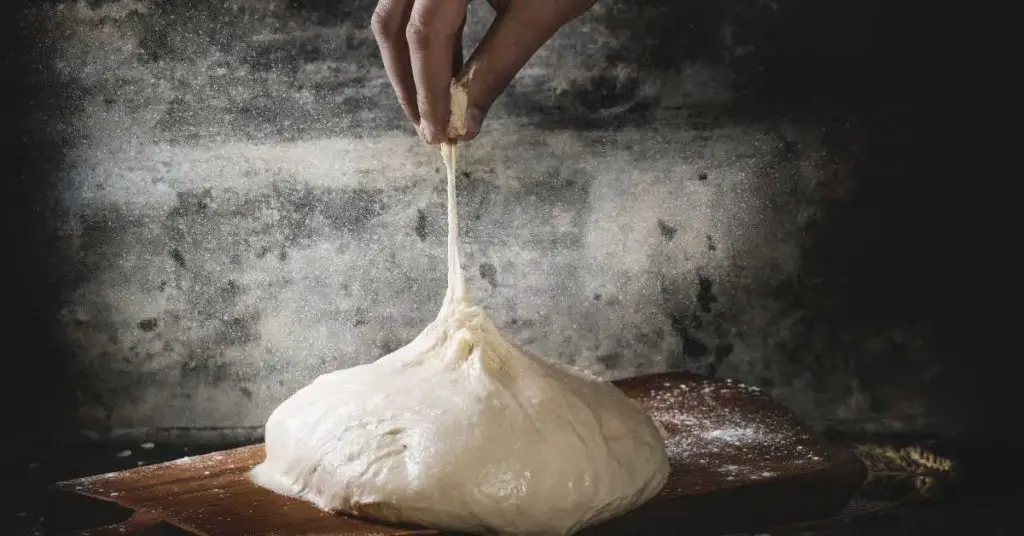
On the flipside, if you push the hydration over 85%, this pizza dough will retain lots of moisture while baking, but the gluten network will get flooded out by all the excess water and be too weak and sticky for most inexperienced bakers to work with.
The sweet spot for most pizza dough (especially when made for a home oven) is between 65%-80% hydration. This will minimize dehydration during baking while also preserving the gluten network to be strong and relatively easy to handle.
Classic Neapolitan Pizza Dough Is Usually 55%-65% Hydration

A classic Neapolitan pizza is made in a super-hot (often wood-fired) professional pizza oven. These ovens are often made of brick and have a domed roof specifically designed to get a hot as possible, or around 900-1000°F.
Related Post: Wood-Fired Pizza Oven Buyer’s Guide
Because these pizza ovens are so hot, they can bake a pizza extremely quickly – sometimes in as little as 60 seconds. This means the hydration level can be lower since (as we discussed earlier) the less time a pizza is in the oven, the more hydration is retained in the finished crust.
Neapolitan pizza dough is usually around 55% hydration for a professional pizzeria, but for a home oven the hydration level should be at least 65% hydration or above. This difference has to do with the maximum heat of a home oven vs a professional pizza oven.
Benefits Of Low Hydration Pizza Dough
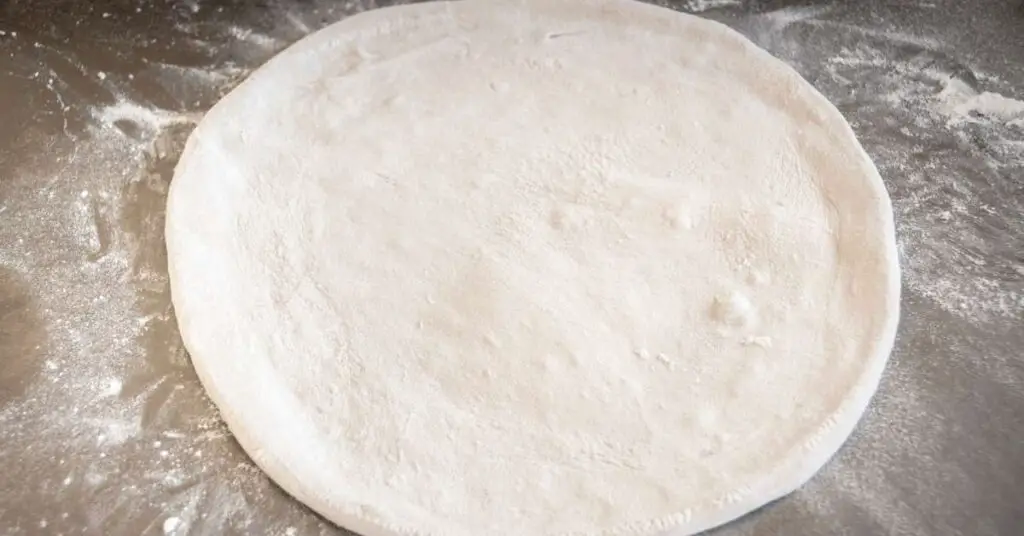
In a classic, high temperature, professional pizza oven, a Neapolitan pizza dough can be quite dry and still remain moist after baking. This also gives the advantage of being able to slap and pull the dough since the lack of excess hydration will make the gluten bonds strong and durable to stress.
This durability is why you will often see Neapolitan pizzerias using hydration levels that are relatively low at around 50%. It’s simply easier to work with drier dough, and if the end result is still moist and soft there is no reason not to.
Low Temperature Ovens Need High Hydration Pizza Dough
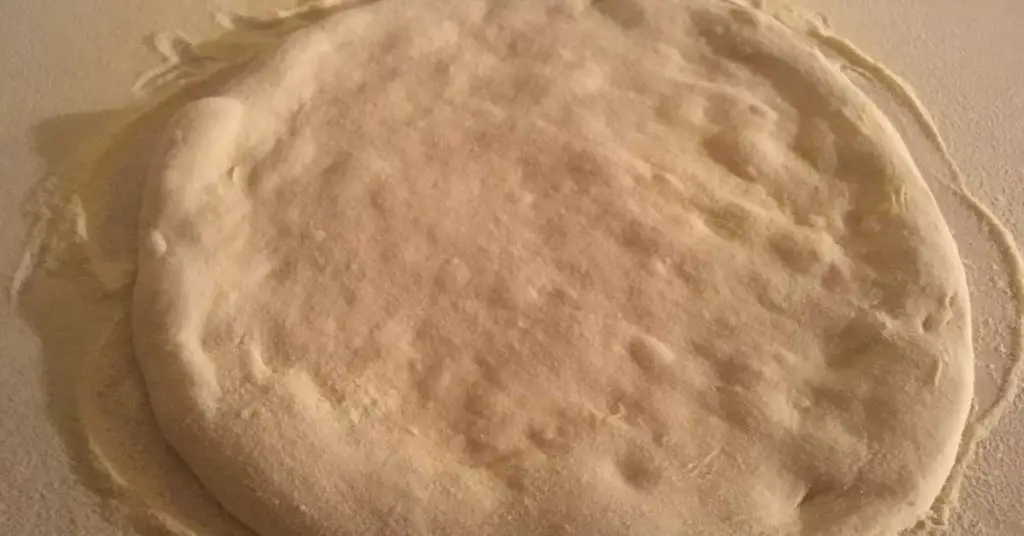
But this changes in home ovens that rarely exceed 500°F, even at the maximum settings. For this environment we need a dough that is as hydrated as possible in order to withstand the slow and low temperature home baking process. This means the gluten bonds will be wetter and weaker and will need to be handled carefully to avoid tearing, but you can still get a really soft and tasty crust.
For my homemade Neapolitan pizza, I use a recipe that is 70% hydration. This is the best of both worlds in my opinion—a crust that’s soft and moist, but with a pizza dough that isn’t so wet/sticky that it’s impossible to handle for a beginner.
NYC Pizza Dough Needs More Hydration
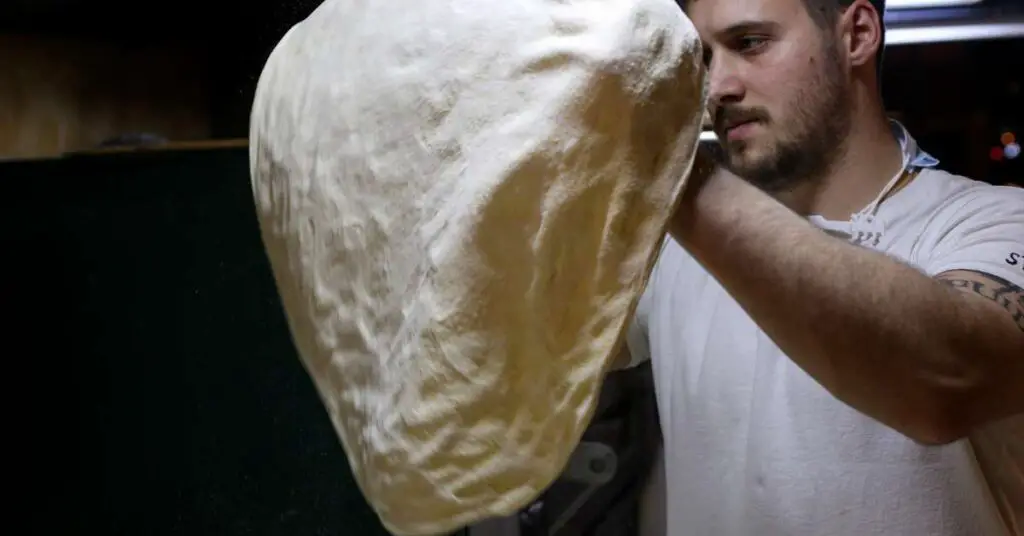
New York City style pizza (the kind I grew up eating) is much more difficult to generalize than Neapolitan style pizza dough.
While Neapolitan style pizza is regulated by the Associazione Vera Pizza Napoletana (AVPN), there is no such regulatory body standardizing NYC style pizza. As a result, NYC pizza can vary wildly from pizzeria to pizzeria.
That said, there is definitely a New York City standard when it comes to pizza. And while it might not be as standardized as Neapolitan pizza, there are certainly a few generalization we can make.
NYC Style Pizza Is Cooked Slowly At A Lower Temperature

In general, NYC pizza is baked at a much lower temperature than Neapolitan pizza. There is no standard temperature but it’s often somewhere between 600-750°F. This is hotter than a home oven but not nearly as hot as the 900°F in a wood-fired Neapolitan pizza oven.
As a result NYC style pizza takes longer to bake, sometimes as long as 10 minutes or more. This longer baking time and lower heat is the reason why NYC pizza crust is typically a golden brown color compared to the blistered surface of a Neapolitan pizza.
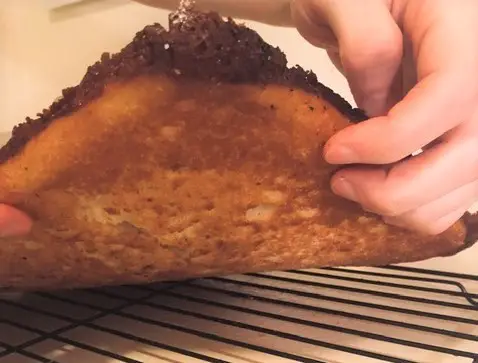
But a pizza crust baked this long still needs to be able to withstand folding without cracking, as is customary in NYC. This is where hydration comes into play.
New York style pizza dough typically has a hydration level of around 65%, giving it enough moisture to withstand the longer bake but dry enough to be stretched and tossed without tearing. This puts NYC pizza somewhere in between the 55% hydration used in a Neapolitan oven and the 70-80% used in a home oven.

| Pizza Dough | New York | Neapolitan | Home Oven |
|---|---|---|---|
| Hydration | 65% | 55% | 70-80% |
| Temperature | 650-750F | 850-1000F | 500F |
| Time | 6-7 minutes | 60-90 seconds | 10-12 minutes |
For a home oven, NYC style pizza isn’t too difficult to replicate, since the temperature differential vs a home oven (500F-750F) isn’t as large as with a Neapolitan pizza oven (500F-1000F).
A 70% hydration level is ideal for a homemade NYC style pizza dough. This slightly higher hydration level will make up for the longer baking time in a home oven vs the professional ovens in NYC pizzerias.
But to reiterate from earlier, there isn’t nearly as much standardization of NYC pizza as there is for Neapolitan pizza. NYC pizza dough tends to be higher hydration, but can be drier as well. It can also be baked at a wide range of temperatures from 450°F all the way up to 800°F. Some NYC pizza dough is hand stretched while other pizzerias roll out their dough with a rolling pin.
In my opinion, what sets NYC pizza apart from other styles is thin floppy slices, minimal toppings, and an underside that’s crisp yet easily folded without breaking. In terms of toppings, NYC pizza usually comes with a pre-cooked, heavily seasoned sauce, and a low-moisture mozzarella cheese blend.
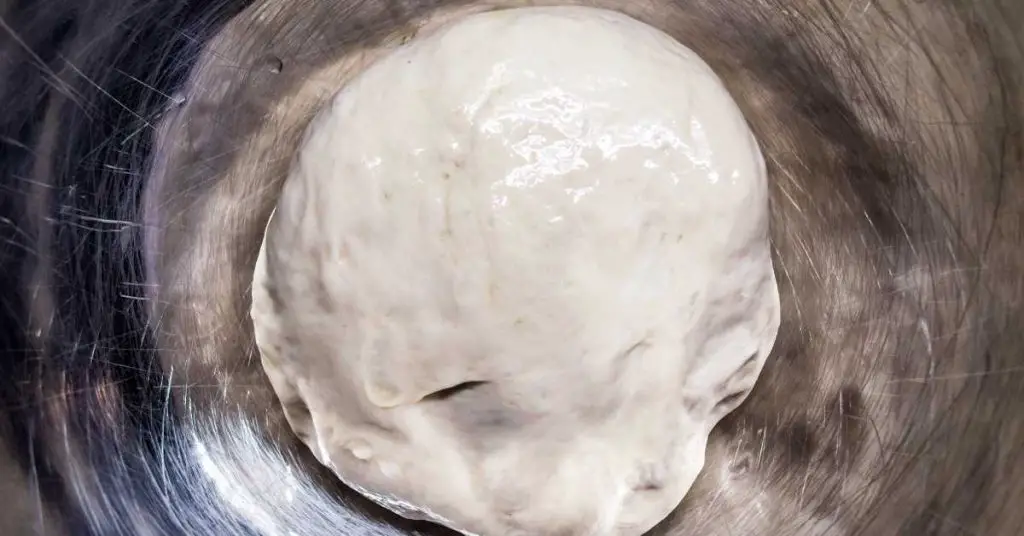
How To Fix Dry Pizza Dough
Now that we’ve discussed what pizza dough hydration is, and what the benefits are to lower and higher hydration levels, let’s go over how to address pizza dough that doesn’t have enough hydration.
But first we need to establish the two main causes of dry pizza: too little water in the recipe and dehydration.
A pizza dough with too little hydration in the recipe can usually only be fixed by changing the recipe to include more water. Unfortunately, this means you’ll need to throw the pizza dough away and start again with a new batch.
A pizza dough that’s dehydrated may have had adequate hydration in the recipe, but has been exposed to open air too long and dried out as a result. When the dehydration is limited to the outside of the dough ball, this can often be fixed by adding water and letting it rest (more on this later).
Adjusting Pizza Dough Hydration
Sometimes recipes don’t go to plan, and you may have inadvertently ended up with a pizza dough with too little hydration.
You’ll know you’ve made this mistake if the pizza dough is acting “nervous” and springs back into a ball when you try to stretch it.
In most cases, you’ll want to simply start over and try again. But if you’re determined to fix this particular batch of under-hydrated pizza dough, then here are a few tricks you can try.
How To Fix Low Hydration Pizza Dough
If you’ve found yourself with an under-hydrated batch of pizza dough and you need to fix it, you can try to re-hydrate it a few different ways.
First, you need to figure out how much water you need to add to the dough. This is a situation where baker’s percentages can actually be quite useful.
Method 1: Rehydrate Your Pizza Dough By Incorporating More Water Into It
For example, if your initial recipe used 1000g of flour but you only added 400ml of water, you know you currently have a 40% hydration level. If your goal is to get that dough up to a 70% hydration level, simple math tells you there’s a 30% difference, or a deficit of 300ml of water.
What you can do from here is similar to the way you might incorporate a poolish or sourdough starter into a larger dough.
Here is a rough set of instructions for you to follow:
- If your dough is cold, let it rest for several hours (or until room temperature) to relax the gluten as much as possible.
- Determine how much water you want to add to your dehydrated dough (for this example, we’ll say 300ml)
- Fill a large bowl with the desired amount of lukewarm water.
- When your pizza dough is relaxed, place half of it into the bowl of water.
- Using your fingers (or a stiff spatula), slowly dissolve the dough into the water. When completed, you should be left with something about the consistency of a runny pancake batter.
- Take the remaining amount of dough and mix it with the dough-water mixture. Knead it until both parts are thoroughly incorporated.
- Place the incorporated dough in a covered bowl and let it rest again for 2-3 hours.
- Cut, ball, and proof your newly hydrated pizza dough.
If all goes well, you will have a rehydrated pizza dough, but keep in mind that the gluten bonds will most likely be weakened since the dough will have risen and fallen several times since you initially made it. You’ll need to treat this new pizza dough very carefully.
But very likely this will not work well and you’ll simply end up trying to mix a dry dough into a soupy mess. I simply offer this as a last resort for those of you who have run out of flour and are desperate for some homemade pizza.
That being said, it can still work though depending on how dehydrated your dough is, and how experienced you are working with dough.
In most cases however, assuming you have the extra flour, the easiest thing to do is start over and make a new batch of dough.
Method 2: Cold-Ferment Your Pizza Dough Overnight To Rehydrate And Soften
This method probably has a bit more chance of success than method 1, especially if your dough is only slightly under-hydrated
When you cold-ferment dough for over 24 hours, you’ll usually find that the dough is significantly softer, and also a bit more moist. This happens because gluten breaks down over time while the dough simultaneously re-absorbs some of it’s own moisture in the form of condensation.
As a result, you might find that your under-hydrated pizza dough is more pliable and moist without having to manually add more water. This is an ideal scenario since cold fermenting pizza dough has many other benefits as well.
To cold ferment any pizza dough, follow these simple steps:
- Put your pizza dough into a tightly covered bowl. Lightly oil or flour the bowl to avoid sticking.
- Place the covered bowl with pizza dough in the fridge and let it sit for 24-48 hours.
- When you’re ready to use the dough, take it out of the fridge and divide it into dough balls with a light dusting of semolina flour or olive oil to keep from sticking.
- Let the dough balls rest at room temperature for 2-3 hours before shaping and baking into a pizza (depending on the temperature of your kitchen).
This method is a great way to get a hard and dry pizza dough to become soft and pliable again.
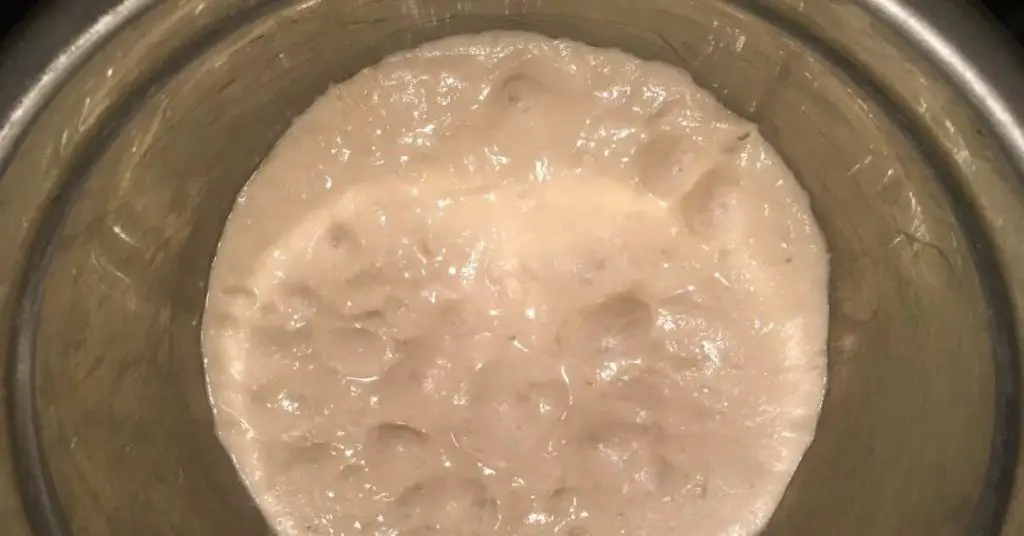
How To Fix Dehydrated Pizza Dough
On the other side of a pizza dough with too little water is a dough that been dried out due to exposure to the open air.
In this case, the pizza dough has plenty of water but has had a crust form over the outside making it feel dry to the touch. If you try to shape dough like this, you’ll end up with dried bits mixed in that burn when baked.
Very often this kind of pizza dough, while hard and crusty on the outside, still remains moist and soft on the inside.
This kind of dehydration situation, though annoying, is much easier to remedy than one where the dough is actually under-hydrated from following a poor recipe.
To fix a dehydrated, crusted over dough, follow these steps:
- Leave the dough alone, don’t knead or fold it yet.
- Spray or brush some water onto the hard parts of the dough.
- Gently rub the water into the dough (if necessary) until the crusty areas have been totally saturated.
- Re-shape the dough into balls
- Allow the dough to rest at room temperature for 2 minutes to 3 hours.
- Use your pizza dough as you would normally.
This method should work in most cases unless the pizza dough has been left out so long that the dehydration has spread to the interior of the dough.
Remember that you can prevent your pizza dough from ever dehydrating by always keeping them tightly sealed and not exposed to the air. For this reason, I always use cling wrap to cover my dough instead of a towel, as is often recommended in many instructions online.
How Flour’s Water Absorption Rates Affect Pizza Dough Hydration
Different flours can have very different results when it comes to making pizza dough. However, this usually has to do with not properly hydrating your flour based on its ability to absorb water.
In pizza dough, the water absorption rate of flour is different than hydration level called for in the recipe. Water absorption refers to the ability of a particular kind of flour to absorb water. These water absorption rates have to do with the strength of the grain and can vary significantly from one brand of flour to another.
This gets confusing quickly because both pizza dough hydration rates and flour absorption rates are presented in percentages, and both have to do with mixing water and flour.
Let me give you a real life example to help you make sense of all this and understand how to apply it to your own pizza dough making.
Water Absorption Rates Can Be Confusing
If you have a flour with an absorption rate of 68% used in a 68% hydration recipe, the resulting pizza dough will feel as hydrated as another pizza dough using a flour with 58% water absorption and a 58% hydration recipe.
Confused yet? If you are, just think of it this way. A flour with a high absorption rate will need more water to perform the same (stretching and baking) as a flour with a lower absorption rate. This is because the flour with the higher absorption rate is absorbing more water and therefore needs more water to compensate.
The water absorption rate of flour, basically refers to the optimal amount of water you can add to a flour before it becomes oversaturated with water and the gluten bonds become too weak to work with.
But in most cases this information is irrelevant, because the water absorption rate is not something that’s listed on your average package of flour. You’ll really just have to judge from experience which flours need slightly more water and which ones need slightly less.
It’s also worth remembering that the average flour has a water absorption rate between 55-65%. This means if you’re aiming for a hydration level of around 65% (as I do) most flours will handle this just fine.
In the case of some extremely finely ground Italian Tipo 00 flours, where the absorption rate is often lower, you can simply adjust the recipe to include less water (or more flour) next time around.
Tip: If you’re really curious, contact the manufacturers and ask them what the water absorption rate is for your favorite flour. It’s often the only way to know for sure with limited labelling requirements for North American flour.
Water Absorption Rate By Brand
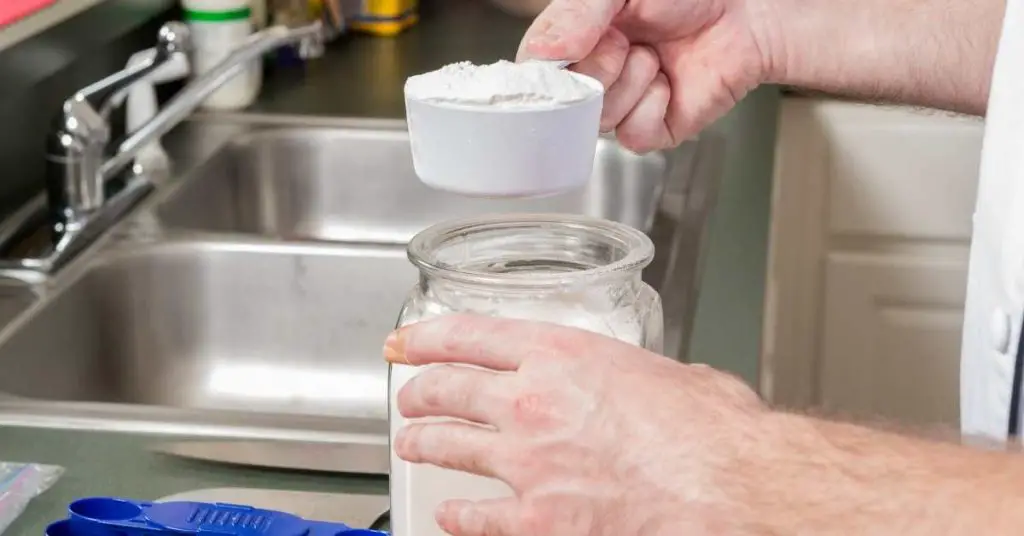
Below is a small list of known water absorption rates for some popular flours as well as some general rules of thumb when dealing with flours of different types.
| Flour Type | Water Absorption |
|---|---|
| General strong flour | 63% |
| General medium flour | 55-60% |
| General weak flour | less than 55% |
| King Arthur (All-Purpose) | 60% |
| King Arthur (Sir Lancelot) | 63% |
| Le 5 Stagioni Pizza Napoletana Rossa | 57% |
| Le 5 Stagioni Pizza Napoletana Verde | 55% |
| Le 5 Stagioni Pizza Farina 00 Gold | 60% |
| Caputo 00 Pizzeria | 55-57% |
| Caputo 00 New York Style | 55-57% |
| Caputo 00 Extra | 53-54% |
| Caputo 0 Manitoba | 58% |
| Caputo 00 Pizza Chef | 55-57% |
| Le Farine Speciali Polselli Super | 60% |
| Gold Medal All-Purpose | 60% |
If you don’t see your preferred flour here, you can sometimes find the information on the company’s website. If not, contact the brand and ask for a datasheet that will provide the absorption rate as well as lots of other nutritional information.
Why No-Knead Pizza Dough Can Help Maintain Your Dough’s Hydration
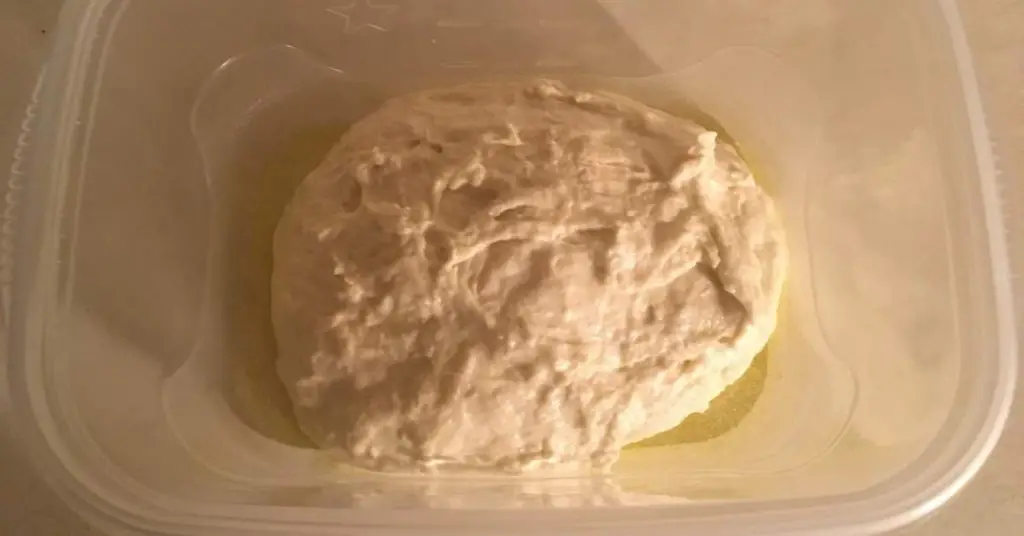
I use a 70% hydration direct method recipe (or a 70% poolish indirect method recipe) for all my homemade pizza.
I love using these recipes because they’re easy to work with, don’t require any kneading, and bake into a moist crust even at low temperatures.
Even better—with a no-knead recipe, you can simply mix the ingredients in a bowl with a spatula and leave it to rest for 12-18 hours. This avoids getting your hands dirty kneading or having to use a stand mixer.
Another benefit to using a no-knead recipe is a softer dough with a slightly weaker gluten structure. This is often the whole reason why we’re concerned with pizza dough hydration to begin with—because we want that soft fluffy crust when it bakes.
And if you choose to cold-ferment your dough further (after the initial no-knead rest period at room temperature) the coldness of the fridge will help to preserve moisture as well.
It really is a win-win method for delicious and soft dough even at lower hydration levels.
How To Knead Wet And Sticky Pizza Dough
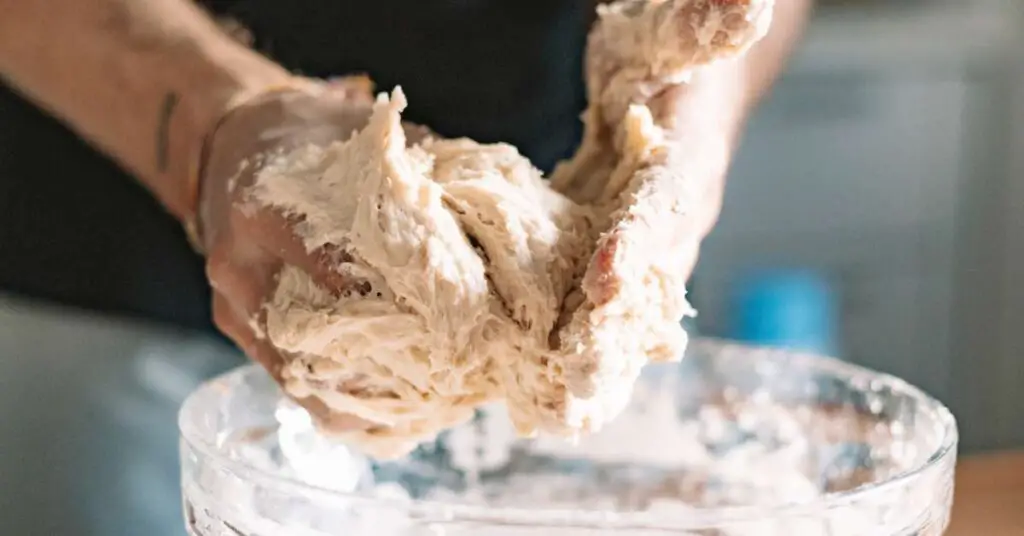
If you need your pizza dough ready in a hurry and don’t have time for a no-knead recipe, you’re going to have to knead by hand.
Kneading by hand isn’t difficult, but it can be messy and time-consuming. This is especially true if you’re aiming for a pizza dough with a high level of hydration.
A pizza dough with lots of water added into the recipe will initially make it seem like you’ve followed your recipe incorrectly. Because of the extra water, the gluten bonds are weaker and take longer to form. At hydration levels over 65% the dough can seem impossibly wet and sticky.
But don’t give up on high hydration just yet because working with wet dough isn’t as difficult as it can initially seem. It just takes a little extra time, both in terms of kneading and in waiting between kneading sessions.
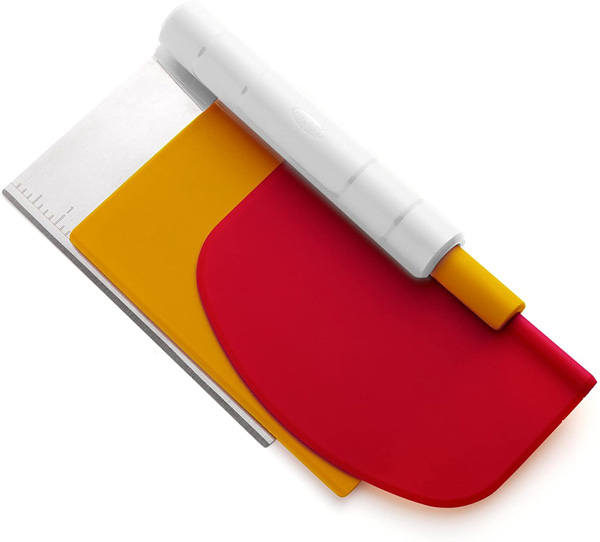
What you want to do is use a dough scraper to fold the dough over and onto itself again and again, then letting it rest for 10 minutes before starting over. Repeat this several times until the dough is silky and smooth.
To knead sticky pizza dough, follow the following process:
- Begin by mixing the ingredients together in a bowl and until thoroughly incorporated.
- Transfer the wet, doughy mixture onto a clean counter.
- Using a dough scraper, pull and fold the dough on top of itself for about 2-3 minutes.
- Cover the dough with an upside-down bowl and let it rest for 10 minutes.
- Come back and repeat steps 3 – 4 another 5 or 6 times depending on the water absorbability of the flour and hydration level of the recipe.
- When the dough has reached a smooth, silky consistency, place it back in the bowl and cover it up tightly with cling wrap.
- Let the dough rest, ball, proof, shape, then bake.
Final Thoughts
Pizza dough hydration is one of the most important, yet least discussed, aspects of making pizza. Hydration levels are of particular importance when it comes to homemade pizza because this kind of pizza is usually baked in a lower temperature home oven.
When pizza dough is baked at a low temperature for a long time, it will evaporate more moisture from the crust than one baked at a higher temperature for a shorter amount of time. In this way, time in the oven is the real enemy to the softness of any pizza crust.
The best tool we have to counteract hardening and drying out of pizza crust is to ensure our pizza dough is very highly hydrated. This allows the pizza to stay in the oven longer while still retaining enough moisture to bake into a soft crust.
Using baker’s percentages we can quickly and easily adjust the hydration levels of our pizza dough while maintaining the same total weight of the dough. This is the best way to achieve a soft yet crispy pizza crust in a home oven.

Related Posts:
- What Is Pizza Flour & Is It The Best Flour For Pizza?
- Why 00 Flour Is Best For Pizza: What It Is & How It Makes A Difference
- What’s The Best Flour For Making Pizza?
- Poolish Pizza Dough Recipe (Perfect Crust Super Easy)
- Which Ooni Accessories You Need To Get Started
- Ooni Pizza Ovens: All 6 Models Compared & Reviewed
Related Questions:
What Is Best The Hydration Level For Pizza Dough?
The hydration level for pizza dough refers to the ratio of water in the recipe compared to the percentage of dry ingredients. For example, a pizza dough with 1000g of flour and 700ml of water has a hydration level of 70%. The best hydration level for pizza dough in a home oven is between 70-80% to compensate for moisture evaporation during the longer cooking time.
What Does Higher Hydration Do To Pizza Dough?
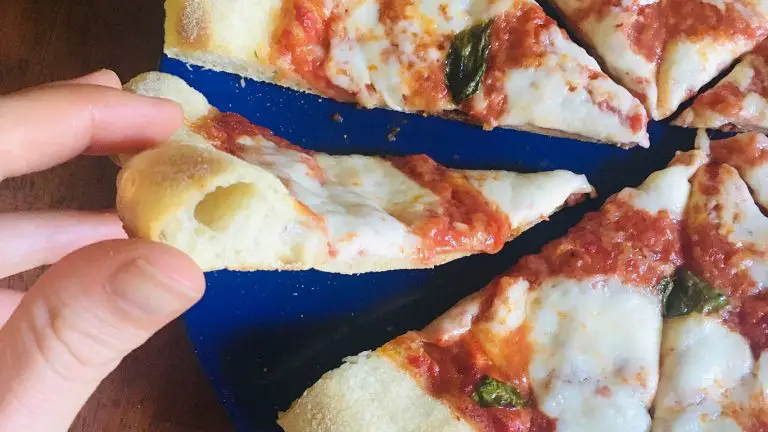
A higher hydration level makes pizza dough moist and fluffy. As excess moisture in the dough heats to super hot temperatures in the oven, it expands and creates those big bubbles of air in the crust we all love so much. Higher hydration also ensures that the crust won’t dry out during the longer baking times necessary in a lower temperature home oven.
How Wet Should Pizza Dough Be?
A higher hydration pizza dough should be wet and sticky as you combine the ingredients, but once the dough has been prepped and is ready to shape, you should be able to handle it without much sticking. The best way to work with wet dough is by thoroughly coating it in semolina flour – this will prevent the dough from sticking to your hands as you shape it and give the crust is nice texture when it comes out of the oven.
How Do I Know If My Pizza Dough Needs More Water?
If your crust comes out of the oven hard and dry, it’s a sure sign that your pizza dough needs more water. For homemade pizza, which cooks longer than pizza made in a professional oven, you should aim for a hydration level of between 65-70% (example: 1000g flour with 700ml water = 70% hydration). This will ensure that there is still moisture left in the crust after a long baking process.
What Hydration Should Neapolitan Pizza Dough Be?
Because Neapolitan pizza is cooked very quickly in a very hot oven (950F or 500C for only 90 seconds), Neapolitan pizza dough is typically in the lower hydration range. For most Neapolitan pizza, a hydration level of only 55-60% is perfect and will still be moist and fluffy when it comes out of the oven.
How Do You Calculate Hydration For Pizza Dough?
To calculate the hydration level for pizza dough, simply divide the amount of water by the amount of flour and multiply by 100. For example, 700ml of water divided by 1000g of flour = .7 which is then multiplied by 100 for a hydration level of 70% (water ⁒ flour x 100).
Why Doesn’t My Pizza Dough Stretch?
A pizza dough that doesn’t stretch is usually the result of too little hydration, too little rest between kneading, or both. To get your pizza dough stretching again, I recommend following a recipe of at least 70% hydration and letting the dough rest for 2-3 hours before stretching.
Should Pizza Dough Be Sticky?
A well hydrated pizza dough should be sticky, but if handled correctly it shouldn’t stick to your hands or the pizza peel. When handling sticky pizza dough, make sure to coat your hands (lightly) in olive oil when balling the dough, and using an ample amount of semolina flour when stretching it into a disc. A no-knead pizza dough recipe helps with this as well.
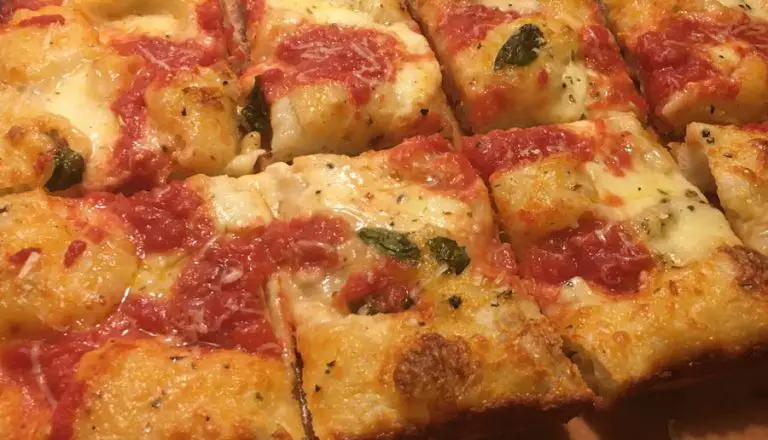
What’s The Ideal Hydration Level For “Grandma Pie” Style Pizza?
“Grandma” style pizza is best when made with a high-hydration pizza dough of 70% hydration or more. As a kind of pan pizza, grandma pizza needs the extra hydration to withstand a longer baking period at temperatures as low as 450F. This method results in a crispy outside crust with a moist and tender middle.
What Is The Relationship Between Pizza Dough Hydration vs Oven Temperature?
In general, pizza dough hydration should be higher when the oven temperature is lower. Low temperature home ovens need a hydration level of 70% or more, while high temperature pizza ovens can go as low as 50% hydration without a significant loss of moisture.



Great article. Very detailed. I found it interesting that oven temperature seems to be foremost for your hydration decisions. I typically think more about handling and type of fermentation, but I’m typically fermenting with sourdough so temp and time gets more variable in a home set up and have a bigger impact for me. Thanks for the hard work!
Thanks, Valfalfa!
Oven temperature is definitely a consideration for me, but I actually think it’s more about the length of time in the oven. The longer something is going to be baking the more hydration I want in the dough to preserve moisture in the finished product.
Happy baking!