How To Stretch Pizza Dough By Hand: Easiest Method For Beginners
For many people, stretching pizza dough is the most difficult part of making pizza. You may have experienced this yourself, especially if your dough constantly snaps back into its original shape no matter how many times you pull it in every direction.
In this tutorial, you’ll learn how to stretch pizza dough in the simplest way possible, without using any advanced methods like tossing the pizza dough in the air or the “slap” technique used for making Neapolitan pizza. Instead, we’re just going to gently press and stretch the dough until we get the shape we’re looking for.
For the best results, make sure you’re using a high-quality pizza dough, or just follow my high-hydration pizza dough recipe here.
Before Your Start: Preparing The Pizza Dough Balls For Stretching
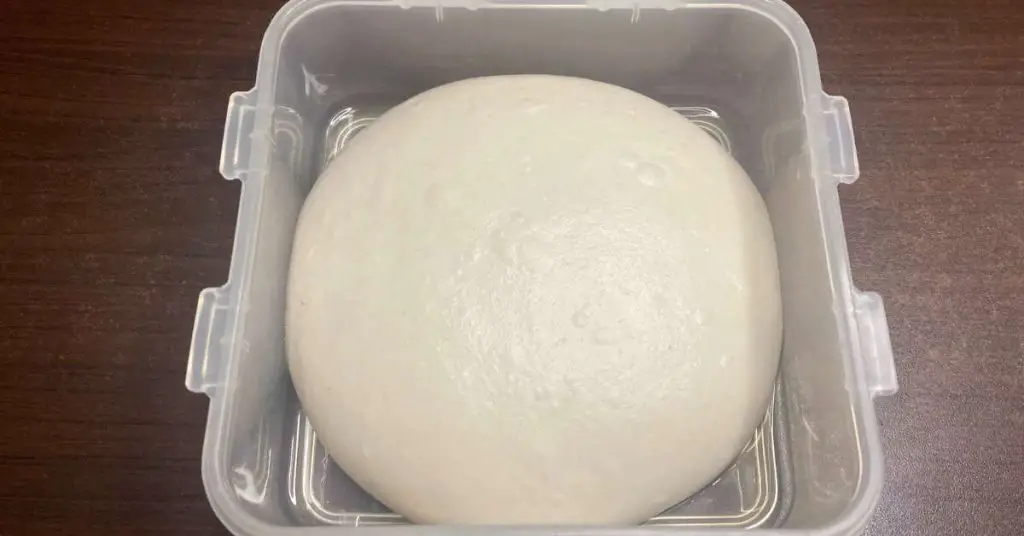
If your idea of stretching pizza dough involves taking a cold hunk of dough out of the fridge and getting to work using the steps below, you’re already on the wrong track. So, before you begin stretching, keep the following concepts in mind.
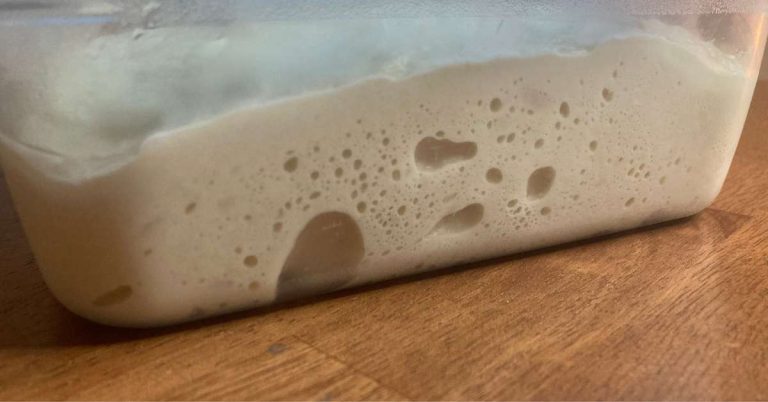
Pizza dough should never be stretched cold—it won’t shape correctly, and will form bitter-tasting black spots during baking. Instead, pizza dough should always be formed into a tight ball and proofed for several hours in a sealed container before starting the shaping process. This will give the gluten time to rest and make stretching easier.
Keep note of the time it takes your dough to proof, because it will vary depending on the amount of yeast used and the temperature of the room. This will help in the future in case you over-proof your dough ball.
Tip: If you need help on this step, read my detailed step by step guide to balling and proofing pizza dough here.
Easiest Way To Stretch Pizza Dough By Hand: Step By Step Instructions
To get started stretching your pizza dough, you’ll need a fully proofed pizza dough ball, bench flour, and a clean working surface. I prefer semolina flour (the same flour used for making pasta) for its taste and texture, but whatever flour you have available will work as well.
Just keep in mind that we’re only using flour to keep the dough from sticking, so be careful not to knead it into the dough. This can change the ratio of flour to water in the dough and ultimately make it more difficult to stretch.
The following is the most foolproof, beginner friendly dough stretching technique for making pizza at home.
Total Time: 5 minutes
-
Ensure Your Dough Is Fully Proofed
Wait for the ball of dough to fully relax and proof—this is crucial, so don’t rush this step. If you need help with this, read my full set of instructions for balling and proofing pizza dough here.
-
Coat The Dough Ball In Semolina Flour
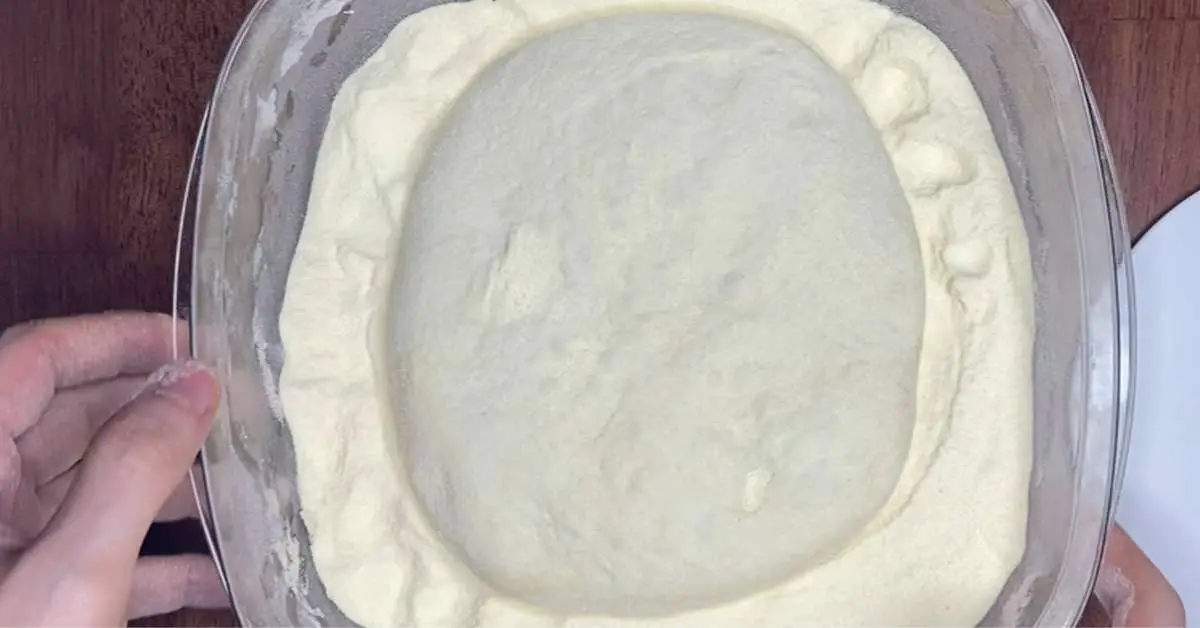
Drop the dough ball into a flour bath. This can either be a container full of semolina flour (or whatever kind of flour you’re using), or just a pile of flour on a clean counter surface. The idea is to fully coat the outside surfaces of the dough with flour to prevent sticking as we shape it.
As I mentioned earlier, be very careful not to knead the flour into the dough. This will make it even more difficult to stretch.
-
Lightly Dust Clean Working Surface With Semolina Flour
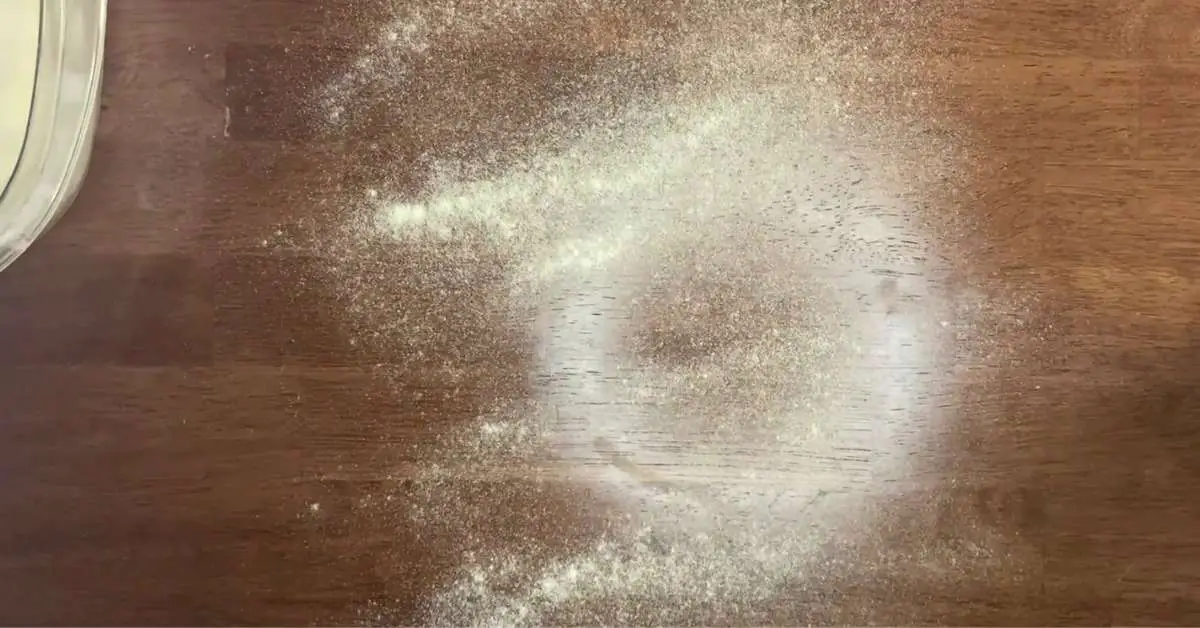
Lightly dust a clean counter surface with semolina flour to prevent the dough from sticking.
-
Carefully Transfer Coated Dough From Flour Bath To Counter
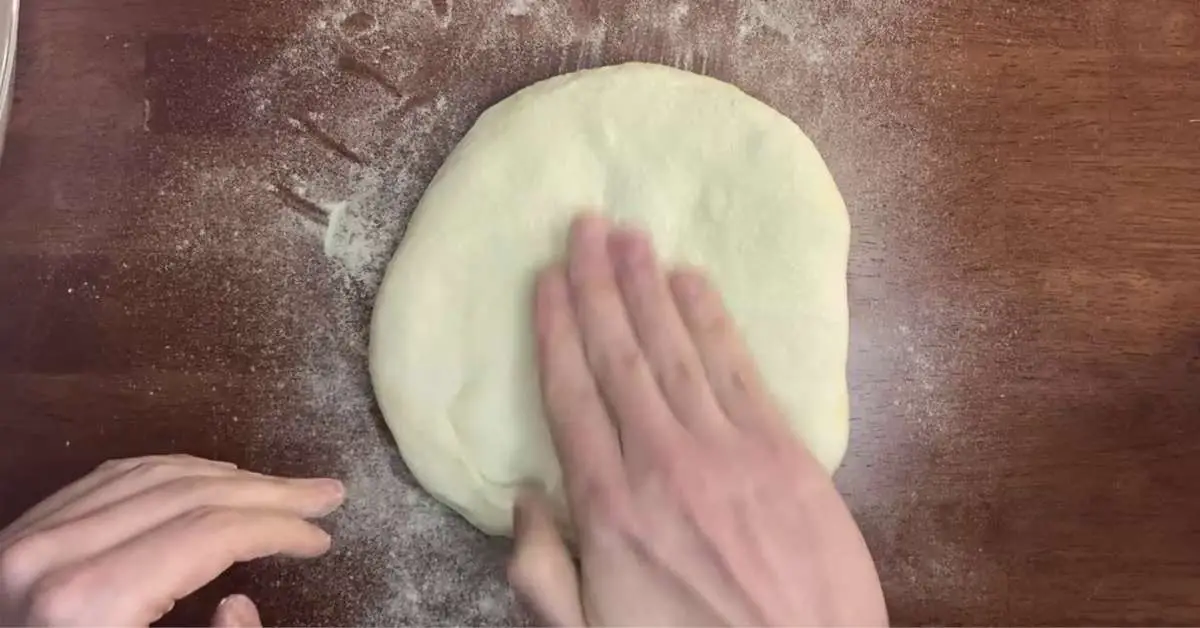
Transfer the dough to the counter and pat it lightly to get it into a roughly symmetrical circle with a consistent thickness. Be very careful not to pinch or squeeze the dough as you do it.
-
Gently Press The Dough From The Middle
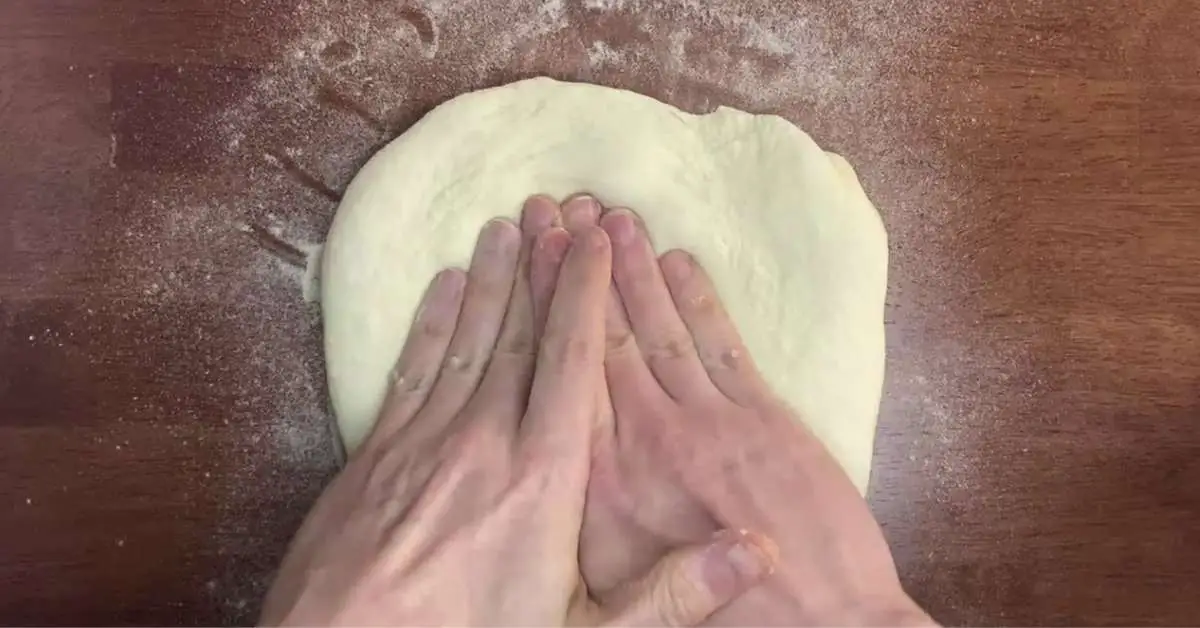
Working from the middle outwards, gently press the air and gas from the center of the dough to the around edges. Be very careful with this step—we’re not looking to smash the dough, just rearrange where the gas is with a gentle stretch. Use the flat part of your fingers like I have above to avoid poking holes.
By keeping the air and gas around the edge, it helps produce a nice and crispy
crust when baked. -
Flip The Dough Over And Repeat
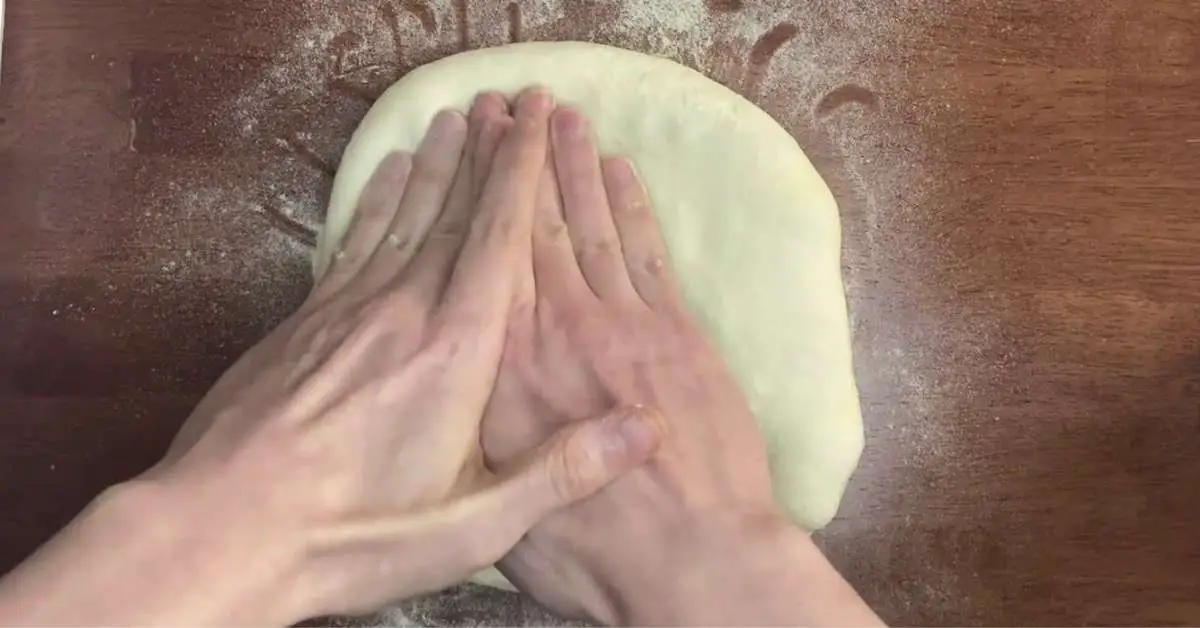
Flip dough over and press it again, going from the middle and working your way towards the edge of the dough, then rotate 90 degrees and continue pressing and turning as needed. If it starts to stick, apply a small dusting of semolina flour to the dough or your hands (or both).
-
Place Dough On Knuckles And Gently Pull
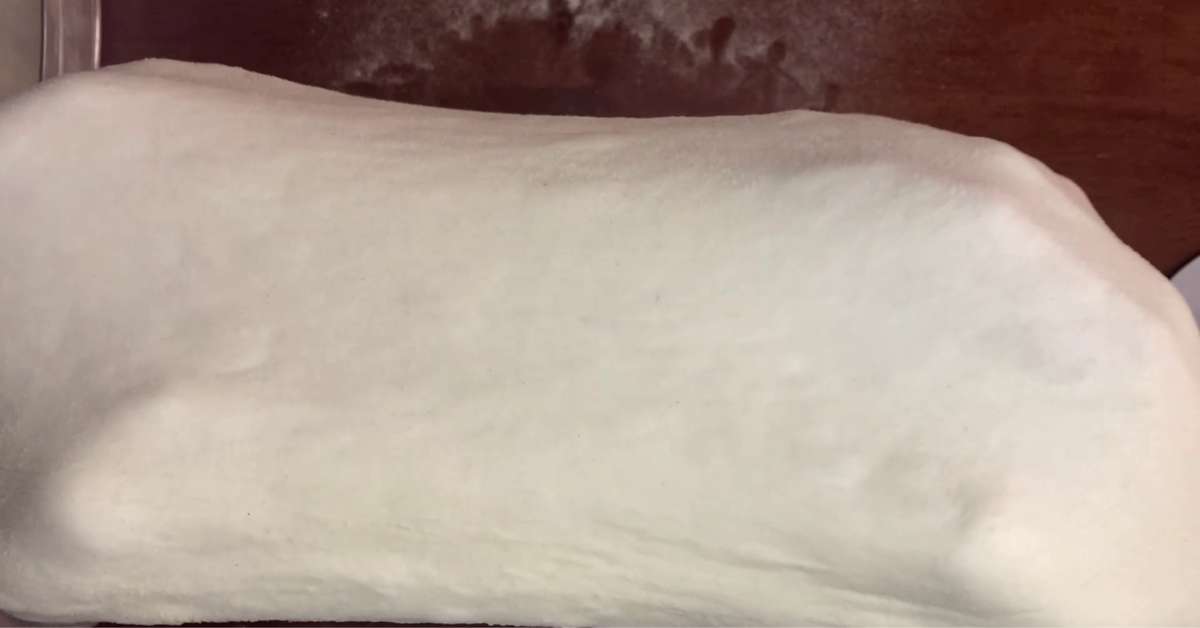
Place the bottom of the dough (the rough side) on the top of your hands and use your knuckles to stretch
and gently stretch out the dough slowly and gently from the sides while spreading your fingers to complete the stretch. Then, rotate the dough to stretch from the other direction. You should only need to do this once or twice, so don’t overdo it. -
Transfer Dough To Floured Peel
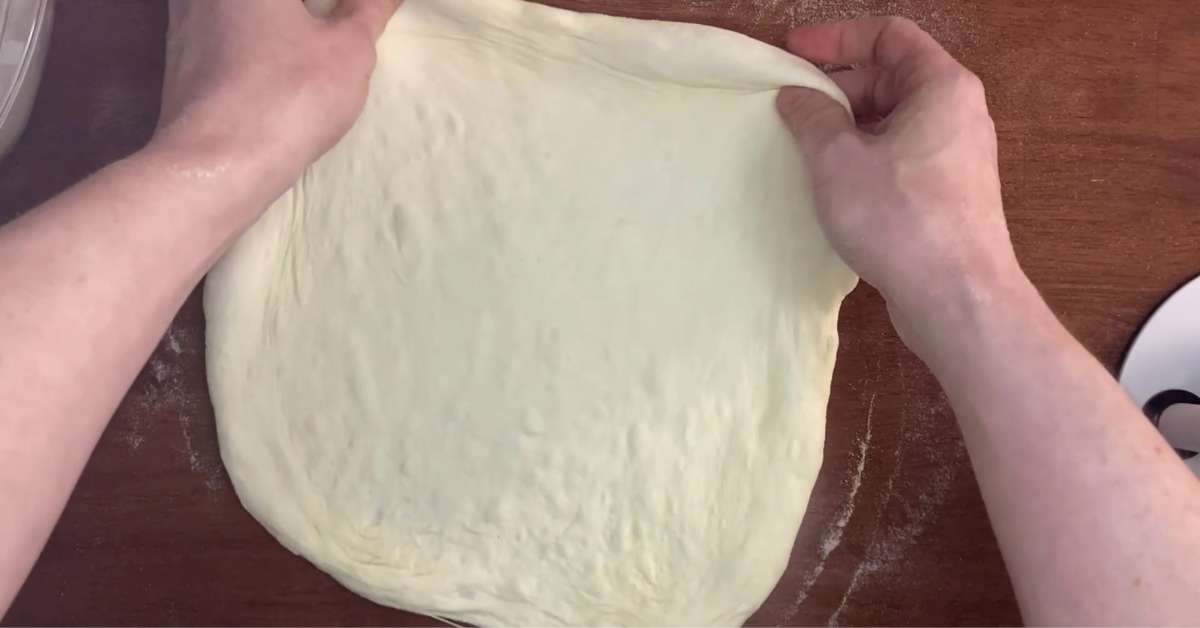
When the dough is stretched to your liking, place it on a floured pizza peel and begin to add sauce and toppings . When the pizza dough is topped, slide your fingers underneath and give the dough a final stretch in both directions. Be very careful not to tear the dough.
As soon as you add any toppings to the dough, you need to act quickly. The longer the dough sits on the peel, the more likely moisture will seep through and cause the underside of the dough to stick. If you have trouble with this, feel free to add as much flour to the peel as necessary to prevent sticking.
-
Slide Your Pizza Onto A Hot Pizza Steel or Pizza Stone

Slide the pizza onto a hot pizza steel and bake until the crust is golden. Enjoy!
-
Finished Result

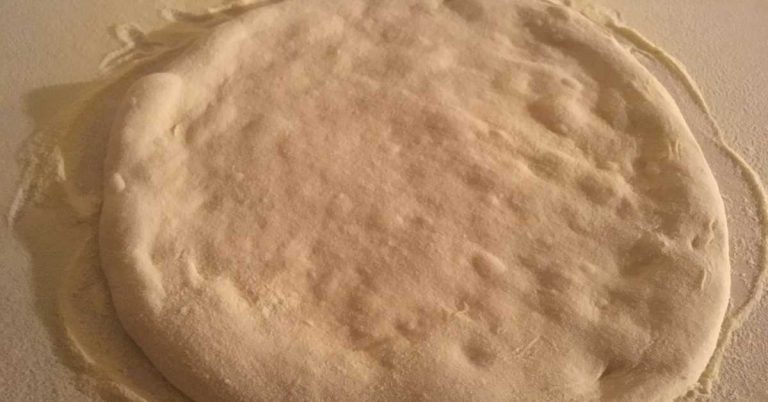
Your stretched pizza dough will look something like this. This particular dough came out far from perfect, with some of the edges flatted a bit from being uneven to begin with. But it still turned out fine.
Hand Stretching Pizza Dough vs Using A Rolling Pin
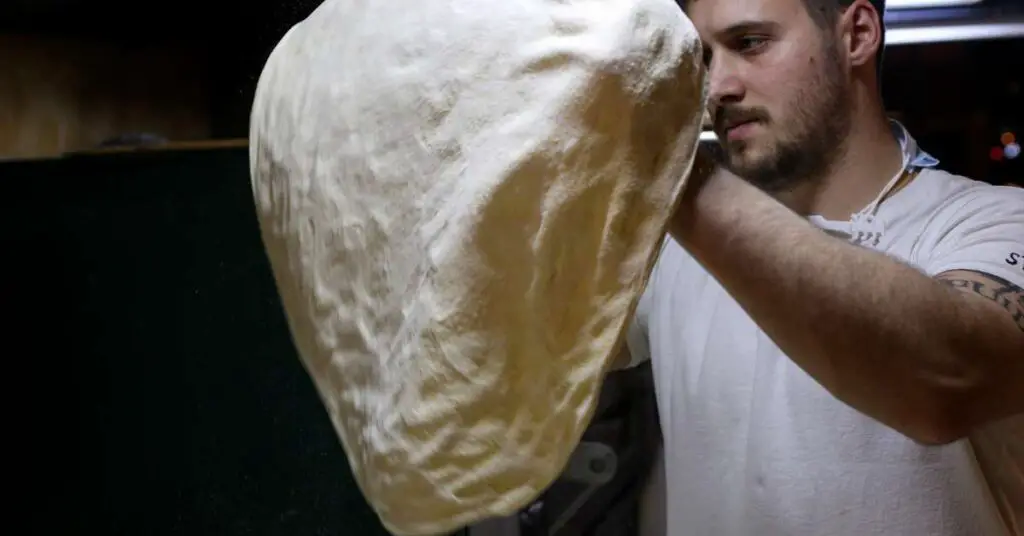
I think for many people, “stretching” pizza dough just means using a rolling pin, but this isn’t the ideal method. Pizza crust that is flattened out with a rolling pin will lack the structure and texture of one stretched by hand. Rolled out pizza crust may not brown properly either, especially when baked in a home oven.
One of the best parts about pizza is the fluffy, bubbly crust that rises as it bakes. This happens because as the dough proofs, it accumulates gas inside thousands of tiny bubbles that expand under intense heat in the oven. When you roll dough with a rolling pin, all of this air and gas escapes and the bubbles are burst, meaning it will bake into a crust that’s more like a tortilla than a pizza.
If your aim is to make an ultra-thin crust pizza, then maybe you’re OK with this. But for most people looking for a traditional pizza crust (even a relatively thin one) you’ll want to stretch your pizza dough by hand rather than use a rolling pin.
Don’t worry, you don’t need to toss the dough in the air (like in the movies) to stretch it by hand. Instead, you just need to gently press the dough before stretching it over your knuckles. This simple method produces great results every time.
Related Questions
Why Won’t My Pizza Dough Hold Its Shape?
If your pizza dough is snapping back into a ball when you stretch it, it’s probably too cold and the gluten is too tight. The solution to both of these problems is to proof the dough ball at room temperature for several hours before attempting to stretch it. This will give the dough time to warm up and allow the gluten to relax.


