How To Proof Pizza Dough: Complete Tutorial To Balling And Proofing Pizza Dough (Video)
Making a batch of homemade pizza dough (or even buying it from the store) is easy, but what comes next? For many people, this means taking a cold hunk of dough out of the refrigerator and then desperately trying to smash and flatten a sticky mess against the counter.
Let me tell you, this is a recipe for a terrible homemade pizza. It will be misshapen, dense, and taste like burnt flour. But it doesn’t have to be this way.
Keep reading to learn how I make a perfect homemade pizza every time. For this tutorial, I’m using Caputo 00 Chef’s flour, but the same concepts apply no matter what kind of flour you’re using.
Summary: To make a good homemade pizza, shape a piece of lightly oiled dough into a tight ball and let it proof for 2-3 hours before handling. This will allow the gluten in the dough to relax and fill up with gas, which makes it much easier to work with and allows the crust to rise when baked.
How To Ball Pizza Dough
To shape pizza dough into a ball, follow these steps:
Step 1
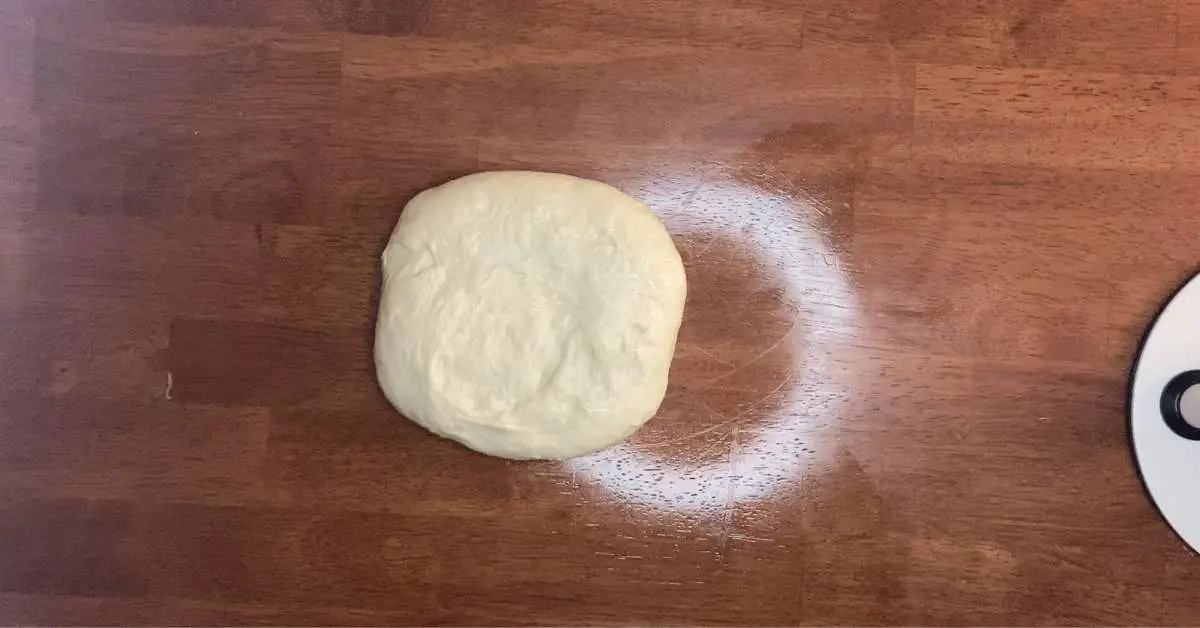
Divide the dough into equal sized pieces using a kitchen scale (or you can just eyeball it). For the purposes of this recipe, we’re going to divide the dough into two 250 gram (8.8oz) chunks. A digital scale is helpful here but not strictly necessary.
Step 2
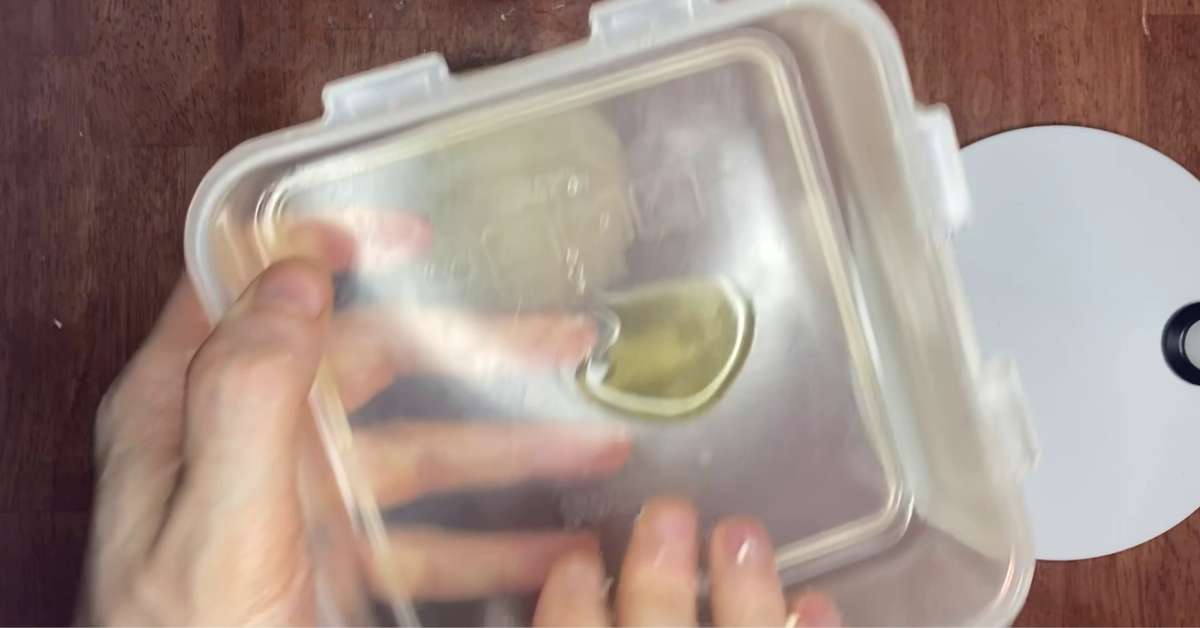
Prepare a resealable container by lightly coating the inside surface with olive oil. This is where the dough will rest as it proofs, so make sure it’s big enough that it can be easily removed after it expands.
If you’re making pizza dough for bulk fermentation, you’ll need a much larger container such as a dedicated dough proofing box.
Step 3
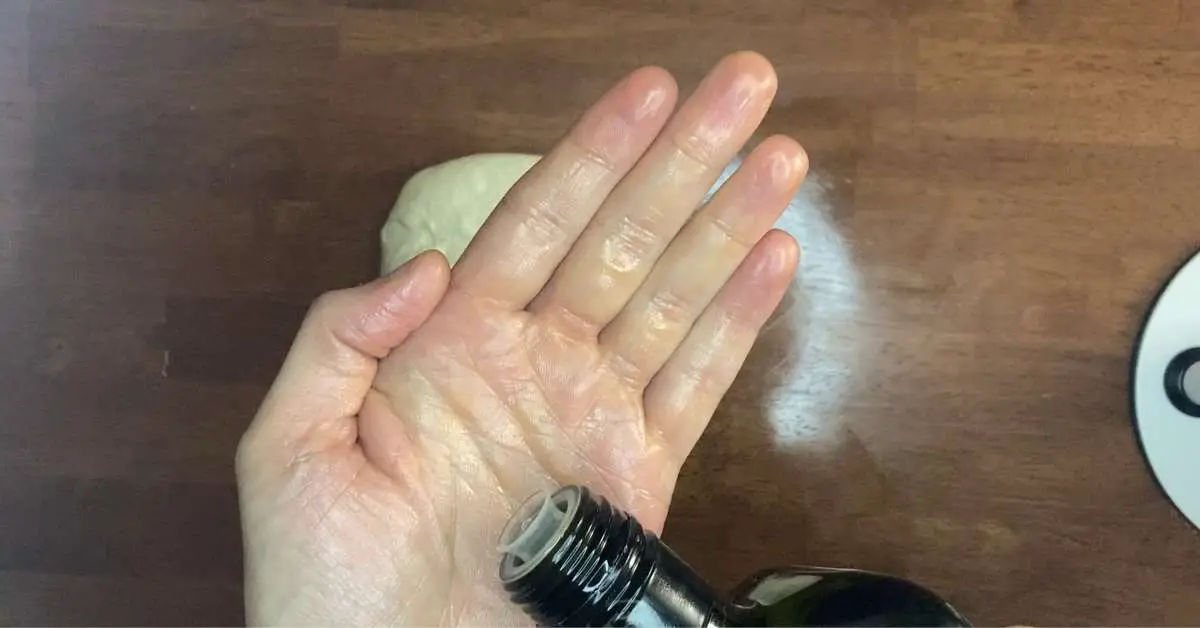
Lightly coat the palms of your hands in olive oil and grab one of the pieces of dough.
Step 4
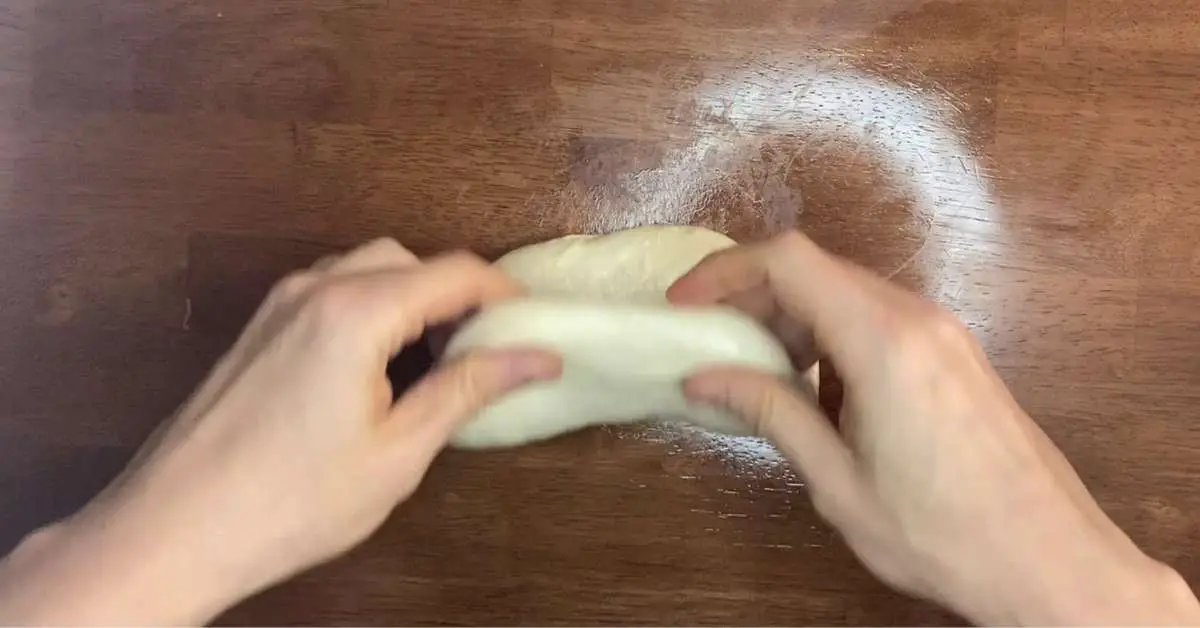
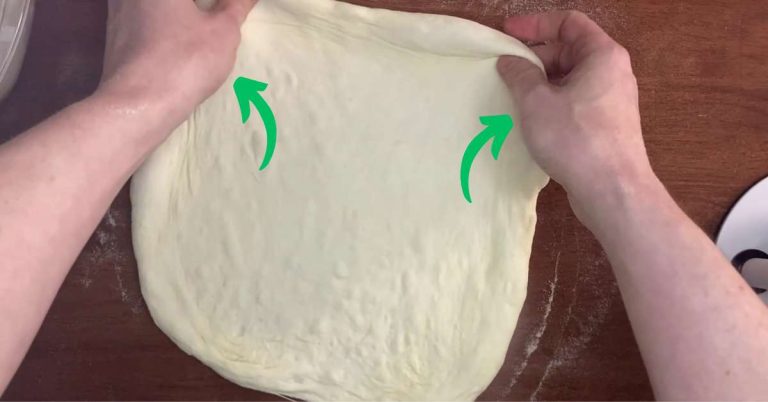
Fold and drag the dough across a clean surface, then fold and drag it again in a different direction. The goal here is to to pull the skin of the dough so that it becomes tight and smooth.
Step 5
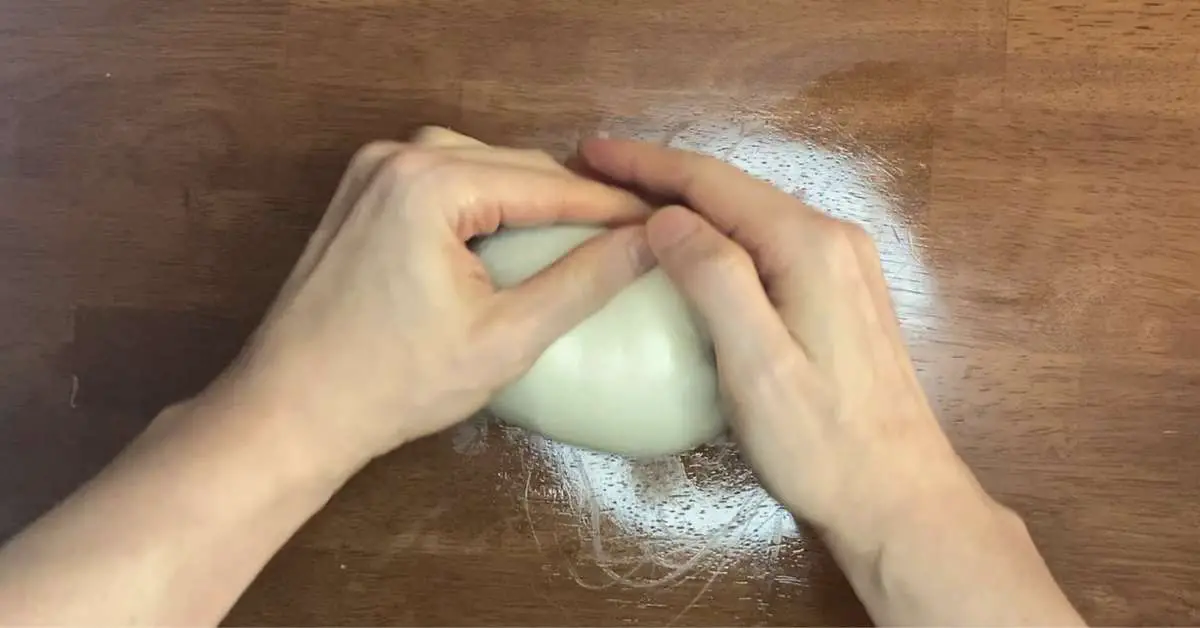
When dragging the dough, use the edges of your palm and fingers against the counter surface so that the skin of the dough is pulled tightly.
Step 6
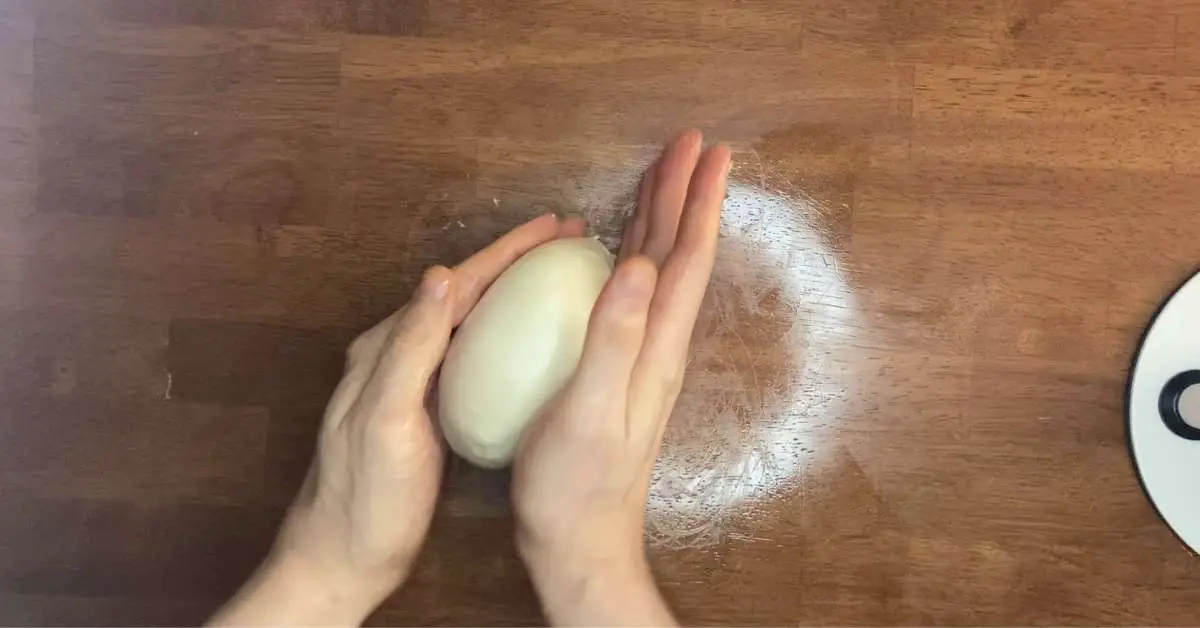
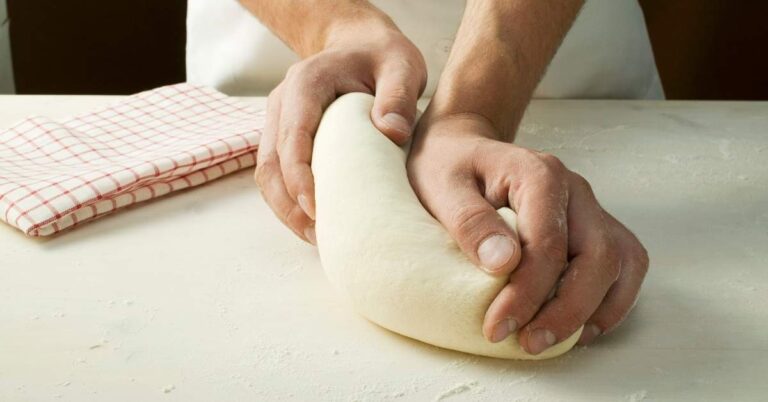
When the skin of the dough looks tight and smooth, shape the dough into a ball using both hands going in opposite directions. This is very simple to do but difficult to explain, so please refer to the video above if you’re confused.
Step 7
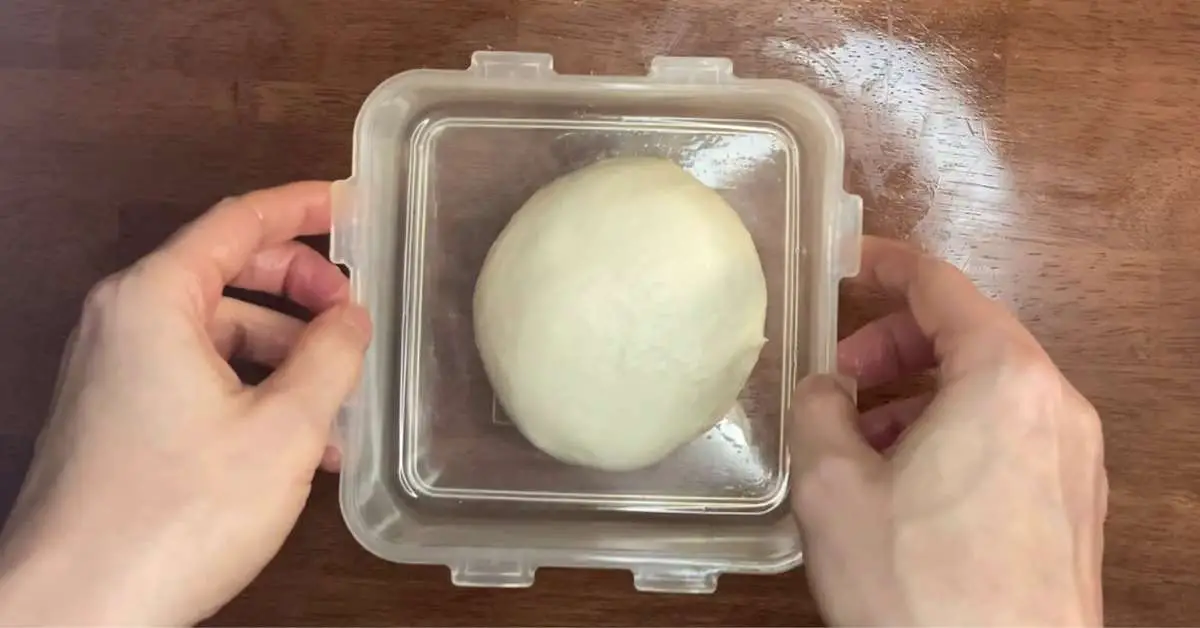
Place the fully shaped dough ball into the lightly coated resealable container and let it proof for a few hours before baking. If you don’t have a proofing container, a pan or bowl covered in plastic wrap will work as well.
What Pizza Dough Looks Like When Proofing
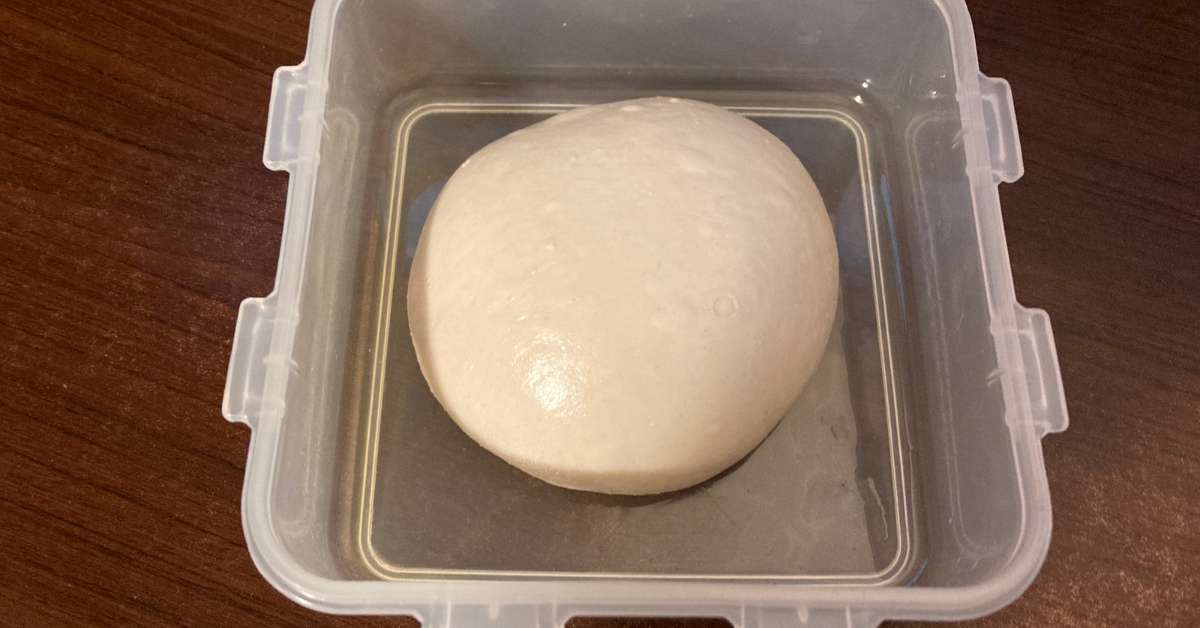
When you’re done, this is what pizza dough should look like when balled up for proofing. Notice the taught, shiny skin.
Note: In a warm room, pizza dough can proof in as little as 1-2 hours. If the room is cold, it can take 3-4 hours, or more. So plan accordingly and don’t use the dough until it’s fully relaxed and had a chance to reach room temperature (if it’s coming from the fridge).
How To Tell If Pizza Dough Is Fully Proofed
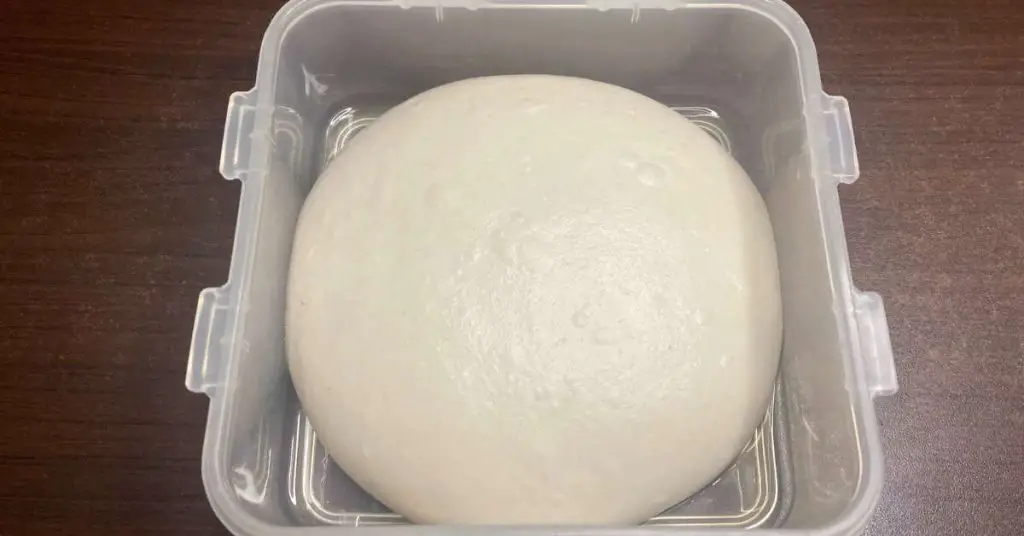
When your pizza dough is fully proofed and ready to use, it should have approximately doubled in size and have a light, fluffy appearance.
Some recommend poking the dough ball to see if it’s ready, but I don’t recommend doing this because it can disturb the structure of the dough and produce an uneven crust. Just use your eyes to see if the dough has grown and give it a light touch to make sure it’s room temperature.
If you leave your dough ball resting for too long, it can “overproof”. You don’t want to let a pizza dough ball overproof because if the dough proofs for too long, the yeast exhausts its food supply, leading to a collapse in the dough’s structure. This results in a dense, flat crust instead of a light, airy one.
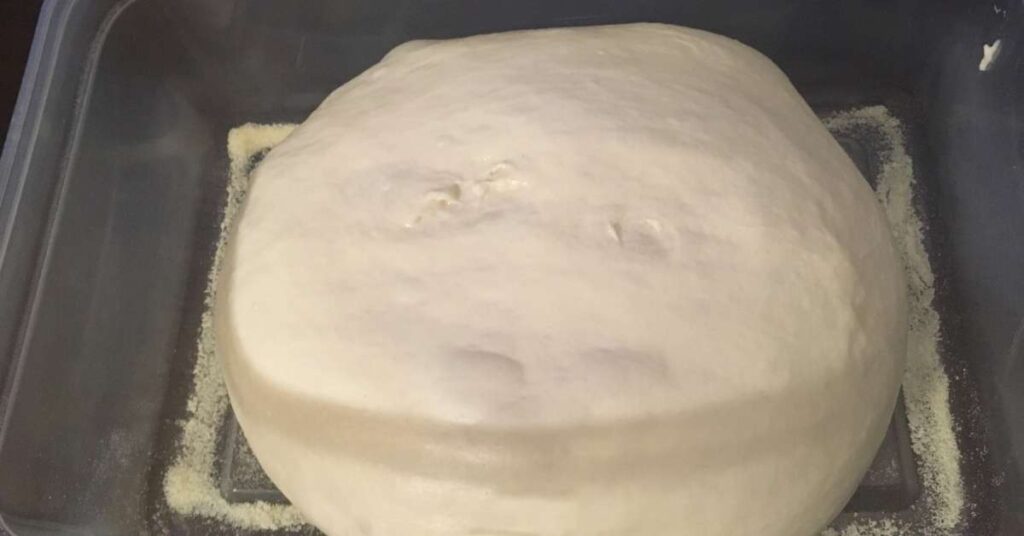
Overproofed dough also becomes sticky and difficult to handle, and can lose its ability to rise properly when baked, affecting both texture and flavor.
Why A Longer Proof Time Makes Pizza better
Proofing pizza dough for a longer time is better because it lets the yeast work longer, creating more flavor and a better texture. The dough becomes airier and easier to shape, leading to a tastier, lighter crust.
During the proofing process, yeast in the dough ball ferments the sugars, producing carbon dioxide and alcohol, which causes the dough to rise and expand. This activity makes the dough rise and gives it a lighter texture. The byproducts of fermentation (acids and alcohols) develops the flavor of the dough as well.
| Proofing Time | Temperature | Taste and Texture Outcome |
|---|---|---|
| 1-2 hours | Room Temp (68-75°F) | Slightly enhanced flavor, basic texture, good for quick recipes. |
| 4-6 hours | Room Temp (68-75°F) | Improved flavor depth, more complex texture, airier crust. |
| 8-12 hours | Cold (Refrigerator, 35-40°F) | Noticeably better flavor, well-developed gluten network, chewy and airy texture. |
| 24 hours | Cold (Refrigerator, 35-40°F) | Rich, nuanced flavor, excellent texture, professional-quality crust. |
| 48 hours | Cold (Refrigerator, 35-40°F) | Maximum flavor complexity, superior texture, highly developed and nuanced crust. |
Why A Good Dough Ball Is Crucial For A Good Pizza
When your pizza dough is fully mixed, rested, and risen (or purchased from the grocery store), it’s time to shape it into a ball for final proofing. This step is arguably the most crucial when it comes to the quality of your pizza crust.
When pizza dough proofs, it undergoes a process of fermentation where the yeast consumes the sugars in the dough and produces gas. As this carbon dioxide gas is produced, it gets trapped in the dough, causing it to rise and become lighter and fluffier. This process also produces various acids and alcohols which contribute to the flavor profile (and smell) of the baked crust.
Proofing is arguably the most essential step in the dough prepping process because it helps to develop the gluten network in the dough, which gives it its structure and texture. This also gives the gluten time to relax, allowing for easier stretching by hand.
Note: If you skip (or rush) this step, the dough will snap back into a ball every time you try to stretch it out. You’ll also end up with a pizza that bakes into a flat, dense crust.
Related Post: How To Stretch Pizza Dough
Related Questions:
Why are my pizza dough balls not holding their shape?
If your pizza dough balls are not holding their shape, it likely wasn’t shaped correctly in the first place. Start by lightly coating your hands with olive oil then fold and pull the dough against the surface of the counter until the skin of the dough is tight and smooth looking. Then use both hands in opposite directions to round out the shape of the dough into a ball. If you need help, refer to the following video.
Why are my pizza dough balls sticky and rough?
If your pizza dough ball are sticky and rough, you probably overhandled it trying to get the shape to be perfect. In this case, cover the dough ball back up and let it rest again for 15 minutes to reset the gluten. Then, lightly coat your hands with olive oil and start over with the proper technique. For instructions on how to properly shape pizza dough into a ball, refer to the how-to above, or watch my video.
Can I refrigerate my pizza dough ball after shaping?
If you don’t plan on immediately using your pizza dough ball after proofing, you can put it in the fridge for up to 24 hours. Just make sure to take the dough ball out of the fridge and let it rest at room temperature for 3-4 hours before baking, or until it’s relaxed and reaches room temperature.
If you want to use the dough ball past 24 hours in the fridge, I recommend reshaping it into a ball again to reset and strengthen the gluten back up.
What size does a 250 gram dough ball make?
In general, a 250g dough ball will make an approximately 10-12 inch pizza. However, this ultimately depends on how thick or thin you want your crust: a thicker crust will give you a smaller pizza, and a thinner crust will give you a bigger pizza. 10-12 inches is assuming a normal pizza crust thickness.


