How To Use A Pizza Pan With Holes In It: Benefits and Key Differences of perforated Pizza Pans
Traditionally, homemade pizza was made using a “pizza pan”, which is basically a round metal pan the shape of a pizza. But these pans actually block the oven’s heat and don’t cook the crust very well. While not nearly as efficient as a pizza steel, a pizza pan with holes in it solves this problem.
A pizza pan with holes in it, also known as a perforated pizza pan, is better because it let’s the bottom crust come in direct contact with the oven’s heat. To use a perforated pizza pan, simply prepare the pizza on the pan as you would any other, and place it on the bottom rack of your oven.
In the following short article, I’ll explain the benefits of a pizza pan with holes in it and show you how to use one. I’ll also compare and contrast this method to other well-known pizza making tools like pizza stones and steels.
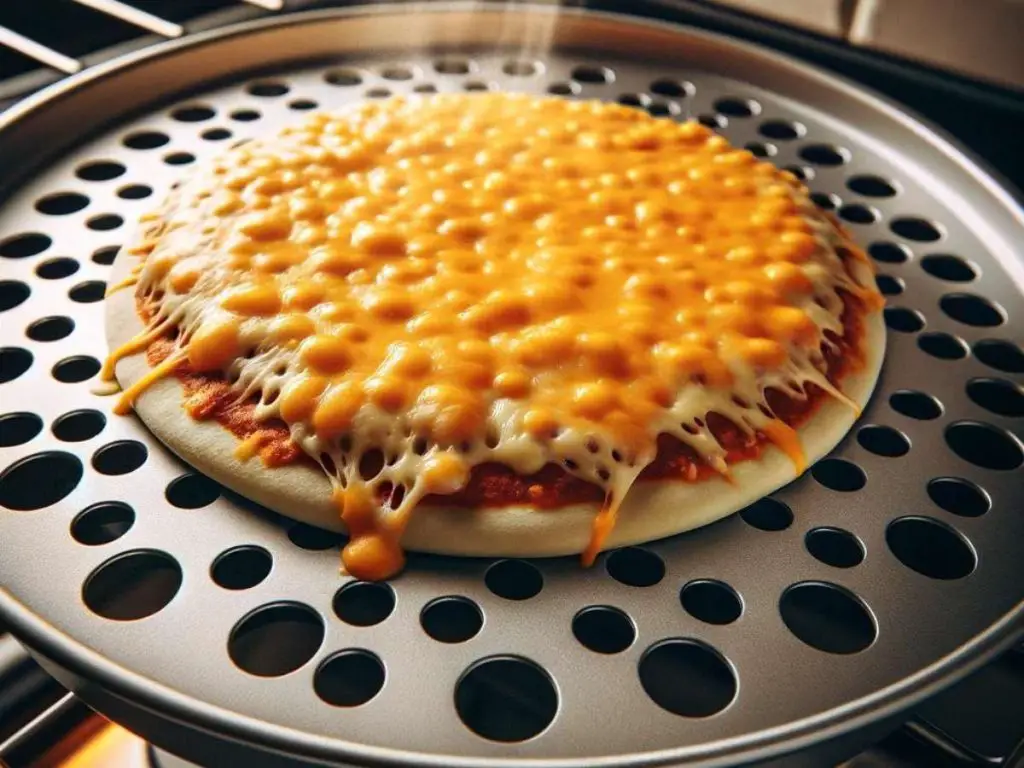
Benefits of a pizza pan with holes in it
Most pizza pans actually hinder the cooking of a pizza crust simply because they block the hot air of the oven from crisping the bottom of the pizza. The crust won’t even begin to cook until several minutes into the baking process when the pan has had a chance to heat up.
A pizza pan with holes solves this undercooking problem by letting hot air circulate under the pizza crust almost immediately when placed in the oven. For even better results, place the pan on the bottom rack as close to the heating element as possible.
Pizza Pan With Holes Vs Pizza Stone
A pizza stone is generally accepted as the best way to mimic professional pizzeria style pizza in a home oven. This is because the stone gets super-hot and begins to cook the underside of the pizza crust immediately upon contact with the dough.
I love using my pizza stone for Neapolitan and NYC style pizza and you can read my guide on how to use a pizza stone here.
But pizza stones are not super easy to use for beginners. For one, they require the use of a pizza peel which takes some practice learning how to slide the dough easily without sticking. Pizza stones also require preheating for an hour or two before use, which pretty much eliminates satisfying a last minute pizza craving.
This is where a perforated pizza pan can come in handy. They don’t require the use of a peel, only require preheating the oven for 10-15 minutes, and they actually manage to cook the underside of the pizza unlike most pans.
Pizza pans with holes in them are actually a little bit of a pizza making hack when you don’t have a stone available. It’s never going to work quite as well as a stone, but it comes surprisingly close with a lot less effort and preparation.
How to use a pizza pan with holes
To use a pizza pan with holes in it, or a perforated pizza pan, you’ll first need a proofed ball of dough to work with.
If you need a pizza dough recipe, you can use my recipe here. My recipe has instructions for how to ball and proof the dough as well so be sure you’ve got that covered first if you want the best results using your perforated pizza pan.
- Preheat your oven: Usually between 400-500F, for at least 20 minutes.
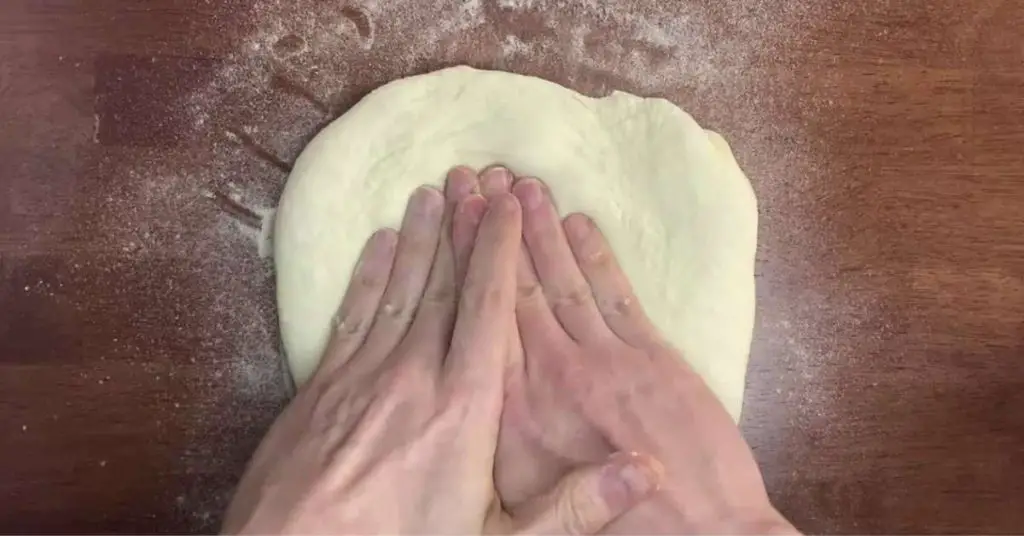
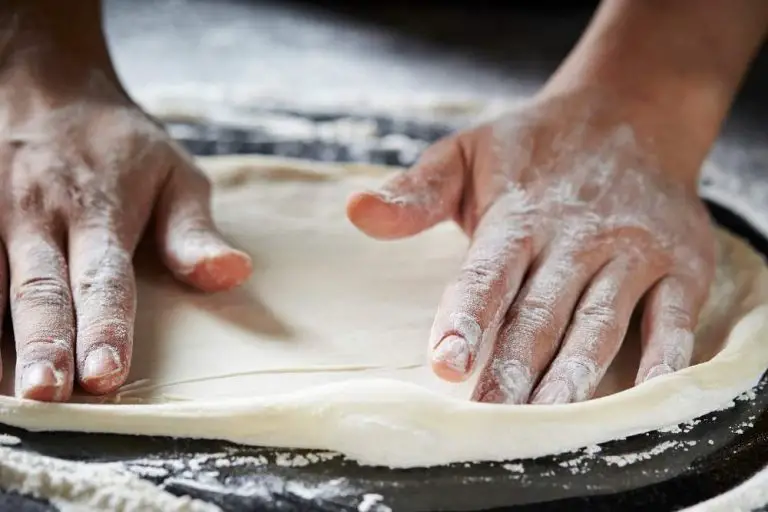
- Shape the dough: I recommend doing this by hand, but you can use a rolling pin as well. To do it by hand, start by pressing the dough ball in the middle and gently push the air into the outer edges. This will only work if the dough ball is relaxed and has been fully proofed.
- Lightly oil (or spray) the bottom of the pan to prevent sticking.
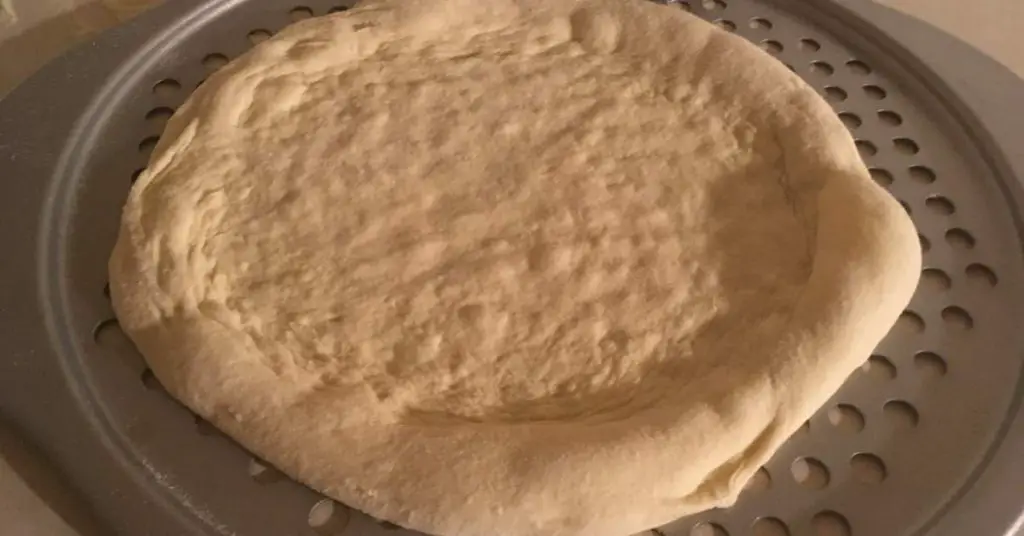
- Transfer dough to the pan: When the dough is stretched to your liking, gently transfer it to the pizza pan with holes in it. Remember that the dough tends to sink into the holes on the pan, so try not to pull it or stretch it too much once it’s been placed.
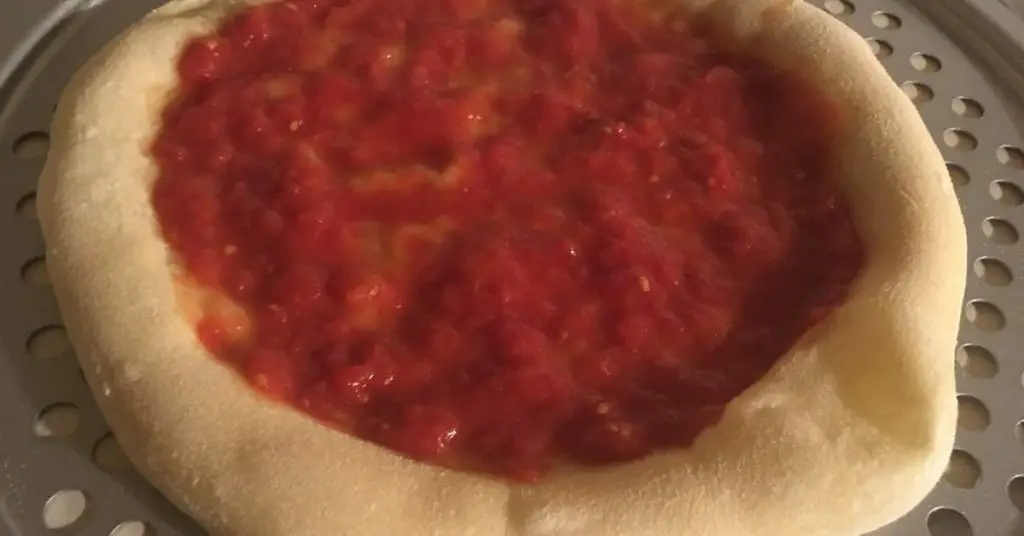
- Add sauce and toppings: This is completely up to you, but I recommend not going too heavy on the toppings.
- Optional: Depending on your oven, you might want to pre-bake the crust until you get some slight browning (with or without sauce) before adding cheese and other toppings. This gives the crust time to cook in advance so that you don’t end up burning your cheese and toppings. This step isn’t necessary if you’re using a pizza steel or pizza stone.
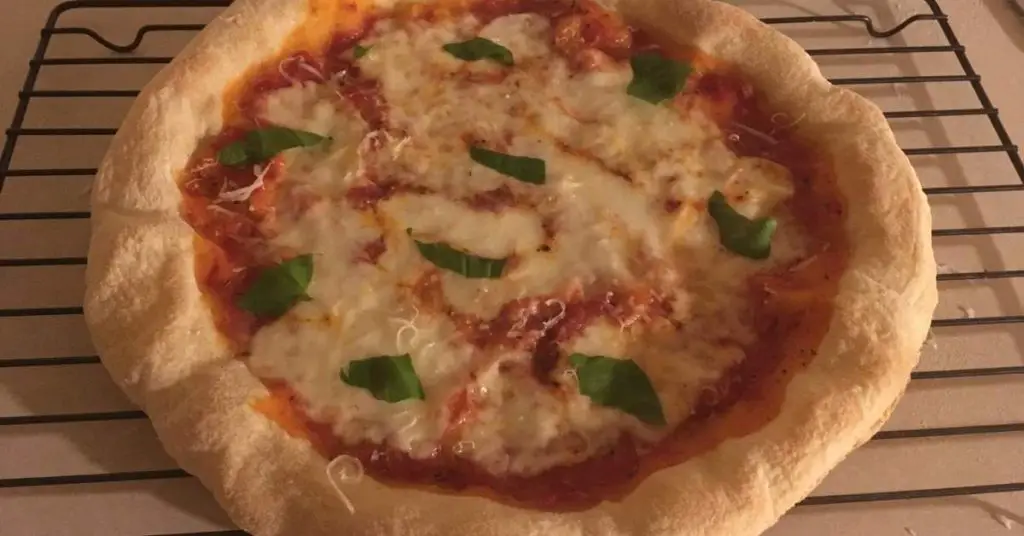
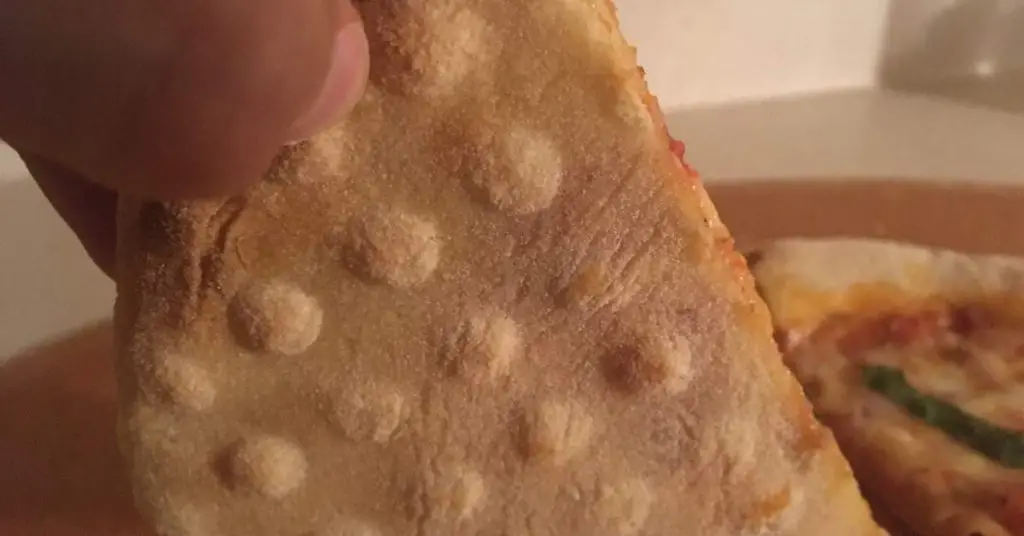
- Bake the pizza: This will also depend on the heat of your oven, but you can expect it to take up to 10 minutes. Much longer than this will probably overcook your toppings, so you want to monitor it carefully. What you want to see is some browning on the bottom of the crust (where the holes are) and melted, bubbly cheese.
Perforated Pizza Pan vs Pizza Screen
Some people confuse perforated pizza pan with the kind of pizza screens that places like Domino’s and Pizza Hut use to cook their pizzas. While they might seem similar to the untrained eye, actually have several key differences.
A perforated pizza pan is a solid pan with holes for airflow, while a pizza screen is a mesh-like surface, offering more direct heat exposure and air circulation for a crisper crust.
- Material and Construction:
- Pizza Screen: Made of mesh-like wire material. Simple, right? It’s just a flat, round screen, seamlessly designed.
- Perforated Pizza Pan: These are metal, usually aluminum or steel, and they have holes. Lots of them. It’s a solid pan, with a rim, and holes punched in – not rocket science.
- Heat Transfer:
- Pizza Screen: It’s all about excellent heat transfer here. The air flows right through, cooking the crust evenly and quickly.
- Perforated Pizza Pan: The holes do help to create a crispy crust, but it’s not as uniform as a screen. I mean, there are solid parts between the holes – obviously, it’s not going to be perfectly even.
- Handling and Durability:
- Pizza Screen: Lightweight, easy to handle, but not the toughest kid on the block. It can warp or lose shape if you’re not gentle.
- Perforated Pizza Pan: These are more durable. They keep their shape well, but they’re heavier. So, handle with care, unless you want dents.
- Ease of Cleaning:
- Pizza Screen: A bit of a pain to clean, let’s be honest. Food and cheese get stuck in the mesh. If you’re not up for the cleaning challenge, maybe think twice.
- Perforated Pizza Pan: Easier to clean, especially if it’s non-stick. A smoother surface means less hassle. It’s not a big deal, really.
- Usage:
- Pizza Screen: Best for thin-crust pizzas and fast-paced kitchens.
- Perforated Pizza Pan: More versatile, good for different pizza types, including thicker crusts. It’s suitable for anyone, really, even if you’re not a pizza expert.
- Crust Outcome:
- Pizza Screen: Expect a uniformly cooked, crispier crust. It’s all about that direct heat exposure.
- Perforated Pizza Pan: You’ll get a crispy crust, but not as uniform as with a screen. There will be crispier spots where the holes are. It’s not perfect, but what is?
Final Thoughts
So there you have it – an easy and quick alternative to the standard pizza stone method that produces a surprisingly decent pizza.
That being said, I won’t be getting rid of my pizza steel anytime soon.
The biggest drawback with using the pan compared to a stone is the lack of heat coming from the bottom. The holes help with this but it only goes so far.
I find that when baking on a pan, the top of the pizza tends to get a bit overdone while the bottom remains fairly pale. It also takes some practice to get the pre-baking stages timed correctly.
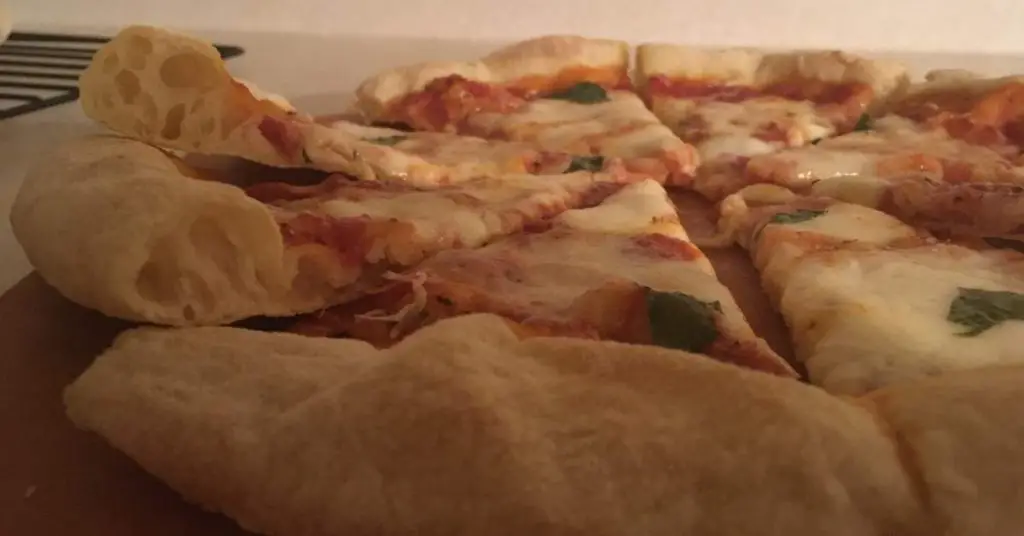
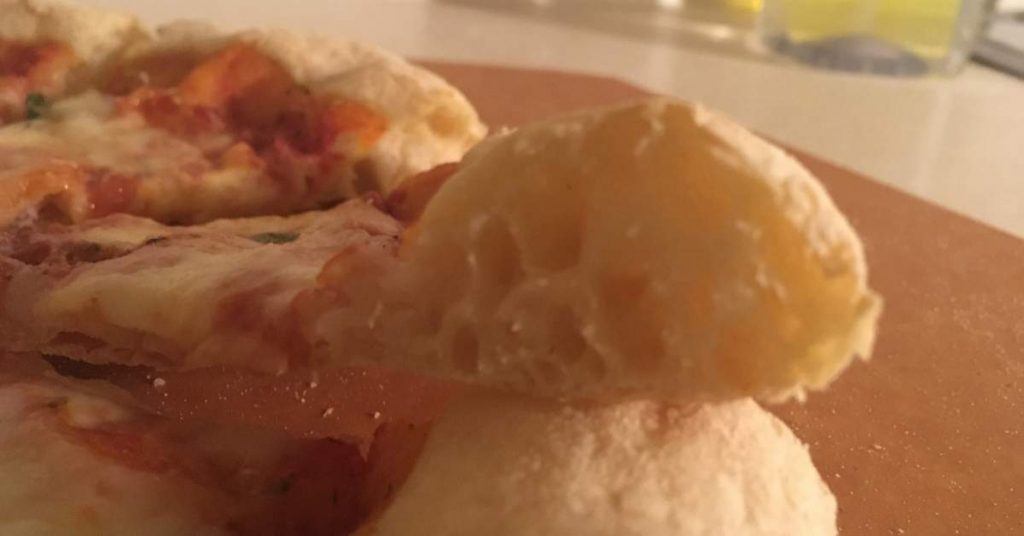
But all that being said, a pizza pan with holes in it still produces a great pizza.




hey question – what would happen if you put the pizza pan on the stone to bake? would it damage the pan or the stone?
Good question!
There shouldn’t be any problem putting the pizza pan directly on the hot pizza stone. In fact, that’s something I frequently do when making Detroit style pizza. It will probably help the pizza cook faster on the underside, which is a good thing.
However, with that being said, for this type of pizza, if you’ve gone through the trouble of preheating the stone, it might be better to bake the pizza directly on the stone without the pan instead. Or at least transfer the pizza to the stone halfway through the baking process once the dough has solidified.
In general, the purpose of using the pizza pan with holes in it is to avoid the hassle of preheating a stone.
But in either case, putting the pan directly on the stone shouldn’t pose any problems or risks at all. If anything it will be an improvement over the pan itself.
Thank you. This tip to cook crust first made my home made pizza even better!!
You’re welcome, Iris. Par-baking is the secret to amazing homemade pizza!
Hello,
Should the perforated pan be oiled to prevent the crust from sticking? Also, thanks for the article! Does it make a difference if I’m using homemade gluten free pizza crust?
Hi Bridgette, thanks for the question!
If you’re using semolina flour to stretch the dough before transferring it to the perforated pan, you shouldn’t need anything else to prevent sticking. That said, there’s no harm in adding oil, and it might even help to brown the bottom of the crust as it cooks. Just keep in mind that once the bottom of the dough touches the oil, it might be a little harder to stretch, so make sure it’s completely relaxed and stretched out before adding it to the pan.
Hope that helps.
-Dom
Hi there, any thoughts as to why my pizza stuck to an oiled perforated baking pan, that was placed on a pizza stone to bake? So frustrating. I could see the dough was stuck along the sides of the holes. And, what are your thoughts about rolling out the dough with a rolling pin. I just can’t seem to get the knack of stretching the dough. Signed, ‘still trying to master that perfect pizza!’ Thanks
Hey Mary. Sorry for the delay in replying to your comment!
It’s tough to say exactly why your pizza stuck to the pan without seeing it, but my guess is the dough sunk too low into the holes and adhered to them. This can happen if you let it sit too long before baking it, or if you load the pizza with too many toppings. My advice is to try using fewer toppings/sauce, or even just work faster before you place it into the oven. Also, be sure that the holes are completely free of any baked on debris or residue from previous cooks.
What temperature do you cook the pizza in a home gas oven? Is the temp. the same when you pre cook the dough for 3-4 minutes?
Hi Johnny. In a regular home oven, I always set the temperature to the maximum. The higher the better (unless you’re making Detroit or Sicilian style). You can do the same whether you’ve par-baked the crust or not. Good luck!
To oil / not to oil. Last Night : Be Brave…No Oil using light weight, perforated metal pizza pan. Sprinkled the pan lightly with flour used to make and roll the pizza dough. Into the oven at 500 degree…..NO STICK ! Yahoo!
Great work Susan. Sometimes making pizza requires a little bit of courage to get it right!