How To Use A Pizza Peel: Step by Step Guide
When I first started my pizza making journey years ago, I stuck with pan pizza because I was scared of using a pizza peel. The idea of sliding a sticky pizza dough onto a red hot pizza steel in one shot (without making a smoky mess of my oven) was terrifying. Thankfully, using a pizza peel isn’t difficult at all with the right preparation. In this article, I’m going to show you how to use a pizza peel by doing just that.
The key to successfully using a pizza peel relies on two things: a fully proofed, well-floured pizza dough ball, and a properly stretched pizza dough. When you have these two things covered, you don’t have to worry about sticking. From there, launching the pizza from the pizza peel into the oven comes down to a simple flick of the wrist.
This set of instructions will go over briefly (but rely heavily upon) the process of proofing a dough ball and then stretching that dough ball by hand. When done correctly, you’ll never have any problems using a pizza peel again. If you need more detailed instructions on how to do either of those things beyond what I’ve explained here, you can read my tutorials on how to ball dough and how to hand stretch pizza dough here.
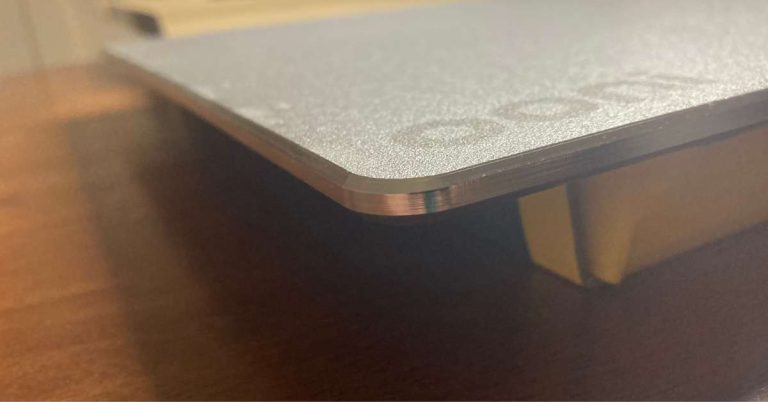
Tip: If you need a pizza peel, I like this simple wooden pizza peel when making pizza in my home oven. If you’re using a pizza oven, Ooni has some great pizza peel options here. Just make sure any pizza peel you buy isn’t too big to fit into the opening of the oven or it won’t work. You’ll also need flour for dusting, so if you need some you can find premium quality semolina flour here.
How To Use A Pizza Peel Video
How To Use A Pizza Peel Tutorial
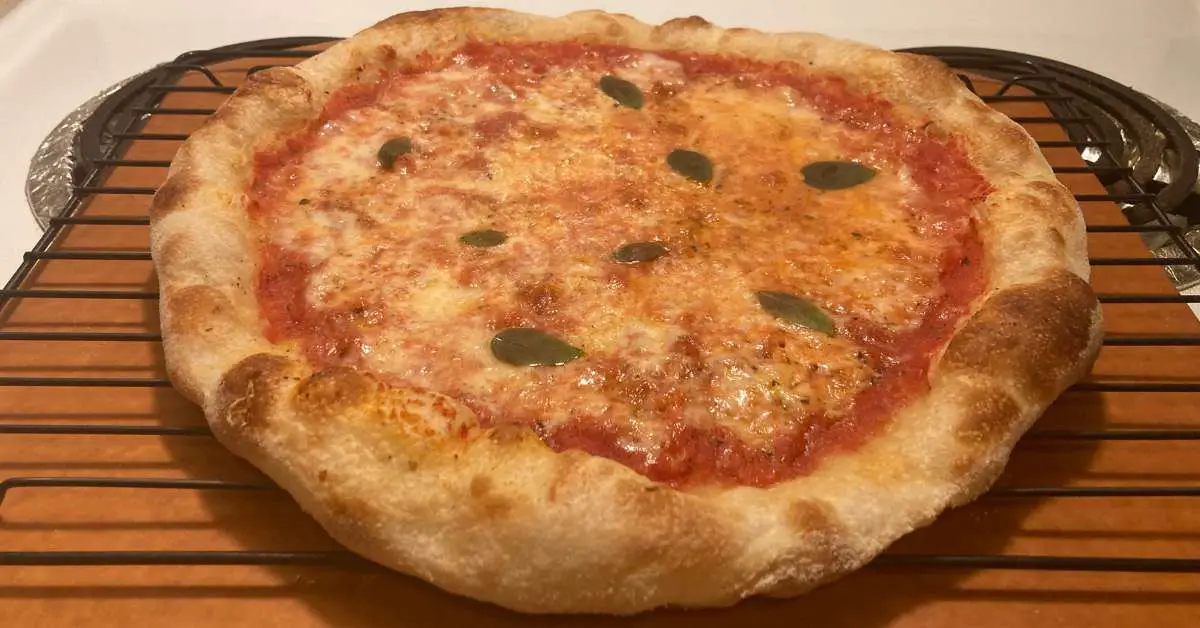
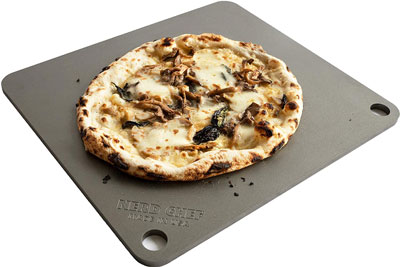
The only way to produce pizzeria quality pizza at home, without a pizza oven, is with a pizza steel (or stone). However, in order to use a pizza steel, you need to know how to use a pizza peel as well. This tutorial will show you how to do exactly that. No sticking, no mess.
Total Time: 5 minutes
-
Hand Stretch Dough
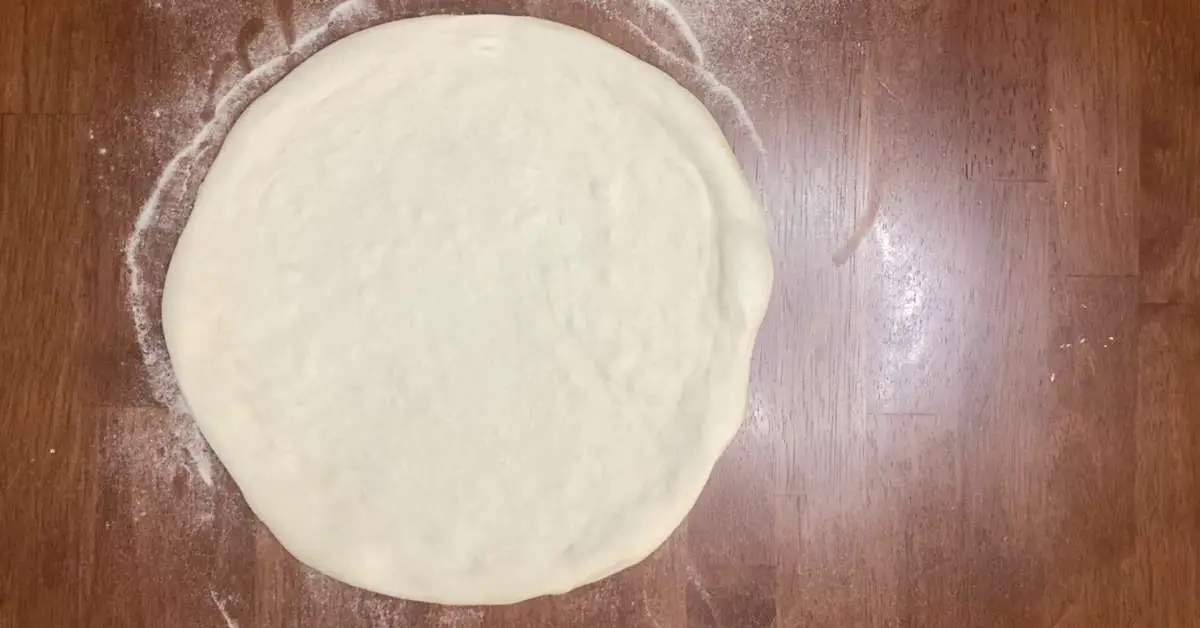
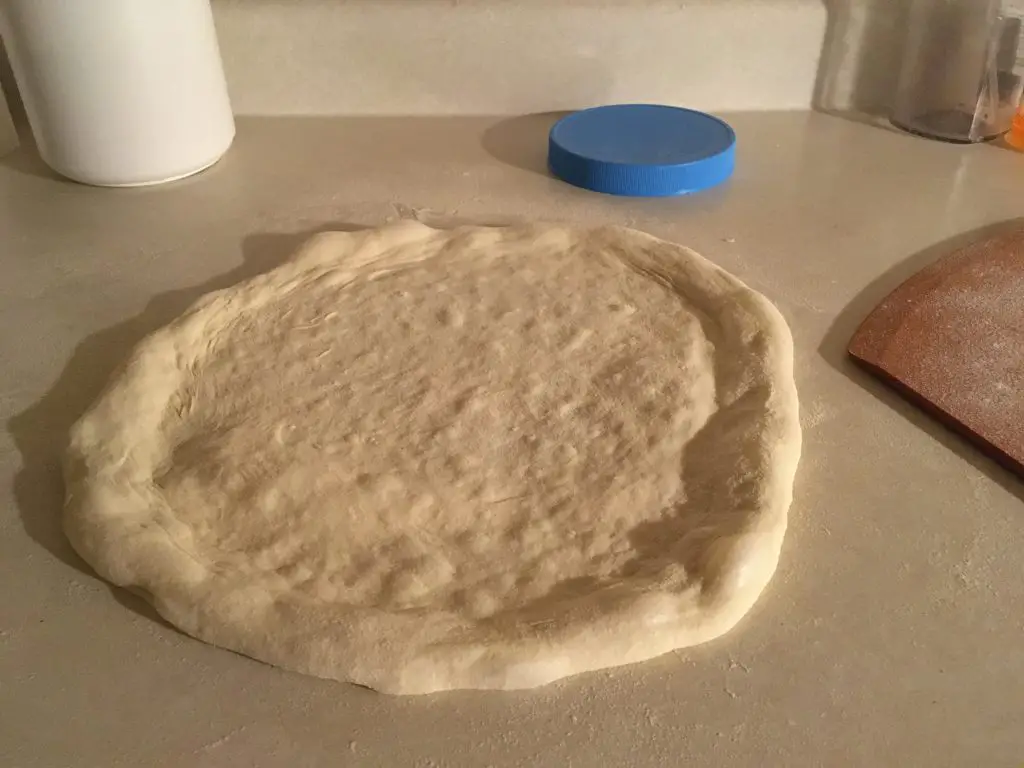
Stretch the pizza dough to your desired shape and size. If you need help with this step, refer to my tutorial on hand stretching pizza dough.
-
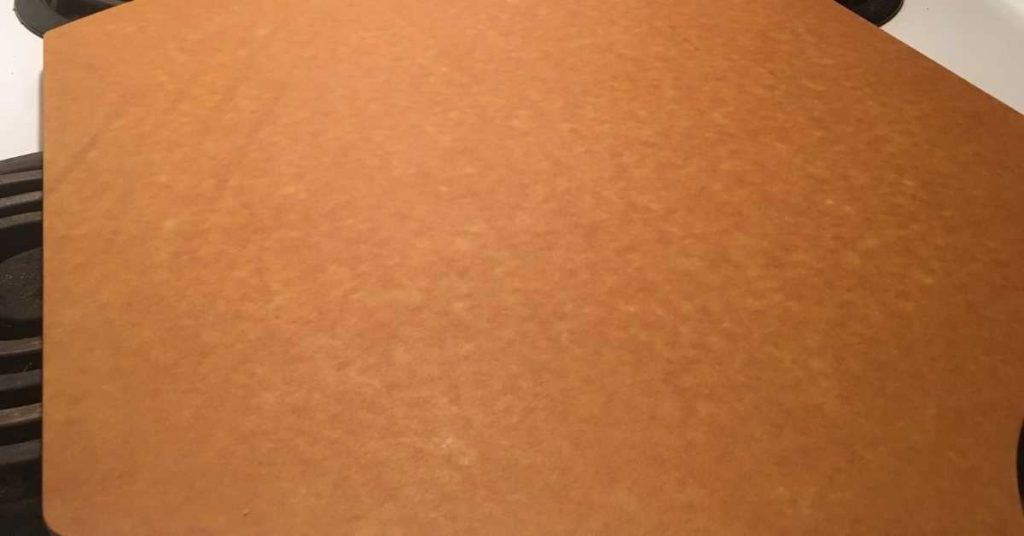
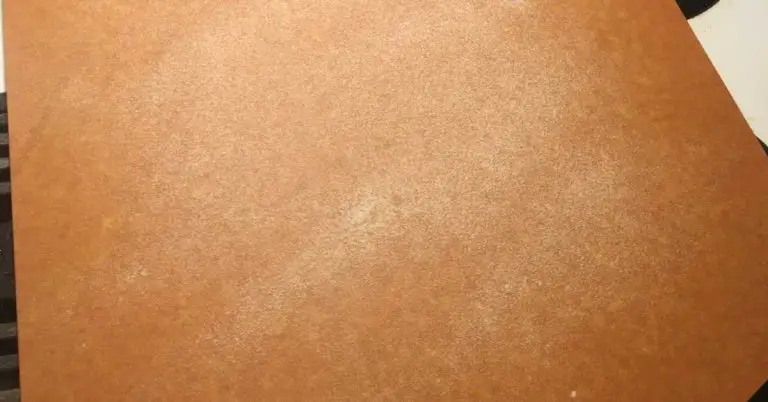
Dust, Align Peel With Dough
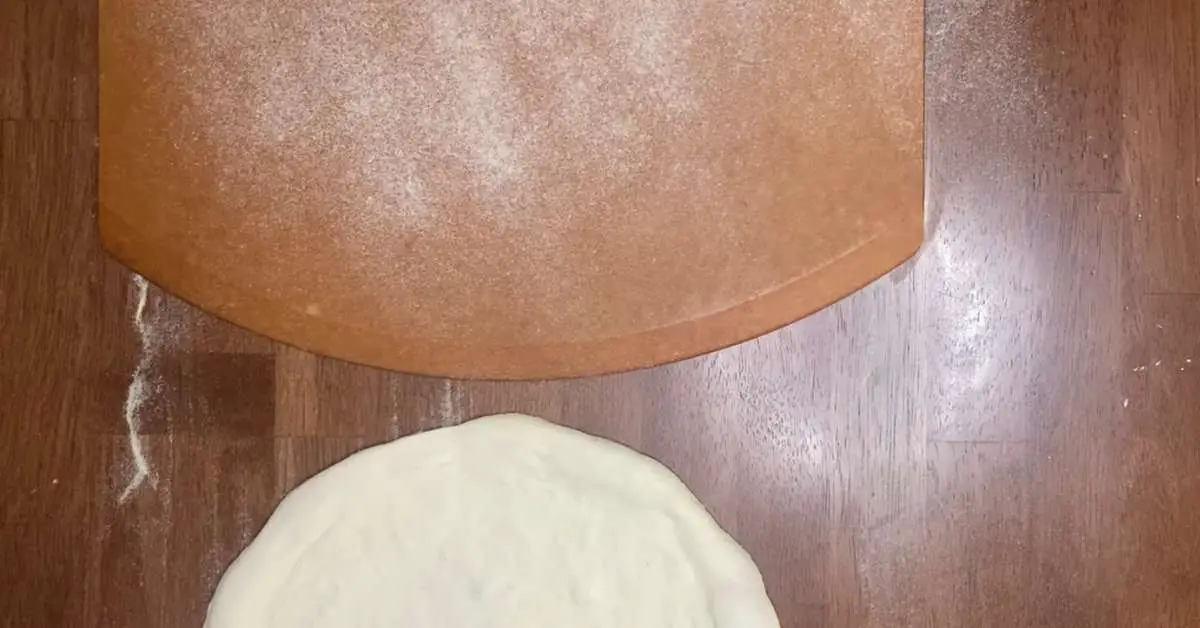
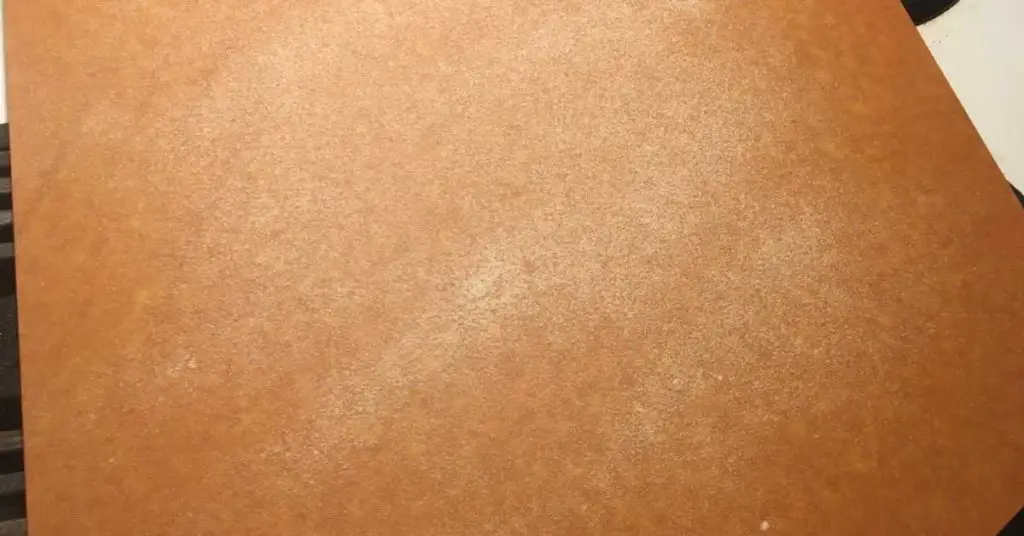
Lightly dust your pizza peel with semolina flour to make sure the dough doesn’t stick when it slides on or off. Align the front of the peel with the pizza dough.
-
Transfer Dough To Peel
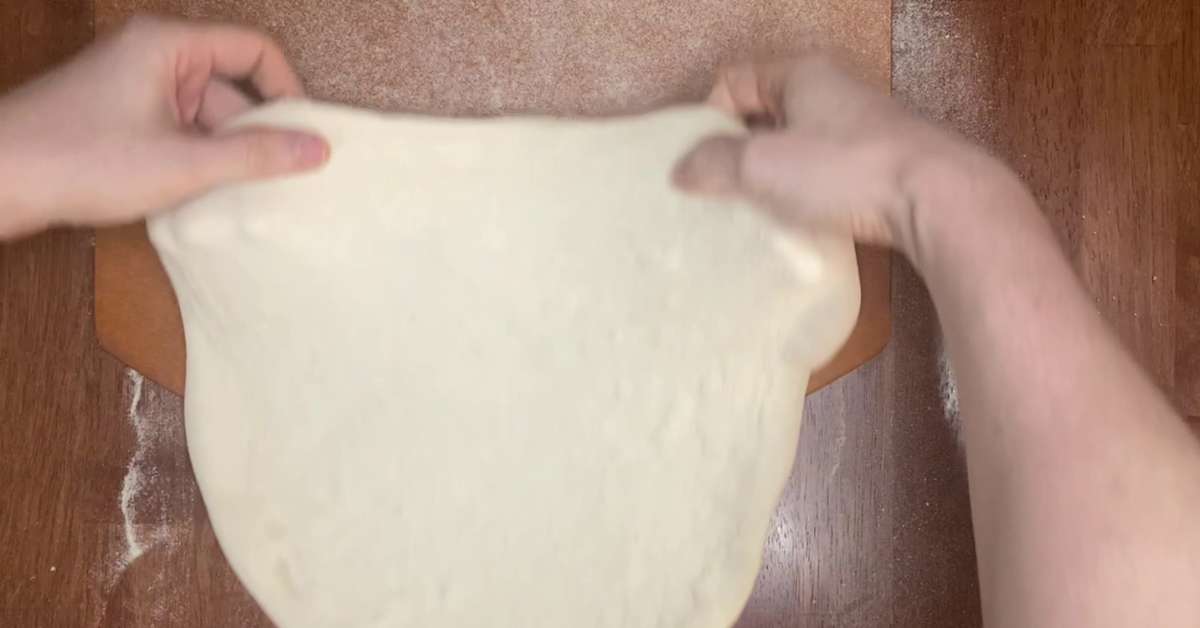
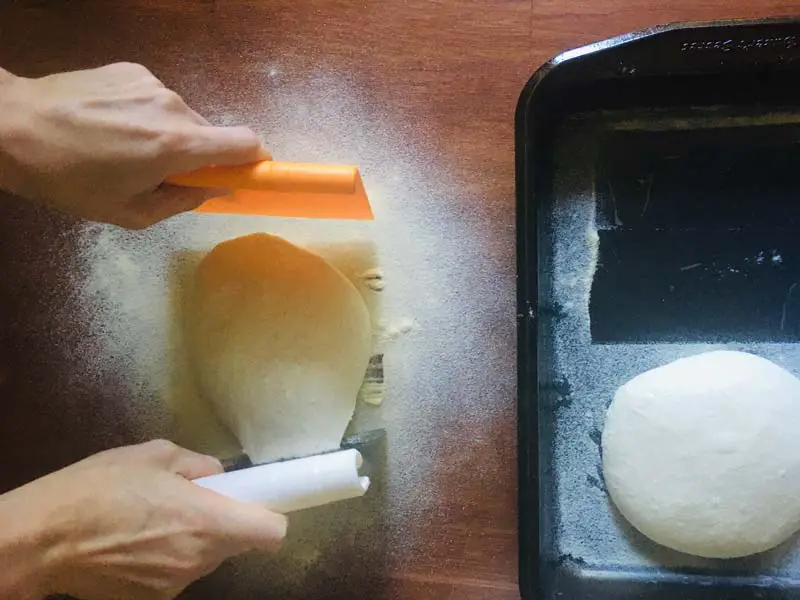
Using both hands, slide your fingers under the edges of the pizza dough and gently pull it towards the peel. Be careful not to puncture the dough as you pull. If all goes well, it should slide right on without a problem.
-
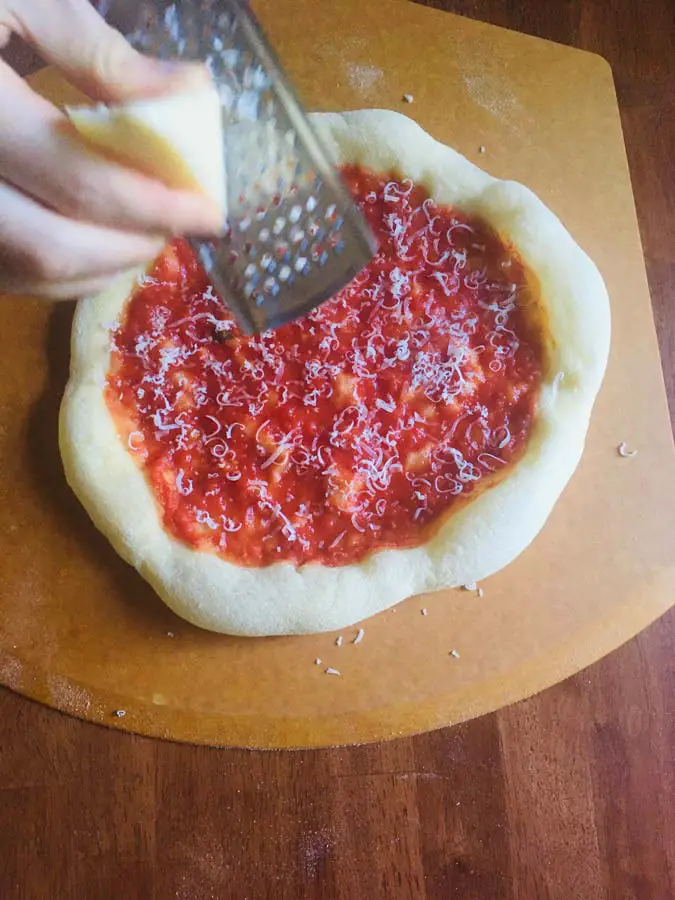
Add Toppings
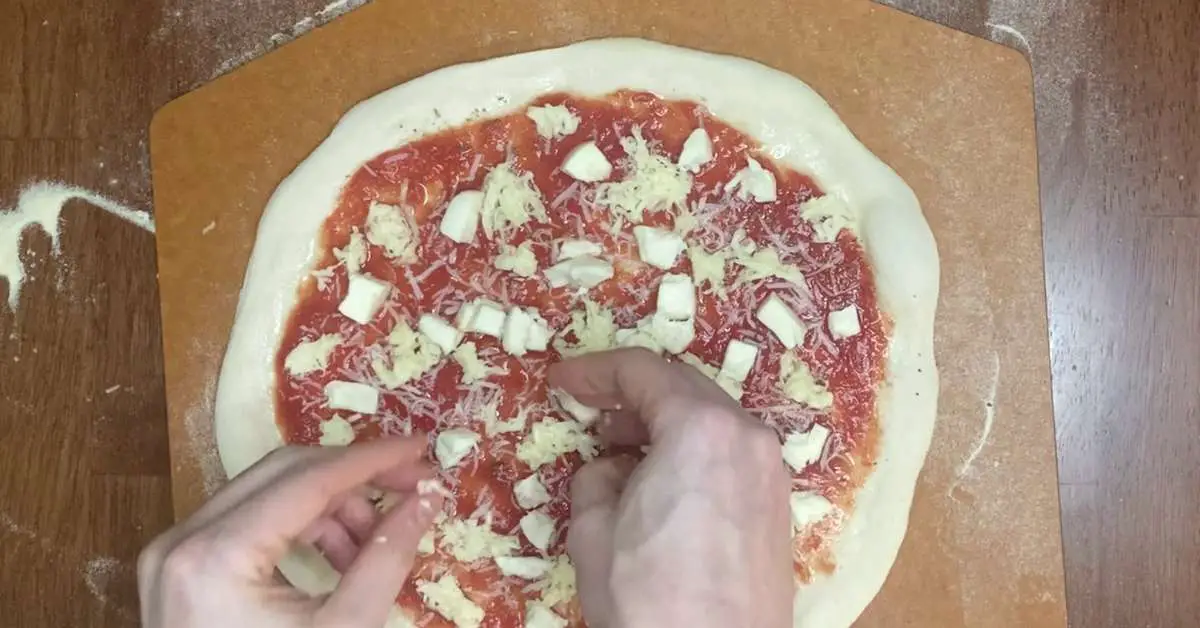
Working quickly, add sauce, cheese, and other toppings to the pizza. Make sure to have all your ingredients ready for this step in advance because the longer the dough sits on the peel, the more likely it is to stick.
-
Shake, Test For Sticking
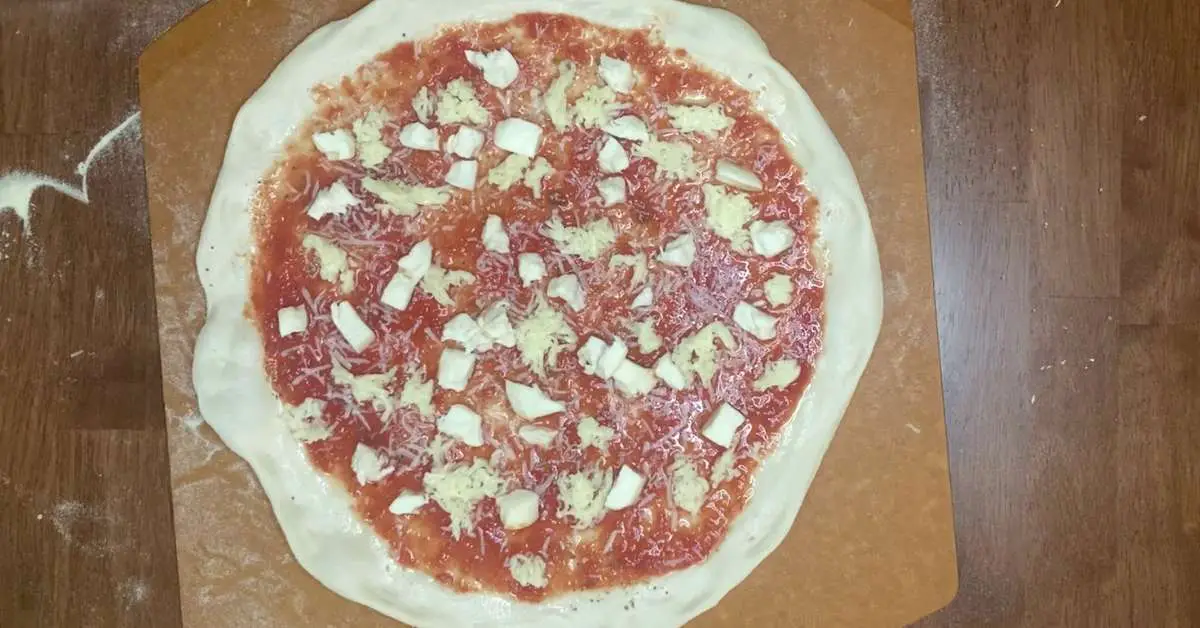
When the pizza is topped and ready to bake, give the peel a gentle shake to make sure it isn’t sticking in the front or back. If it is, use a flat spatula coated with flour to unstick it. You can also use a piece of dental floss to get more flour into hard to reach places under the dough. But if you’re working fast and followed all the steps from before, sticking shouldn’t be a problem anyways.
-
Final Stretch
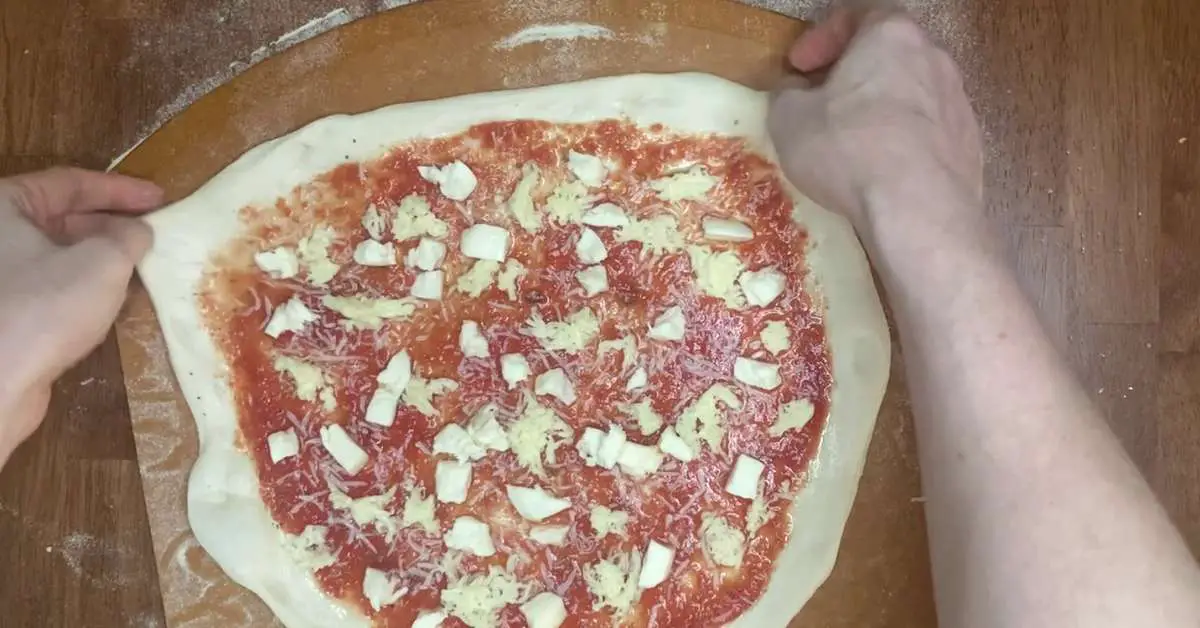
Pizza dough often retracts as you’re working on it, so when you’re satisfied it isn’t sticking, give it a final (and gentle) stretch to bring it back to your desired size.
-
Launch To Pizza Steel

Now for the most nerve-racking part: actually getting the pizza onto the pizza steel (or stone). To do this, place the tip of the pizza peel onto the back of the pizza steel at about a 45 degree angle. Then gently wiggle the pizza peel as you pull it back towards yourself. It should slide off fairly easily, but if it starts to stick you have to just keep going because there’s no turning back once any part of the dough hits the hot steel.
-
Step 8
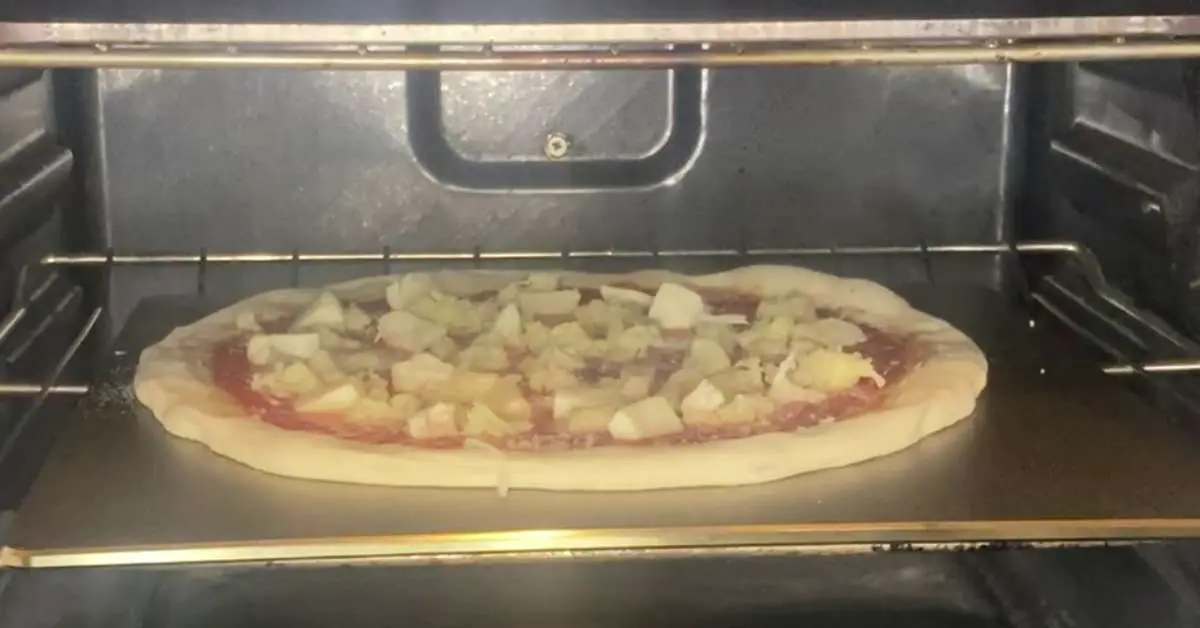
Congratulations, the hard part is over! Once the dough has set in the oven, it will be easy to take it out in one piece. Rotate the pizza halfway through the cooking process and remove it when the crust and cheese reach your preferred color/level of doneness.
Troubleshooting: Why You Struggle Using A Pizza Peel
Without making too many assumptions, I’m going to presume you’re here either because you’re unsure how to get started using a pizza peel, or you’ve tried already with disastrous results. Let’s first go over what usually goes wrong when using a pizza peel for the first time.
You Didn’t Proof The Pizza Dough
When you take a piece of pizza dough directly from the fridge (or a package from the grocery store) and start trying to work with it on the counter, it’s not going to work well for you. This is because the dough is cold, sticky, and (most importantly) too elastic. By elastic I mean, when you stretch the dough in one direction, it immediately starts to retract back into its original shape.
If you’ve ever tried to hand stretch cold pizza dough before, you’ll know exactly what I’m talking about.
But the real problem here is that when the dough ball hasn’t been properly proofed so that its gluten can relax, you’re going to have to handle the dough for a very long time before it gets into the shape you want. The more you handle pizza dough, the more the gluten network is disrupted, and therefore the stickier the dough becomes. A sticky dough will not slide off of a pizza peel like we need it to.
This is why it’s so important to ball and proof every single pizza dough ball before you use it, sometimes for several hours at a time. This is especially true if the pizza is initially cold, and by cold I mean anything colder than room temperature.
Shaping the pizza dough into a tight ball creates a seal around the dough so that gas can build up, which is what causes it to rise in the oven when baked. A round dough ball also helps tremendously when it comes time shape it into a disk, assuming you’re trying to make a traditional pizza.
But most importantly, during the proofing process the tight gluten bonds in the dough have a chance to relax. When this gluten relaxes, it becomes much easier to stretch and shape the pizza dough by hand with minimal handling.
All of this equals a pizza dough that not only tastes better and is easier to shape, but also one that is far less likely to become sticky when it comes time to sliding it off the peel.
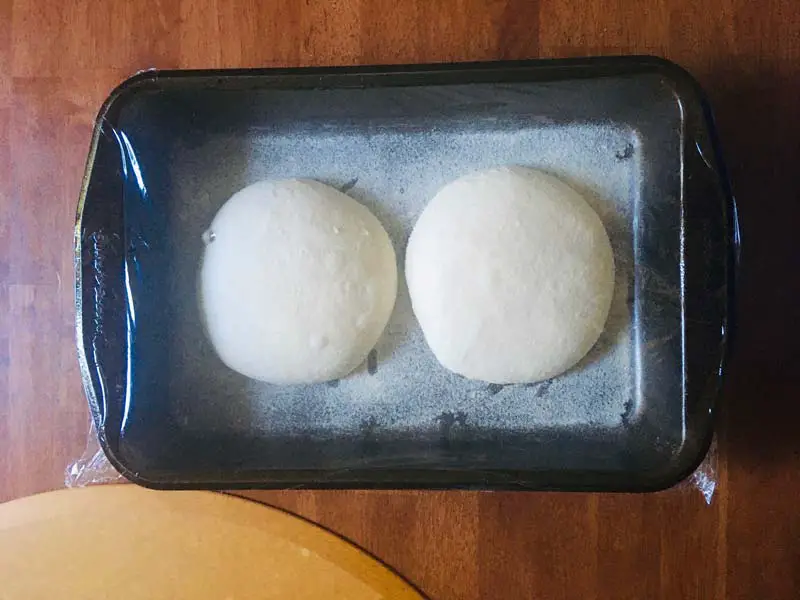
Balling and proofing pizza dough basically just involves forming the dough into a tight ball, then letting it rest at room temperature for 2-4 hours before shaping it into a pizza. If you need help with this step, read my instructions on how to ball and proof pizza dough here.
You Didn’t Give The Pizza Dough Ball A Flour Bath
Even with a properly proofed, tightly balled pizza dough, you’re going to run into trouble with sticking if you don’t shape or stretch it by hand correctly. Shaping pizza dough correctly doesn’t mean grabbing both ends and pulling, or even flattening it with a rolling pin. Fortunately, there’s a method to what might seem like madness.
When shaping pizza dough into a pizza, flour is key. Flour acts as a kind of “lubricant” between the moisture in the dough (which is what causes sticking) and the pizza peel. When used correctly, this flour will allow the pizza peel to glide effortlessly (and cleanly) off the pizza peel.
To begin, you’ll need some form of flour. In my experience, semolina flour works best because the rough grains help deflect moisture, as well as because the taste and texture is better than regular flour (or cornmeal). If you don’t have access to semolina flour, any kind of flour will do, but you can easily find premium quality semolina flour on Amazon.
To make sure the entire surface of the proofed pizza dough ball is covered, I drop mine directly into a large container (or bowl) of semolina flour. This is what’s called a “flour bath” because the dough is literally bathing in flour.
Next, I transfer the dough to a lightly floured counter top for stretching. I do this by pressing the dough from the middle and working outwards to push the air into the edges. This helps give the pizza is uniform round shape, as well as moves gas into the edges so they puff up in the oven.
Hand stretching a pizza dough by hand isn’t difficult, but it’s easier to demonstrate it visually than it is to explain it with words. I recommend everyone check out my tutorial on hand stretching pizza dough for step by step instructions along with video and pictures.
What Is A Pizza Peel?
When you see pizza makers on TV or in the movies, they’re often very skillfully transporting their pizzas from point A to point B using long flat paddles. Sometimes they’re even several feet long. These aren’t just movie props, though.
These “paddles” are called pizza peels, and they serve a very important purpose. A pizza peel is used to get the raw, flattened pizza dough onto the surface of a brick oven or pizza steel without losing its shape. Pizza peels are also used to retrieve a cooked pizza from the oven without burning yourself or needing to stick your hands inside a hot oven.
Pizza peels are such an essential tool for making pizza that I recommend everyone purchase one. And if you’ve ever tried to transfer an uncooked pizza into the oven using your hands or a couple of spatulas, you’ll find out very quickly that it doesn’t work. In fact working with raw pizza dough is basically impossible with a peel.
The only exception to this is, of course, pan pizza which bakes entirely in a pan and can be placed in and out of the oven using oven mitts. And while some styles of pan pizza are nice, like Detroit style, it’s usually a downgrade from doing it properly with a peel and stone.
So, let’s go over how to use a pizza peel, how to avoid common problems such as sticking, as well as some DIY and alternatives to commercial peels you can make at home.
How To Avoid Common Problems With Your Pizza Peel
Using a pizza peel isn’t difficult but there are some common problems people run into. Most of these problems have to do with sticking, especially at the final moment when sliding it onto the pizza stone.
1. Avoid sticking at all costs
Sticking is pretty much the worst thing that can happen to your pizza. It will cause your pizza dough to not slide off the peel at all, or worse, slide halfway off the peel and then stick causing your pizza to tear or fold all over the hot stone.
So do your best to recognize that your dough is stuck before you transfer to the stone. You can do this by shaking the peel slightly and watching closely that all parts of the dough are moving together. If one section seems to move slower on the pizza peel than the rest, practice caution and wedge some flour under there with a dough scraper to avoid a disaster.
Also, work quickly once the dough is on the pizza peel. Even a well floured dough will eventually begin to stick if left to sit on the peel too long. This also means if a portion of the dough is sticking slightly now, it will likely be completely stuck by the time you go to slide it off
2. Use parchment paper to slide the pizza dough off
You may have heard this suggestion before, and it’s a good one – with some caveats.
To use parchment paper to slide the dough onto the pizza stone, follow these steps:
- Prepare pizza on a large piece of parchment paper.
- Place the parchment paper with pizza onto the pizza peel. Make sure the underside of the parchment paper as well as the peel are completely dry to avoid sticking.
- Slide the entire parchment paper with pizza from the peel onto the pizza stone. Do this carefully as the parchment paper will slide very easily and quickly off the peel.
- Wait for 30 seconds to 1 minute then remove the parchment paper and let the pizza could directly on the stone. You should be able to easily remove it using a pair of tongs or spatula.
Step 4 is the most crucial step in this process despite many recipes that call for baking the pizza on the parchment paper for the entire time. Most consumer parchment paper are not capable of holding up to the heat of a pizza stone and will burn. It can also disintegrate and you’ll wind up eating microscopic bits of it in your pizza crust.
Tip: Most parchment paper isn’t strong enough to stand up to the temperatures of a preheated pizza stone, so remove it as quickly as possible to avoid setting off your smoke detectors.
It’s also just a bad idea to have anything in between your pizza dough and the hot pizza stone. This is where the delicious texture of the crust comes from and the parchment paper is just getting in the way. So use it as a tool to get it on the stone and remove it as quickly as possible.
3. Par-bake your crust to make sliding it on the stone easier
Par-baking your pizza crust is a great and underutilized option for anyone baking pizza in a home oven, especially if you’re a bit squeamish about sliding the pizza dough off the peel.
You’ll find that sliding a pizza dough off the peel is much easier when the crust is completely plain. This makes the dough lighter and less prone to sticking than it is with toppings on it. It’s also easier to make up for mistakes when you don’t have pizza toppings falling on the hot stone.
To par-bake your pizza crust, do the following:
- Prepare your pizza dough as usual but without any toppings.
- Slide the dough onto the hot pizza stone.
- Take the par-baked crust out of the oven as soon as the outer edges have puffed up. This should take around 2 minutes.
- Top your pizza as you would normally and bake until the crust is very lightly browned.
Par-baking also has the benefit of getting a nice well-done crust without the burnt toppings, since toppings tend to cook faster than the dough bakes. I actually do this all the time myself when making Neapolitan style pizzas which just isn’t the same with burnt cheese.
4. Practice to improve your pizza dough sliding skills
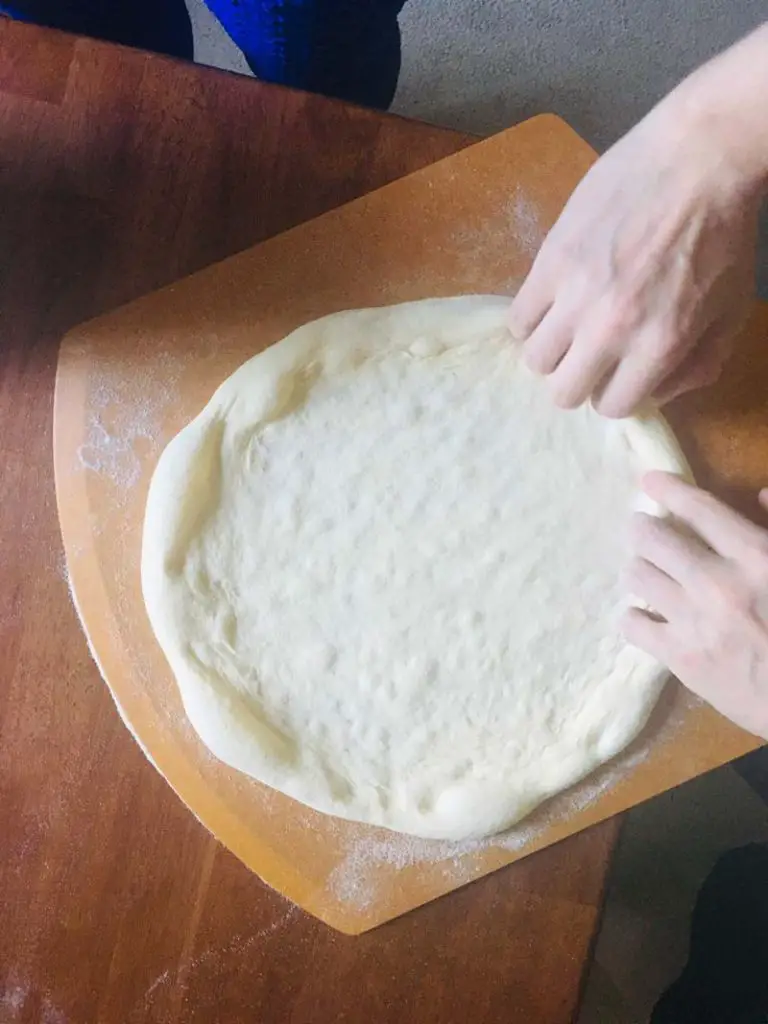
Using a pizza peel is easy but it takes practice to really master it. So if you’re only making a homemade pizza once in a blue moon, you’re never going to really master the technique or achieve the perfect pizza.
This is why I recommend taking some time out to practice sliding the dough off the peel. You can do this by making an extra big batch of dough and simply practice sliding the pizza dough on and off your countertop. Then when you’ve built up enough confidence, you can practice doing the same thing but on a hot pizza stone.
Before long you’ll find that it’s a lot easier and your pizza crust will turn out lighter and fluffier now that you’ve managed to get the dough off without a fuss.
Pizza Peel Alternatives
Pizza peels aren’t particularly expensive, but there are times when you don’t have one available to you for whatever reason. If this happens, there are a couple of things you can use in its place.
These are a few of the things you can use in place of a pizza peel:
- A large cutting board
- An upside down baking or sheet pan
- A stiff piece of cardboard, as long as it’s completely smooth.
I’m sure you can use your imagination to think up some more items around your house that could serve as a makeshift pizza peel. But think about purchasing a nice pizza peel, especially a large flat one, because it really makes the whole process easier.
Wooden Vs Metal Pizza Peel
Most of the pizza peels available for sale are made out of wood or metal. Either of these materials are going to perform well as a pizza peel, but there are a couple of differences.
Wooden peels are generally better at preventing sticking when sliding. This is because wood is better at absorbing moisture, whereas any amount of liquid will pool on metal.
Some metal peels slightly make up for this fact by having lots of small holes to prevent sticking as well as a way to prevent excess flour getting on the pizza stone.
That being said, a wooden peel can only absorb a small amount of moisture and if you’re dough is sticky it will stick to any material. So I wouldn’t consider the material a major factor when deciding on a pizza peel to buy.
The main factor to consider when picking out a pizza peel is the width. A thin pizza peel works better and makes sliding the pizza dough on and off the pizza stone much easier.
How To Clean A Pizza Peel
Make sure you keep your pizza peel as clean as possible between uses because any residue or debris that gets stuck to it will cause sticking the next time you make a pizza.
I generally just use a wet cloth and warm water to gently rub off any dirt or grime from my pizza peel. If something is really stick to it I’ll use a some vinegar and paper towels.
Just be sure not scrub with anything too abrasive that will make the peel less smooth and you should be fine.
Final Thoughts
A pizza peel is necessary if you’re going to use a pizza steel or stone. After all, without one there wouldn’t be any way to get the dough to it safely
But if your pizza does fail to launch correctly and falls folded or twisted on the steel, wait about 10-20 seconds and it might slide easily back onto the peel where you can hopefully fix it. This gives the dough enough time to dry and solidify every so slightly so that it can dislodge from the surface.
But if prepared properly, your raw pizza dough shouldn’t have any problems sliding from the pizza peel to the pizza steel without sticking. Just make sure you’re using plenty of semolina flour.
And whether you use parchment paper or some kind of DIY or alternative pizza peel, as long as your pizza gets on the steel (or stone) in one piece, you should be good to go.
Related Questions:
How do you keep pizza dough from sticking to the peel?
The key to avoiding pizza dough sticking to the peel is flour and a properly shaped dough ball. By shaping your pizza dough on top of a pile of semolina flour, you’ll coat the wet surface of the dough in flour and avoid sticking. I also recommend lightly dusting your pizza peel in semolina flour before placing the dough on top for an extra layer of protection. When you follow these steps, your pizza dough will easily glide off the pizza peel.
How do you use a wooden pizza peel?
A wooden pizza peel is used just like any other kind of pizza peel. In fact, a wooden pizza peel has some advantages over metal because it can absorb a small amount of moisture and prevent sticking. To use a wooden pizza peel, just like any pizza peel, dust it with a small amount of semolina flour and work quickly to prevent the dough from settling and sticking.
Should I oil my pizza peel?
You should absolutely, under any circumstances, oil a pizza peel. Pizza dough needs to glide effortlessly off of a pizza peel, and oil (just like any other liquid) will create friction and prevent the dough from launching. Oil will also introduce fat to the pizza steel or pizza stone, which can potentially damage it. Instead, you should always use flour (preferably semolina flour) to prevent your pizza from sticking to the peel.
What do you dust pizza peels with?
You should only ever dust a pizza peel with flour. Any kind of flour will work in terms of preventing sticking, but I recommend using semolina flour because of its superior ability to shield from moisture, as well as its better taste and slightly crunchy texture. If you need semolina flour and don’t have access to it at your local grocery store, you can always buy high quality semolina flour from Amazon.
How much flour do you put on a pizza peel?
You should only ever need to use a small dusting of flour on your pizza peel to prevent sticking. For reference, you only need to use a small handful of flour, or maybe slightly less than teaspoon. But when in doubt, use as much flour as you think you need because nothing is worse than a pizza that’s stuck on the peel.
