Why Your Pizza Dough Is Too Hard, And How To Make It Stretch Easily
Making homemade pizza isn’t always easy, especially when it comes to shaping and stretching the pizza dough.
Here’s the problem most people run into: you pull, stretch, or flatten the pizza dough only to have it snap back into a ball. Many people think this happens because their pizza dough is too tough (or hard), but it’s actually the result of gluten that isn’t fully relaxed.
These are the most common causes of hard, tough pizza dough:
- You didn’t proof your pizza dough ball in advance (#1 cause)
- You didn’t proof your pizza dough ball long enough
- Your dough came directly from the fridge and is still cold
- You added too much flour to the recipe
- You used too much flour when kneading the dough
- You used too much flour when shaping the dough
- A combination of some or all of the above
The ideal solution to fixing hard pizza dough is simple: follow my guide to shaping and proofing pizza dough, complete with a full set of instructions and video tutorials. Shaping your dough into a tight ball, and proofing it for several hours in advance, is the best way to get a pizza dough that’s easy to stretch and isn’t hard or tough to work.
But if you’re interested in learning more of the details about why pizza dough becomes hard, and the role gluten development plays, keep reading.
Your Pizza Dough Is Hard Because The Gluten Isn’t Fully Relaxed, Needs Proofing
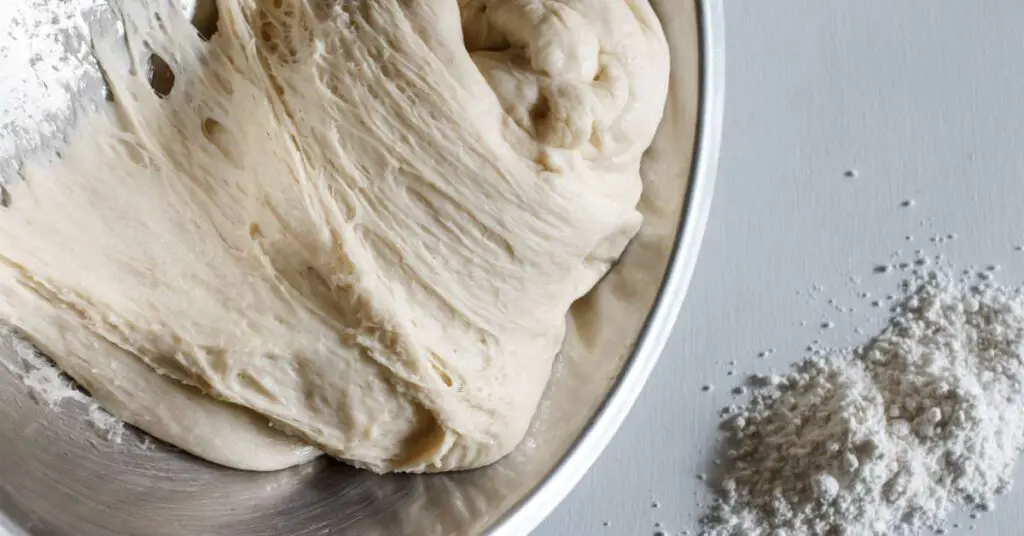
When you knead pizza dough, what you’re doing is creating a complex network of gluten bonds within the dough. This happens as the grains of flour are absorbed into water you add to the recipe. Gluten bonds can even be formed passively without any kneading at all (this is called “autolysis”).
Gluten is the muscle behind your pizza dough, and it’s what gives it its ability to stretch and pull without tearing. Gluten is also what gives pizza crust its characteristically chewy texture. But gluten, just like human muscles, can become problematic when the bonds are too strong.
When gluten in dough becomes too strong, this is what people are experiencing when they say their pizza dough is too hard or “tough”. But that’s not because you did anything wrong, you just need to give the dough (and the gluten within it) time to relax.
Solution: After forming your pizza dough into tight, individual balls, leave your dough at room temperature to “proof” for at least a few hours before you attempt to stretch it. As the dough “relaxes”, it will be much easier to stretch and won’t snap back into a ball.
Tip: If your pizza dough grows too fast during the longer proofing period, you’re using too much yeast. Lower the amount of yeast by half (or more) to slow it down, giving you extra time to proof it for the best results.
Pizza Dough That’s Too Cold Will Be Hard & Difficult To Stretch
This point is related to the previous one (about resting the dough) but has an important distinction. Temperature plays a big role in the elasticity and hardness of your pizza dough.
A common mistake I see people make, even big-time youtubers with hundreds of thousands of follows, is working with cold dough.
It’s tempting to just take your dough out of the fridge and start stretching it, but this is really a recipe for disaster.
When your pizza dough is too cold, such as when taken directly from the fridge, the gluten bonds will be extremely tight. If you allow the pizza dough to rest at room temperature for several hours beforehand, these gluten bonds will relax and it will be much softer, smoother, and easier to stretch and shape.
That said, I always store my pizza dough in the fridge before using it. In fact, cold dough is the easiest to shape into a ball for proofing because the gluten is so tight and it’s less sticky to work with.
So if you’re using pizza dough directly from the fridge, first shape it into a tight ball then let it rest until it’s reached room temperature and the gluten has completely relaxed. You can thank me later when your fluffy ball of dough is fully relaxed and easy to stretch into a pizza for baking. Follow my guide to shaping and proofing pizza dough for more details.
Try Increasing The Hydration Of Your Dough Recipe
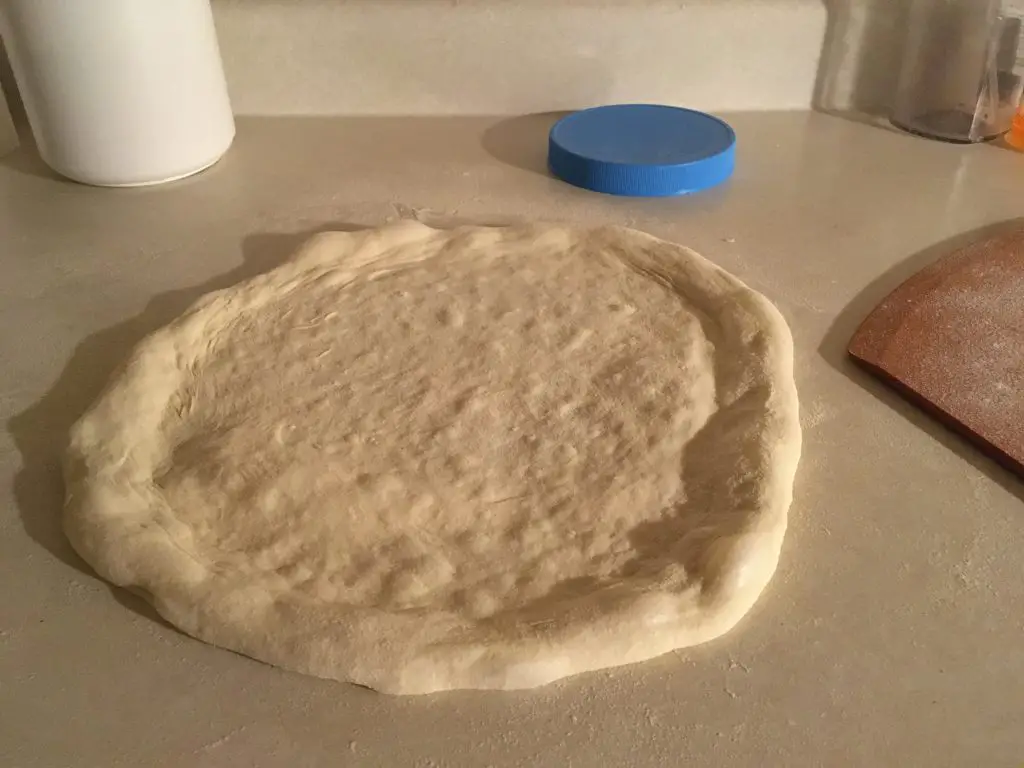
Hydration is one of the key factors that can make a boring pizza crust amazing. Readers of this website will know that I advocate for using a very wet pizza dough because I love the fluffy crust it bakes into.
But a higher moisture rate will not only make your pizza crust softer, it will make the pizza dough much softer and more pliable as well.
So if you’re finding your pizza dough is too hard or tough to stretch, increasing the hydration of your dough is an easy fix.
A pizza dough with extra moisture will often be softer and easier to work, as long as you proof it beforehand.
But this doesn’t simply mean to wet your pizza dough before you shape it, like I’ve seen recommended online. That will just turn your dough into a sloppy mess.
To properly hydrate your pizza dough, you need to increase the water level in your ingredients when you mix the dough in the first place.
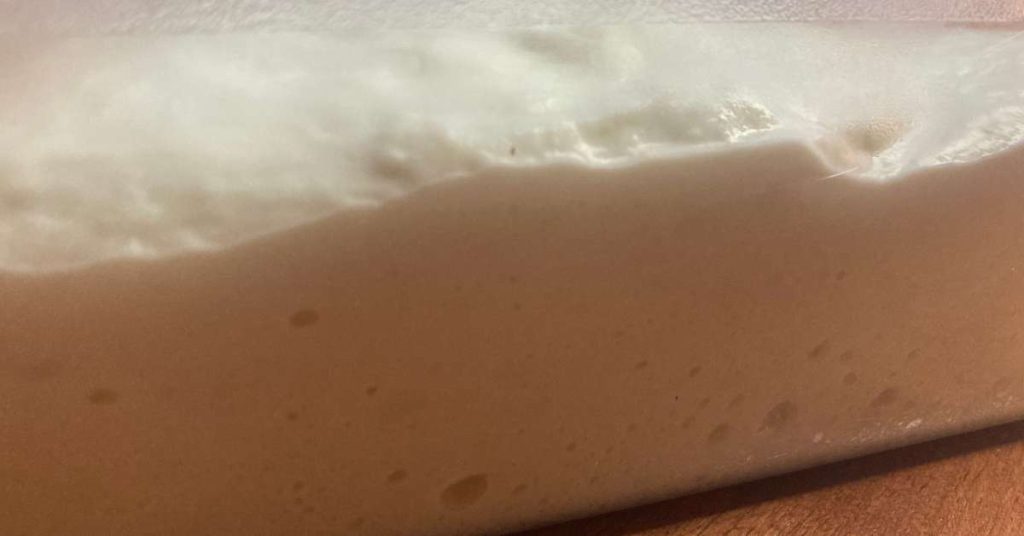
When baking in a home oven, I recommend a pizza dough hydration level of at least 70%. The extra moisture will make the dough much easier to stretch.
Just to clarify, the hydration level of your dough is just a ratio based on the amount of water compared to the amount of flour in the recipe. So, for example, if your recipe has 1000 grams of flour and 700 ml of water, that equals a 70% hydration level.
Too Much Flour Is Making Your Pizza Dough Too Tough
Since we just talked about the importance of having enough hydration in your dough, it should stand to reason that adding too much flour is equally bad.
But when many people get into trouble adding too much flour to their pizza dough, it’s not usually in the ingredients mixing stage. In fact, the recipe they’re following may very well have more than enough hydration.
This is because they’re adding too much flour to their pizza dough in the dough prepping and kneading stage. They do this because the dough seems sticky and difficult to work with.
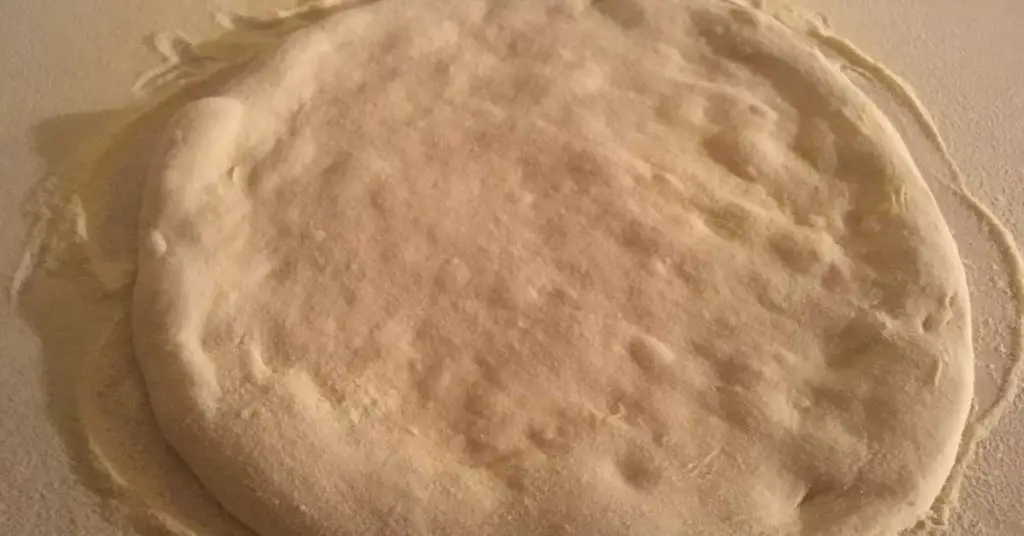
When using flour to handle or knead your pizza dough, don’t incorporate too much of it back into the dough to avoid making it too hard or dry. You can do this by coating the pizza dough’s wet exterior very sparingly and avoiding the temptation to re-knead too much of the flour back into the dough.
A trick here, at least for the kneading stage, is to avoid kneading altogether. You can do this by following a no-knead recipe such as this one here. This eliminates the need to handle the pizza dough at all and so doesn’t require any extra flour.
And if you’re in the dough ball prepping stage, you shouldn’t be using regular flour at all. Semolina is best for this because it will make your pizza dough ball easier to handle while also not absorbing too moisture due to the density of the grain. Semolina also doesn’t clump to the pizza dough like regular flour so it won’t incorporate into the dough as easily.
The only excuse for kneading more flour into your dough is if you make a mistake and you need to reform it back into a ball. But if this does happen, you’ll still need to let the dough ball rest again for another few hours. This will allow the new gluten that has formed a chance to relax.
Will Kneading Pizza Dough Too Long Make It Hard?
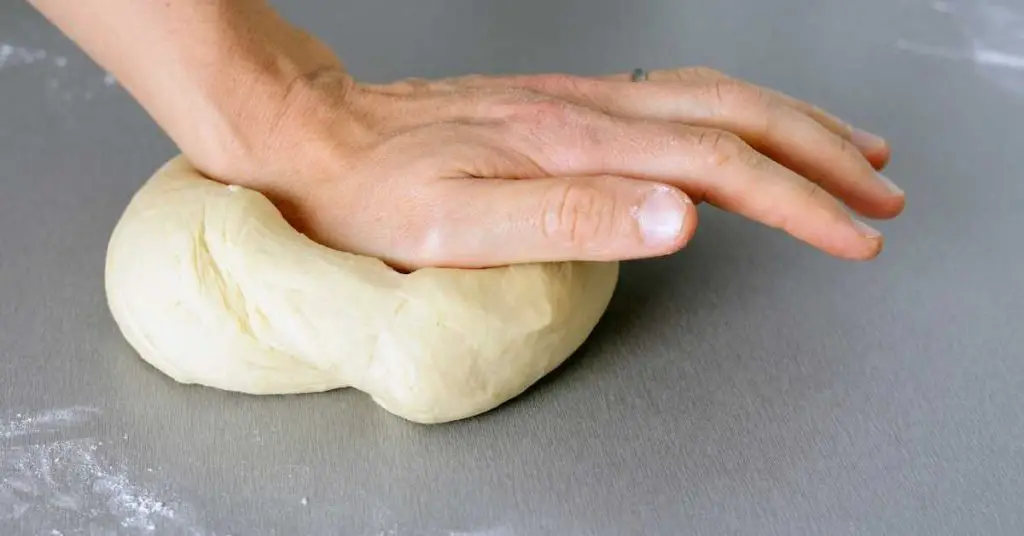
Pizza dough that’s been kneaded too long can be hard to work with. This is because kneading is what helps to create the gluten bonds within the dough, and it’s what’s causing the dough to spring back when you stretch it.
But this effect is only temporary, because the longer you let the dough rest, the more relaxed those gluten bonds become. So even if you kneaded your pizza dough for way too long, it will still become softer given enough time.
Besides, you should never be using your pizza dough immediately after kneading anyways. You need to let the dough rise and proof first so it has a chance to build up air pockets and relax. This is the key to delicious pizza crust.
Make Your Pizza Dough Soft With An Extra-Long Fermentation Period
One of the best kept secrets in the pizza making world is fermentation. This is actually one of the key differences between artisan pizza and mass produced, low quality, run-of-the-mill pizzeria pizzas.
Many local pizzerias in my area, including some of the national corporate chains, make their pizza dough in the morning and serve it throughout the day. They even tout this as an indication of the freshness of their pizzas.
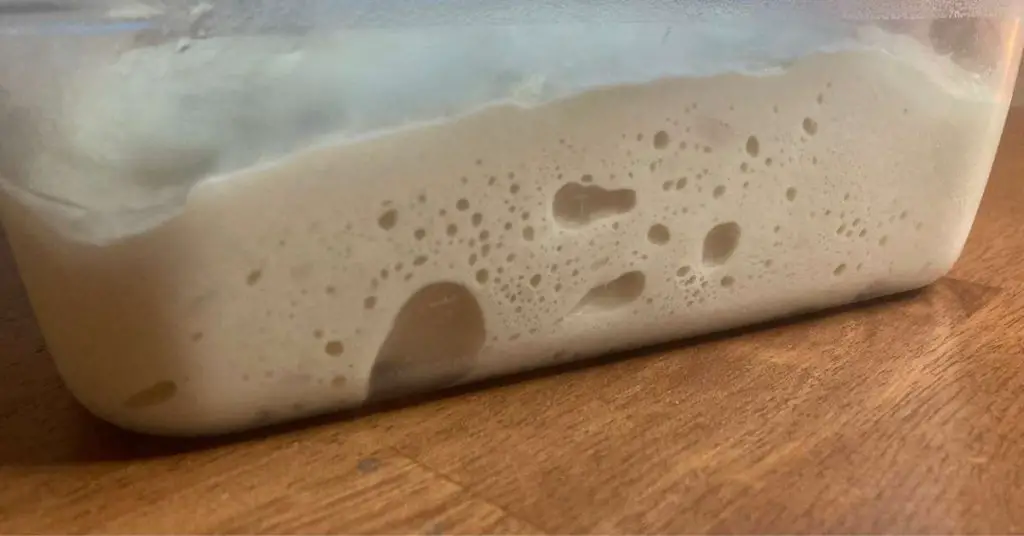
The main purpose of fermentation is to improve the flavor profile and build up gas in the dough. Both of these things help make the finished pizza crust tasty and light.
But during fermentation, the gluten bonds are weakened slightly, resulting in a softer dough that isn’t difficult to stretch.
Fermentation vs Proofing
There is some confusion in the pizza making world about the differences between proofing and fermentation. Fermentation usually occurs over the period of a few hours (or a few days) after the ingredients of the dough have been mixed together. During this time, the yeast activates and starts producing gas and acids that affect the taste and texture of the dough.
On the other hand, proofing is the final preparation stage for dough before you prepare it into a pizza. A small amount of fermentation will continue to occur during proofing, but it isn’t the primary purpose.
Both fermentation and an extended proofing time will help make your pizza dough soft.
The Type of Flour You Use Doesn’t Really Matter
Generally speaking, the type of flour you use doesn’t necessarily affect the hardness or softness of the pizza dough by itself.
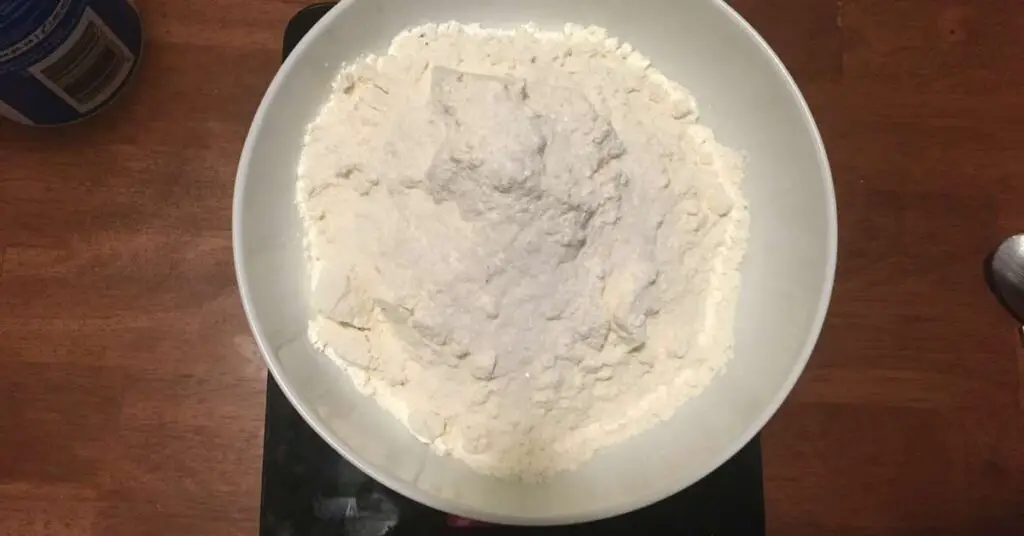
I always recommend Tipo 00, or even just a regular all-purpose flour mixed with bread flour, because both of these can give you a nice pizza crust that is delicate and fluffy.
But even a flour with lots of protein and gluten, like whole wheat or bread flour, can produce a soft, pliable dough that’s easy to stretch, as long as you give it enough time to rest before using it.
So, If you are using a dense flour with large grains, consider adding more water to your recipe and giving it an extra long fermentation period.
As with most things when it comes to making pizza, it’s not so much what you use it’s how you use it. There really is no “wrong type of flour”, contrary to what many will argue.
Dough Conditioners and Olive Oil Can Help Make Good Pizza Dough
While not strictly necessary, adding olive oil and various dough conditioners can help make your dough softer.
Olive oil is actually a common ingredient in pizza dough, so your recipe might include it anyways. Oil helps to make dough soft by weakening tight gluten bonds.
Dough conditioners that contain “reducing agents” are another way to soften the gluten bonds in the dough making it easier to stretch. You’ll still need to proof the dough before you use it, though.
I personally don’t use dough conditioners in my dough because I don’t find them necessary, but others swear by them. The easiest way to add conditioners to your dough is to look for yeast marketed as “pizza yeast”, but be sure to check the labelling to make sure they’re included.
Here is a list of additives that indicate the yeast (or flour) you’re using contains conditioners that will soften dough:
- Lecithin
- Monoglycerides and Diglycerides
- Sodium Stearoyl Lactylate (SSL)
- Enzymes like Amylase or Protease (specific types that break down gluten structure)
- Azodicarbonamide (ADA) (used as a flour bleaching agent and improves dough’s handling characteristics)
- Ethoxylated Mono- and Diglycerides
Final Thoughts
When making pizza for yourself or your family, a soft and pliable dough will usually produce the best tasting crust.
But if you find yourself with a hard dough that springs back into a ball when you try to stretch it, keep what we’ve discussed in mind. Remember that a pizza dough that is properly hydrated and properly rested will be easy to handle and stretch.
So go ahead and let that extra wet pizza dough rest a little longer before baking, and don’t be afraid to put the dough in the fridge overnight either. And know that no matter what kind of flour or yeast or water you use, you can still make the perfect pizza for you at home.
Key Takeaways:
- Pizza dough that won’t stretch is the result of gluten that hasn’t had a chance to relax
- Try using more water in your recipe for a softer dough
- Avoid adding extra flour to the dough if it sticks to your hands
- Proof your dough balls for at least several hours before handling them
- Longer fermentation periods will soften even the toughest pizza doughs
- Adding olive oil or dough conditioners to the dough will help make it softer as well


