How To Make AUTHENTIC Neapolitan Pizza At Home—Easy, Cheap, and Delicious
Recipe Summary: This recipe will walk you through making a Neapolitan pizza at home in a home oven—all you need is a few basic tools and the ingredients listed below. I’ll also explain why each ingredient is important and what exactly makes Neapolitan pizza so special. The pizza dough recipe is variation of my standard homemade pizza dough recipe.
Background: Neapolitan style pizza has taken the world by storm—again.
Originating in Naples, Italy centuries ago, Neapolitan pizza is the inspiration for all other pizza styles to come after it—from New York, to Detroit, and beyond. Now, nearly every major city around the world features a Neapolitan style pizzeria, and people are falling in love all over again with its authentically delicious taste and texture.
The Process: If you’re trying to make Neapolitan pizza at home, you may think you need a pizza oven that reaches 850F or higher. While that’s certainly preferable, you might be surprised to learn that you can actually make Neapolitan style pizza right in your own home oven using a few tricks I’ve picked up over the years.

What Is Neapolitan Pizza: More Than Just A Word
The word “Neapolitan” gets thrown around a lot lately. Many pizzerias have caught on to the fact that people will pay extra for this style, so they throw some basil on a regular cheese pizza and call it a “margherita.
The truth is, what qualifies as a Neapolitan pizza is actually very specific.
In Italy, Neapolitan pizza has been granted “protected status” and is regulated by the AVPN (Associazione Vera Pizza Napoletana). Within the EU as a whole, Neapolitan pizza is recognized as a “Traditional Specialty Guaranteed”.
What Qualifies As Authentic Neapolitan Pizza?

In order to qualify as Neapolitan, a pizza must be topped with specific ingredients from specific regions of Italy. These toppings include fresh basil, fior di latte (fresh mozzarella) chopped into strips, and peeled tomatoes crushed by hand. Ideally, these ingredients come from the Campania region of Italy.
The real secret to what makes Neapolitan pizza so special is the crust. This is what immediately stands out as inauthentic when I see a regular New York style crust with some fresh mozzarella and basil masquerading as “Neapolitan”.
According to the AVPN, a Neapolitan pizza crust must fit the following criteria:
- Have a circumference of 8-13 inches
- Be fermented for 8-24 hours
- Be made from a dough ball weighing 200-280 grams
- Be cooked in a wood-fired oven at 430-480C for 60-90 seconds
- Have a puffy outer crust that pops back up when pressed down
And that’s just the abbreviated version.
How To Make Homemade Neapolitan Pizza

With such a criteria to qualify as real Neapolitan pizza, making it at home might seem hopeless. But don’t worry—with a few tricks, making a nearly authentic Neapolitan style pizza at home is actually quite simple.
The Dough
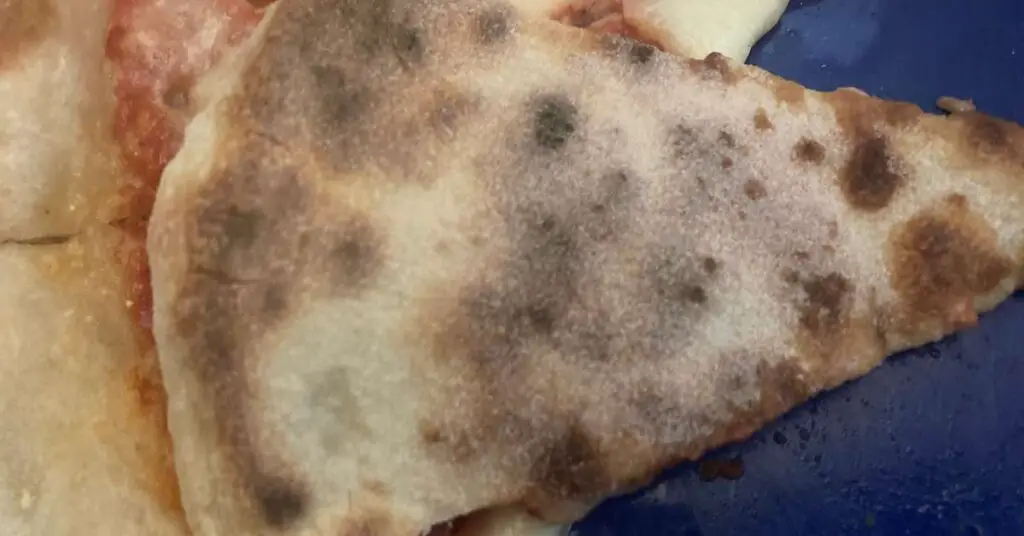
The first major hurdle to get over is the temperature difference between a home oven and a Neapolitan pizza oven. A home oven generally only reaches 500F, while a pizza oven can reach temperatures up to 1000F. This lower temperature means the crust will take significantly longer to fully cook—as much as 10 minutes, depending on your oven.
But the extra wait isn’t the problem, it’s moisture. The longer a pizza cooks, the more moisture is evaporated from the dough, leading to a dry and brittle crust.
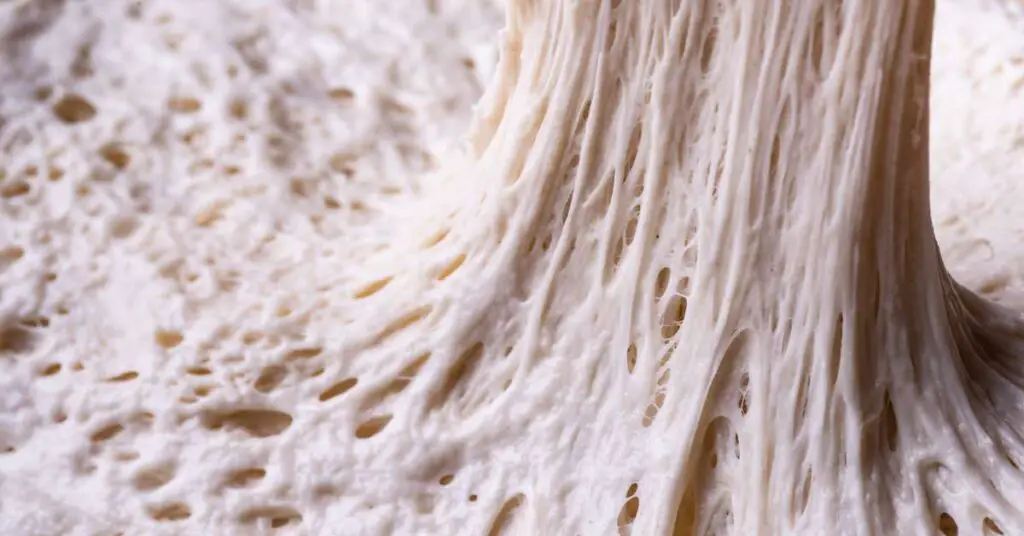
To counter this, I use a high-hydration pizza dough that’s softer and wetter than a traditional Neapolitan dough. This particular recipe uses a 70% hydration pizza dough recipe, which adds just enough extra moisture to keep the interior of the crust tender and moist.
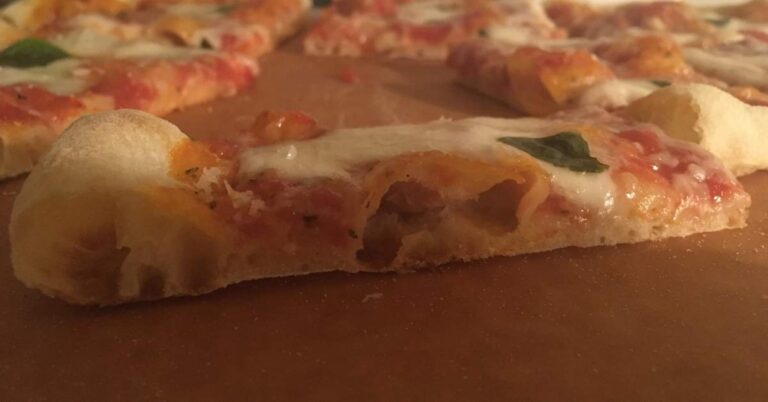
Note: A home oven is simply not hot enough to produce the leopard spots seen on true Neapolitan pizza, so instead we’ll have to settle for a soft golden brown color with a few dark brown spots mixed around (like the pictures above).
The Toppings

The second issue we face when making Neapolitan pizza at home is the toppings. Specifically, how to keep them from burning during the extended cooking time.
Fresh mozzarella should not be cooked, rather it should be melted and brought just to the point of boiling. This is why a Neapolitan pizza is covered in white puddles of melted cheese, compared to the cooked brown bubbles we see on American style pizza.
The problem: at 500F, fresh mozzarella will reach the point of boiling in just a few minutes, while the crust needs as much as 10 minutes to fully cook. That combo is a recipe for burnt cheese.
To remedy this, I’m going to par bake the crust with tomato sauce, then add the cheese about two-thirds the way through the cooking period. This allows the crust and sauce to fully cook, while giving just enough time to melt the cheese without burning it.
The Oven
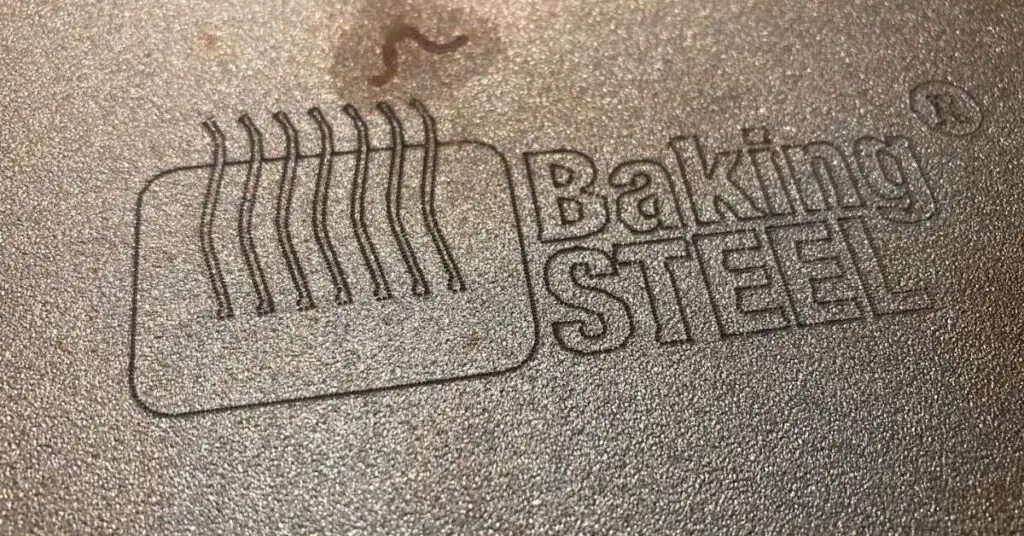
The third and final problem we face is our home oven itself. While we can adjust the ingredients to suit the lower temperature, 500F is still not hot enough to fully cook the crust, or to give the underside any color or texture.
For this, I’m going to use a pizza steel. A pizza steel is a solid sheet of seasoned steel that gets extremely hot in the oven. When I slide my pizza onto the preheated steel, it starts cooking the underside instantly and encourages the outer crust to rapidly puff up with hot air and gas.
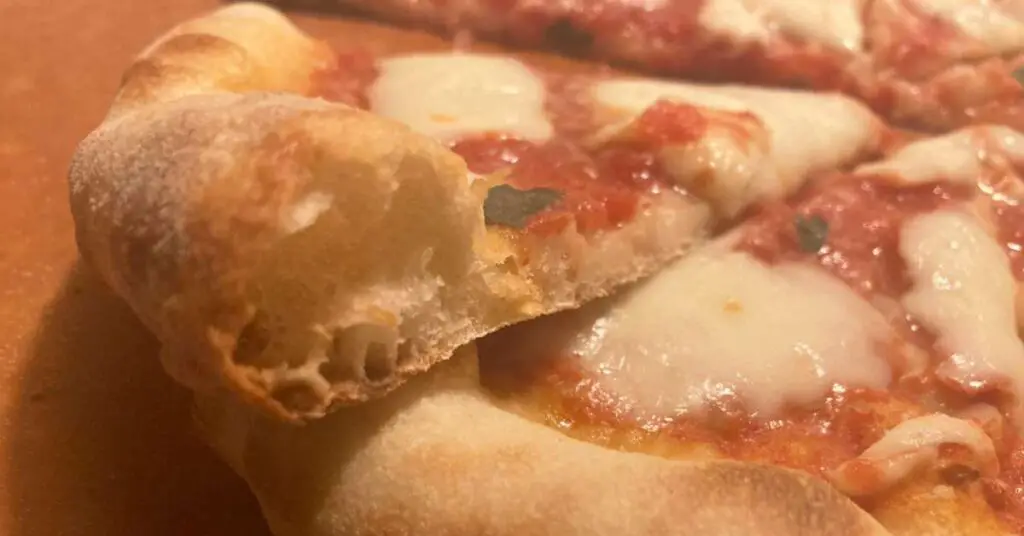
If you don’t have a pizza steel, you can use a pizza stone instead. While a pizza steel is superior, pizza stones work well enough and are often much less expensive.
Tip: Alternatively (if you can’t afford or find either), you can preheat an upside-down baking sheet in the oven and use that instead. It won’t be nearly as effective as a steel or a stone, but it’s better than nothing. If neither is an option, you can prepare the pizza directly on a piece of parchment paper and cook it on the bottom rack of the oven.
Things You’ll Need To Get Started
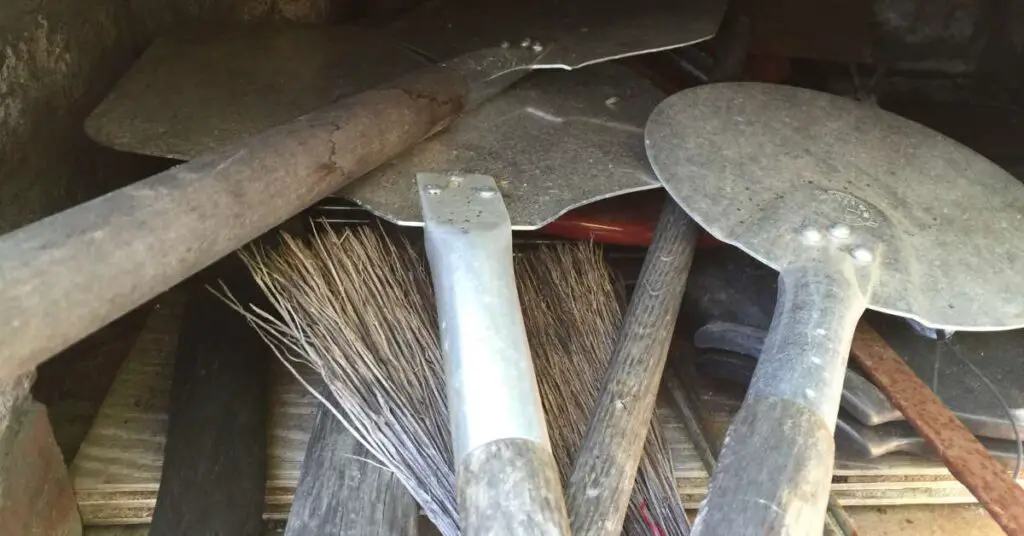
Below is a quick list of everything you’ll need to get started making Neapolitan pizza. Many of these things might already be in your kitchen, but in case they aren’t, you can follow the links below.
I’m going to use Amazon as my primary reference because most people have access to it or are already a member. But if you prefer, Ooni has a wide selection of excellent quality ingredients specifically for pizza available to order. Your local grocery store may carry these products as well, especially if you live in a larger urban area.
Related Link: Ooni Groceries
Essential Ingredients
Good quality ingredients are one of the keys to making authentic Neapolitan pizza. Some of them might seem a bit more expensive than usual, but keep in mind that only a small amount is needed to make a single pizza. The rest can be stored away or frozen for later use.
00 Flour
Why you need it: A strong, finely milled flour is crucial to getting the texture of Neapolitan crust just right. Caputo 00 Chef’s flour can withstand a 24-48 hour fermentation without losing its strength. Alternatively, you can use regular AP flour as well, but it won’t produce the same delicate texture as 00 flour.
Related Post: Why 00 Flour Is Best For Pizza: What It Is & How It Makes A Difference
Tomato Sauce
Why you need it: San Marzano tomatoes are the gold standard for pizza sauce because of their sweet flavor and juiciness. If you don’t have access to these, any canned plum tomato will do, but try to find one packed in juice rather than pulp. Of course, you can use your own preferred pizza sauce as well, but ideally Neapolitan pizza sauce is seasoned only with salt, extra virgin olive oil, and fresh basil.
Fresh Mozzarella
Why you need it: Fresh mozzarella is basically solidified whole milk, and that’s reflected in its creamy flavor and soft texture. This cheese is the heart and soul of Neapolitan pizza, and it pairs perfectly with a simple tomato sauce and crust. If you prefer, you can use regular low-moisture mozzarella instead, but I’d hesitate to call the end result “Neapolitan” in any way.
Extra Virgin Olive Oil
Why you need it: Extra virgin olive oil (EVO) is an essential part of the pizza making process—not just as an ingredient in the dough and sauce, but as a tool to handle the dough itself. EVO will be used as a lubricant to prevent the dough from sticking to its proofing “box”, as well as to coat your hands when forming the dough into a ball. This is why its important to choose a good quality EVO or you risk infusing the entire pizza with a bitter/bad taste.
Fresh Basil
Why you need it: Fresh basil is simply used to garnish to pizza when it comes out of the oven, but it’s important because Neapolitan pizza has very few seasonings otherwise. While it might seem easier to use crushed dry basil instead, I really recommend against it because of the difference in taste between dry and fresh. You can often find fresh basil at local grocery stores, or even at home and garden shops. Because fresh basil has such a short shelf life, I like to keep a well pruned basil plant in a sunny window for year round access to good quality basil.
Finely Ground Sea Salt
Why you need it: Salt is an essential ingredient both for tempering the yeast in the pizza dough and enhancing the flavors of the tomato sauce. I prefer to use a good quality sea salt, but the regular table salt you probably have at home right now will work as well, as long as its finely ground.
Semolina Flour
Why you need it: Semolina flour is used as “bench flour” when shaping the pizza dough into a disc. This kind of flour is preferable to use compared to regular AP or 00 flour because the larger grains are less absorbent and act as a kind of “lubricant” to prevent the dough from sticking to the pizza peel (or your hands). Similar to corn meal, semolina flour also adds a nice texture to the underside of the crust when baked.
Essential Tools
To make Neapolitan pizza at home, you need the right tools. Some tools are merely useful, but a pizza steel and a pizza peel are absolutely essential. If you don’t have (or can’t afford) a pizza steel, you can always use a less expensive pizza stone instead (listed below).
Pizza Steel
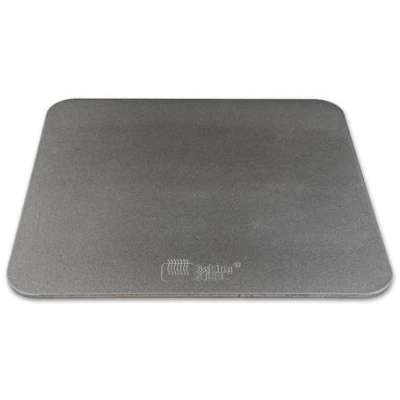
Baking Steel Original (16 x 14″)
Price: $119
Why you need it: In a pizza oven, you have a solid baking floor that instantly starts cooking the crust as soon as the pizza is slid onto it. A pizza steel (also known as a baking steel) is designed to replicate this same process in a regular home oven. All it requires you to do is preheat the steel for 30-60 minutes to bring it up to maximum temperature, and you’re ready to go. A pizza steel is also great for baking bread.
Pizza Stone
Why you need it: If you can’t afford a pizza steel, you can always use a less expensive pizza stone with good results. A pizza steel has superior heat conductivity, and will produce a better cooked crust, but for the price, a pizza stone will work just fine as well. If you decide to use a pizza stone, place it on the bottom rack instead of the top.
Pizza Peel
Why you need it: In order to get a thin, wet piece of dough covered in toppings off of your countertop and into the oven requires something wide and flat to transport it. This is where a pizza peel comes in, and it’s absolutely essential for making pizza with a pizza steel. If you’re a handy person, you can make one on your own, but I highly recommend buying one instead (preferably with holes to prevent sticking). They’re not expensive, and they can last a lifetime with some basic maintenance.
Useful Tools

The following list of tools are not strictly necessary, but really make life easier when making pizza—especially if you plan on making pizza on a somewhat regular basis going forward.
Digital Kitchen Scale

Dual Platform Digital Scale (Ooni)
Price: $49.99
Why it’s useful: A kitchen scale lets you measure out ingredients by weight rather than by volume with cups and spoons. Weighing by volume is inconsistent and changes the consistency of the pizza dough from one batch to the next. Plus, it’s just easier to follow a recipe in grams than it is to deal with fractions and various measuring spoons.
Infrared Thermometer

Infrared Thermometer (Ooni)
Price: $39.99
Why it’s useful: An infrared thermometer is a device that measures the temperature of a surface by pointing a laser at it. I use mine for measuring the temperature of the pizza steel before launching a pizza onto it. This way, I don’t have to wonder if the steel is hot enough, or deal with an under cooked crust. If you choose not to use one, just make sure to give your oven extra time to preheat between each pizza.
A Pizza Oven
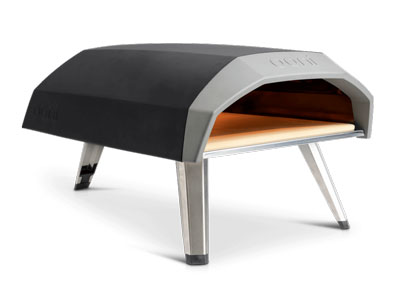
Ooni Koda 12 Pizza Oven (Propane)
Price: $399
Why it’s useful: Even though the whole point of this post is to show you how to make Neapolitan pizza without a pizza oven, it’s still worth considering one if you’re a fan of pizza and can afford it. They’re not that expensive either—with premium models like the Ooni Koda 12 selling for only $399. Once you master cooking in a home oven, a pizza oven is the best way to step up your pizza making game.
Related Post: Ooni Koda 12 Pizza Oven Review: The World’s Most Popular Pizza Oven
Homemade Neapolitan Pizza Recipe
The following recipe will yield 500 grams of pizza dough, or enough for two 250 gram dough balls.

Authentic Neapolitan Pizza Recipe – 70% Hydration, Cold-Fermented, No-Knead, Direct Method
Ingredients
Pizza Dough
- 2 1/4 cup 00 Flour (282 grams)
- 4/5 cup Water (202 ml)
- 1/8 tsp Yeast (0.35 grams)
- 1/2 tbsp Honey (10 grams)
- 2 1/4 tsp Extra Virgin Olive Oil (10 grams)
- 2 tsp Fine Salt (9 grams)
Toppings
- 1/2 cup San Marzano Tomato Sauce (100 grams – Recipe Below)
- 3 oz Fresh Mozzarella (85 grams)
- Sprinkling of Grated Parmigiano/Parmesan Cheese (not too much)
- 5 Fresh Basil Leaves (small)
Instructions
Mix Pizza Dough
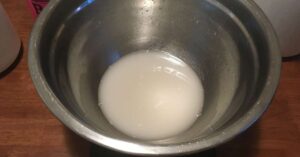
- Combine the water, yeast, and honey in a large mixing bowl.
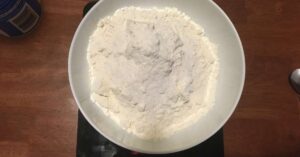
- Mix together the flour and salt in another bowl.
- Add 1/2 of the flour and salt mixture to the wet ingredients in the mixing bowl. Mix well with a stiff spatula or wooden spoon (or your hands, but it will be very wet).
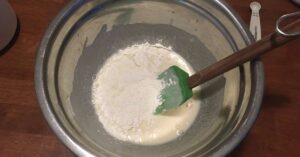
- Add extra virgin olive oil to the mixing bowl and incorporate it fully into the mixture.
- Add the rest of the flour/salt mixture to the dough and mix it roughly until no dry flour can be seen. Cover the mixing bowl with plastic wrap and let it sit at room temperature for 30 minutes.
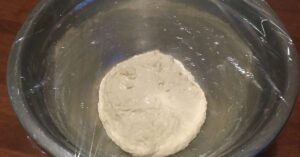
- 30 minutes later, give the dough a quick mix with the spatula until it has a smooth consistency with no visible lumps of flour. This should take no more than a minute. The dough should be noticeably less sticky and wet than it was previously.
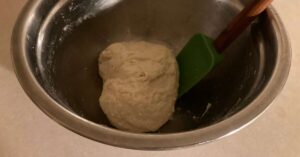
- Let the dough sit for 8-10 hours (or overnight) at a cool room temperature. This will take the place of kneading the dough, as well as give the yeast some time to ferment. The dough will rise in the bowl, but don’t worry about it “doubling” in size (like many other pizza dough recipes) as we’re only using a minimal amount of yeast.
Divide and Proof Pizza Dough
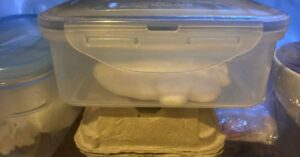
- The next morning (or 8-10 hours later), place the dough in the fridge for 24 hours. This will cold-ferment the dough and improve its texture and taste to better resemble Neapolitan style pizza. I highly recommend you do this if at all possible, the difference is worth it. But, if you’re in a rush, you can immediately divide up the dough into balls and skip directly to the next step.
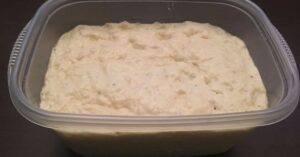
- Lightly grease a medium sized plastic container with olive oil. This is where an individual dough ball will proof for a few hours before baking.
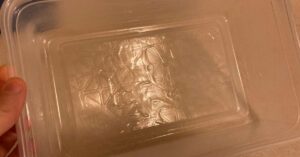
- Take the dough from the fridge and divide it into 2 equal parts (250 grams each). With your hands very lightly coated in olive oil, form each piece of dough into a tight, compact ball. There are several ways to do this, but it helps to “tuck” or pinch the bottom of the ball so that the top of the ball is pulled tight. The idea is for the dough ball to be evenly shaped with a taught skin around it. This will help strengthen the gluten and retain gas as the dough ball proofs. See the instructional videos at the bottom of this page if you need some visual help.
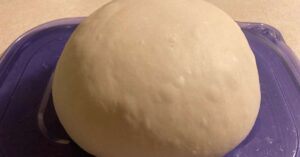
- Place each dough ball into a greased proofing container, and let the one you plan on using rest at room temperature for 2-3 hours. The other ball can be refrigerated or frozen for later use.
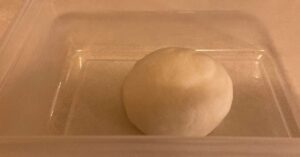
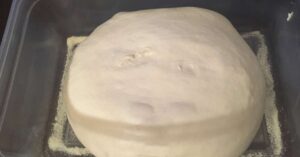
- As the dough ball proofs, it will expand and relax, so make sure the edges of the container are greased (or floured) to avoid sticking to the sides. When the dough ball reaches room temperature and is fully relaxed, it’s ready to use. Important: Make sure to give it enough time to relax or it will be difficult to stretch and not bake properly.
Prep Tomato Sauce
- This recipe will assume you’re using canned tomatoes such as the ones listed above. To begin, pick the tomatoes out of the can and place them in a mixing bowl. You can include the juice (or pulp) as well, but I prefer not to.
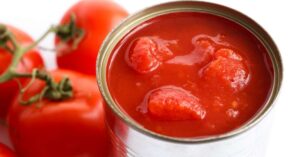
- For a 28 oz (798 ml) can, add a 1/4 teaspoon of salt and a tablespoon of olive oil.

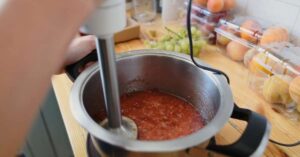
- Using an immersion blender, potato masher, or your hands, lightly crush the tomatoes. The aim here is to get the tomatoes somewhere between smooth and chunky. I simply pulse the tomatoes using my immersion blender until the big chunks are broken up. The sauce is now ready to use.
Par-Bake The Crust & Sauce
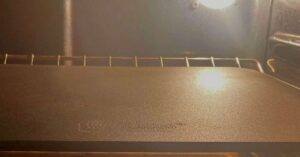
- Place your pizza steel on the top rack of the oven and set it to its maximum temperature. Let the pizza steel preheat for 1 hour, or until it reaches its maximum temperature according to an infrared thermometer.
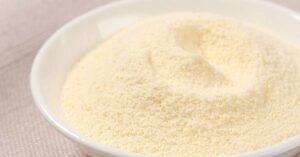
- Prepare a small pile of semolina flour on a clean counter, or a bowl full of semolina flour big enough to fit a dough ball.
- Turn over the proofing container and drop the proofed dough ball into the semolina flour. Press down lightly on the dough ball, then flip it over and do the same. The idea here is to thoroughly coat the dough ball in semolina flour to prevent sticking to the counter as we shape it.

- Transfer the dough to a clean counter top (lightly dusted with flour) and begin to gently flatten the dough into a roughly 10-12 inch disc. You can do this by gently pressing the air from the middle of the dough out into the edges using the flat part of your fingers, then flipping it over and doing the same thing going the other way. Be very gentle with the dough as you flatten it or all the gas will escape and it will lose its texture. Also, be sure not to pinch or flatten the very edges (about 1 inch around) as this will form the crust. Dust very lightly with semolina flour if it gets sticky. See the instructional videos at the bottom of this page for a visual illustration of how to do this.
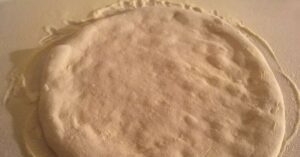
- When the dough is shaped to your liking, gently spread some or all of the tomato sauce on top of the crust. Be sure not to press too hard with the spoon (or the dough will stick to the counter) and leave an inch around the edges of the dough without sauce (so it puffs up in the oven).

- Now for the hardest part. Dust your pizza peel with semolina flour and place it on the countertop with the tip pointing towards the pizza. Using both hands, hook your fingers under the dough and slowly pull it towards the pizza peel. If the edge of the peel is flush with the counter, the dough should slide right on. If the edge is raised above the surface, you can prop the handle up slightly to angle it downwards. Be sure to dust the edge with semolina as well. The dough will stretch and contort as you pull it—this is fine. Note: This photo is only used for illustration purposes, your pizza shouldn’t have mozzarella yet.

- Give the pizza peel a very light shake to make sure the dough isn’t sticking to the peel. If it moves freely, use your fingers to carefully stretch the dough back out one more time. Note: The pizza will retract as it bakes, so stretch your pizza 1-2 inches larger than your intended size. Also, ignore the toppings on the pizza in the photo.

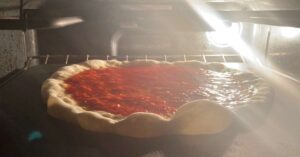
- When the pizza is ready, touch the tip of the peel to back of the preheated pizza steel. Wiggle the peel a little to get the pizza sliding off and slowly pull the handle back towards you. If all goes well, the pizza will slide right onto the pizza steel. This part takes some practice to master. The most common issue is sticking on the way down, so make sure to use enough flour on the peel.
Bake The Pizza
- When you see a few brown spots beginning to form on the outer edges and underside of the crust, take it out of the oven. This should take anywhere from 5-7 minutes, but timing will vary depending on your oven.

- Grate or shred a small amount parmigiano or pecorino cheese over the hot tomato sauce.

- Slice the fresh mozzarella into cubes or batons and spread them evenly across the pizza with a drizzle of olive oil. Work quickly so the pizza doesn’t cool down too much.

- Let it bake until the cheese starts to bubble and the crust is a golden color with some darker brown spots. Add fresh basil slices to your liking.

- When the pizza is finished, take it out of the oven and immediately place it on a cooling rack (if you have one) for 2-3 minutes then slice and serve. Enjoy!

Neapolitan Pizza Dough Shaping Technique Videos
A few of steps in the recipe can be hard to visualize, especially the ones about shaping the dough. These videos will show you some of the methods I use to get a delicate and fluffy Neapolitan style crust out of a wet chunk of pizza dough.
How to shape a pizza dough ball for proofing
How to roll a small dough ball with your palms
How to open the dough ball after proofing
How to stretch the dough into a pizza crust
How to use the counter edge to stretch the dough
The pizza dough should be completely relaxed when stretched
How to spread the tomato sauce to prevent sticking
Related Posts:
- 70% Hydration Pizza Dough Recipe – No More Dry Crust
- 80% Hydration Pizza Dough Recipe – Fluffiest Pizza Crust Ever
- Poolish Pizza Dough Recipe (Perfect Crust Super Easy)
- Improved Ooni Pizza Dough Recipe: 65% Hydration, Double Fermented, No-Knead Method
Related Questions:
Is Neapolitan Pizza Dough Different?
Because Neapolitan pizza is cooked in a wood-fired oven, it tends to be made at a 50-55% hydration level—drier than other styles of pizza. But when prepared for a home oven with a higher hydration level, Neapolitan dough isn’t necessarily different than other kinds of pizza dough.


