How to Use a Wood-Fired Pizza Oven – A Brief Guide To Wood-Fired Cooking
Having a wood-fired pizza oven right in your own backyard is a dream for many people. But whether you choose a portable outdoor pizza oven, or shell out for a huge domed brick pizza oven, there are some steps involved in getting everything working.
To use a wood-fired pizza oven, you first need to source out some good quality wood kindling—I recommend hard wood for the best results. Make sure your ingredients are prepped and your pizza dough is fully proofed before stretching it. When everything is set to go, it’s time to fire up the oven and let it preheat—the timing on this will vary depending on the size of your pizza oven.
When your pizza oven is fired up and ready and the dough is fully proofed, all that’s left to do is slide it into the oven and watch it bake. Just don’t forget to clean up the oven thoroughly once it’s completely cooled down so you can enjoy your wood-fired pizza oven for years to come.
Proper care and upkeep are as crucial to your wood-fired pizza oven’s longevity as the actual pizza making process. Investing time to learn best practices for firing up your oven, preparing and proofing the dough, regulating baking temperatures, and carrying out regular cleaning will ensure you get the most out of your equipment for many backyard pizza parties to come.
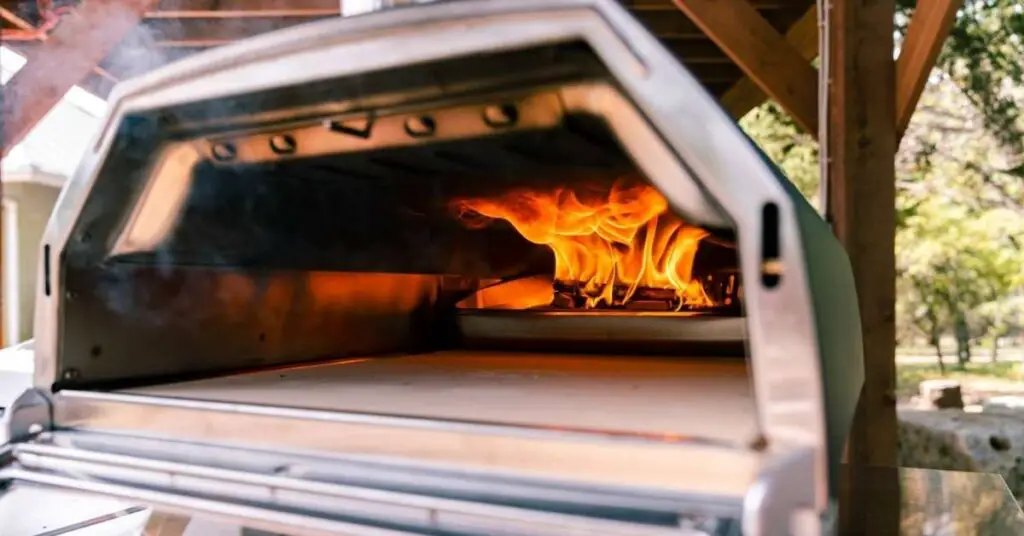
How to Use a Wood-Fired Pizza Oven
If you’re just looking for the basics of what’s involved with using a wood-fired pizza oven, the following list will get you started. But if you’re looking for a more in-depth of each step, keep reading.
- Choose a quality wood-fired pizza oven designed to reach temperatures of 700°F-1000F
- Set up the oven in an outdoor area with proper clearance and ventilation. Have accessories ready.
- Gather hardwoods like oak or maple. Depending on your oven (particularly how big it is), you’ll want to start kindling the fire anywhere from 30 minutes to 2 hours before baking.
- Make sure you have fresh pizza dough ready and give it enough time to fully proof (1-6 hours depending on how much yeast you used and the ambient temperature).
- Prepare toppings. Grate mozzarella cheese. Chop and pre-cook vegetables. Make sauce. Etc.
- When the fire is lit, let the oven preheat until the dome is clear and floor hits 650-700°F.
- Lightly flour a pizza peel then stretch dough into a thin 12-14” round.
- Transfer the dough to a peel. Spread a thin layer of sauce leaving 1 inch of crust exposed. Sprinkle parmesan and add mozzarella cheese.
- Shake peel gently to ensure dough moves freely, adding flour if needed. If it doesn’t stick, give it a final stretch on the peel. Assume it will shrink a little while baking.
- Slide the pizza off the peel quickly onto the oven floor. Use a turning peel if you have one to rotate frequently for an even cook.
- Bake 60-90 seconds until crust and cheese are evenly browned. Use peel to remove.
- Let pizza rest 1-2 minutes on a cooling rack before slicing so the cheese can set and the crust can steam out and stay crispy.
- If you’re cooking more than one pizza, you may need to add more small hardwood through side/back to maintain high temperature.
- When you’re finished, wait until the oven is fully cooled, then thoroughly sweep out ash and debris. Discard safely.
Related Post: What’s the best wood for a wood-fired pizza oven?
Wood-Fired Pizza Ovens I Recommend:
There are so many wood-fired pizza ovens on the market today, it would be impossible to list them all. Here are a few standout options that I can fully recommend based on experience with each.
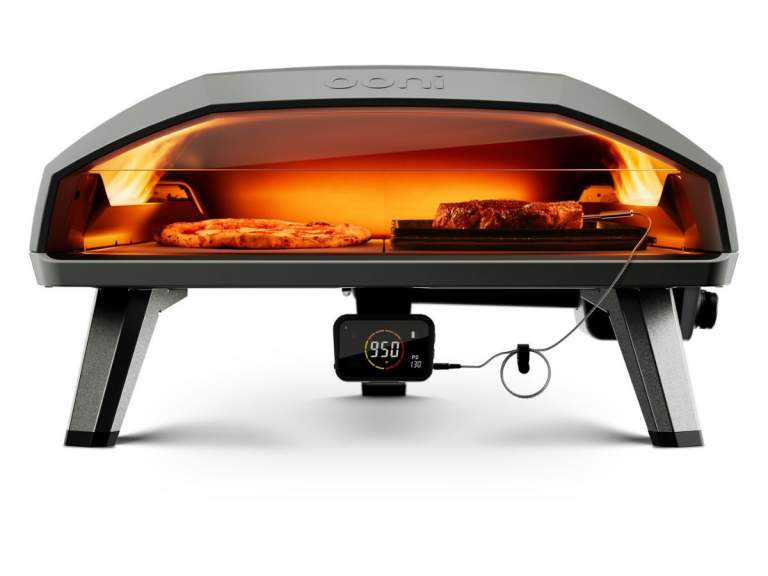
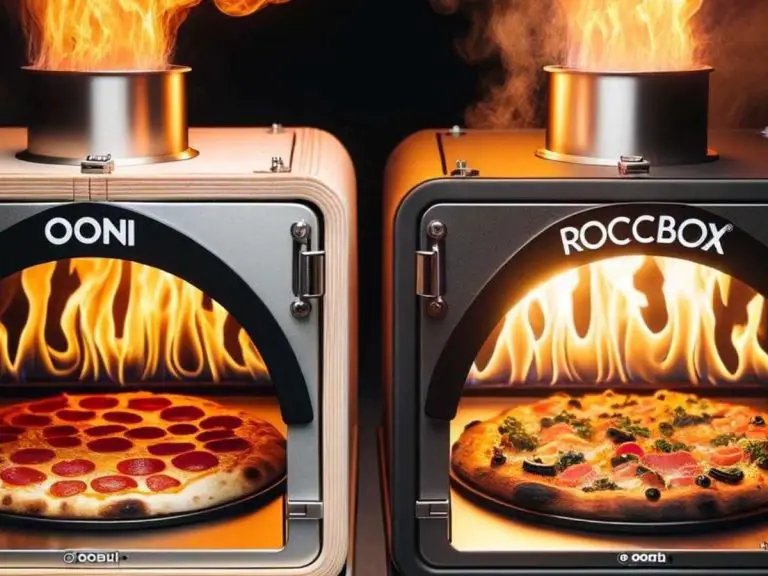
- Ooni Karu 16: Portable, multi-fuel, 16 inch baking surface. Great all-around pizza oven.
- Gozney Roccbox: Portable, multi-fuel, 12 inch baking surface. Amazing heat retention and insulation.
- Ooni Karu 12G: Portable, multi-fuel, 12 inch baking surface. New 2023 model with improved fuel-efficiency. Best new pizza oven on the market, in my opinion.
- Gozney Dome: Moveable but not portable. Massive baking surface big enough for any sized pizza. Great alternative to a fixed pizza oven in terms of cost and the space it takes up.
Choosing The Ideal Pizza Oven For Your Pizza Preferences
First things first, you’ll need to pick a pizza oven that suits your needs and preferences. Unfortunately, it’s not as easy as pulling up to Walmart and buying whatever’s on sale. For the best results, you’ll actually need to think about this in advance.
That said, most pizza ovens work in a similar way, but there are some minor differences when it comes to which style it’s ideal for. For example, wood-fired ovens are easy to get hot but sometimes not so easy to bring the heat down for lower temperature styles (like New York and New Haven).
Most people who prefer New York and New Haven style opt for propane pizza ovens which allow you to easily control the size of the flame. But that doesn’t mean you can’t cook these styles in a wood-fired pizza oven as well.
Here are some general guidelines when thinking about what kind of pizza oven is best for the styles you prefer:
- Neapolitan style pizza cooks best at very high temps from 700-1000°F. The goal is to bake the thin, tender crust quickly to create a lightly charred exterior around an airy interior crumb. Cooking times are between 60-90 seconds at the highest heat settings.
- New York and New Haven style pizzas require more moderate temperatures between 450-700°F. You want the crust to cook through fully and take on crispness without burning or overcooking the toppings. Cooking times can be 5-10 minutes, on average.
- Wood-fired ovens are best for achieving blistering temperatures above 900°F. The live fire adds complexity of flavor from the wood smoke absorbed into the dough, sauce and toppings.
- Propane-fueled ovens make it easier to maintain more moderate temps under 700°F. They also heat up and cool down faster than wood-fueled models.
In addition to heating functionality, consider the size, shape, and materials of the oven. A spacious domed interior lined with multiple layers of brick or stone holds heat better for longer bake times. Stainless steel models heat up quicker but won’t retain heat as efficiently. Portable tabletop ovens are more convenient for smaller spaces while larger standalone ovens allow room for baking multiple pizzas at once.
Choose an oven tailored to the type of pizza you love along with practical factors like your available outdoor area.
Portable vs. Fixed Pizza Ovens
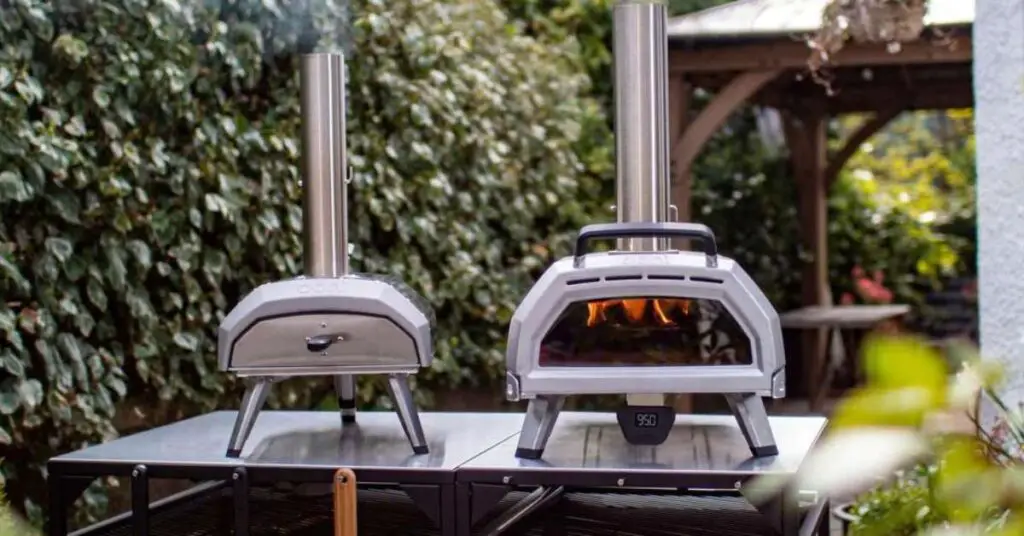
In addition to fuel type, another decision is whether you want a portable countertop pizza oven or a fixed permanent brick oven installed in your backyard. Both portable and fixed have their own set of pros and cons—here are a few of them to be aware of..
Portable Ovens
- More affordable, starting around $200-$500
- Smaller footprint, easy to store away
- Reach optimum temperatures quickly, around 15-30 minutes
- Can use propane, wood, or charcoal (depends on model)
- Models like Ooni Koda 16 or Roccbox are well known models with huge online support communities
- Can easily be stored away for extended periods if you won’t be using it for a while.
Fixed Brick Ovens
- Traditional domed brick oven design holds more heat
- Bake multiple pizzas at a time
- Cost more starting at $2000+ for prefab or $5000+ for custom built
- Require dedicated outdoor installation space
- Take longer to heat fully, around 45-60 minutes
- Much bigger commitment in terms of cost and the time necessary to maintain it. This is for serious pizza makers only.
For most people, a portable pizza oven like the Ooni Koda 16 for gas-fuel or the Ooni Karu 12G for multi-fuel offers the best value and convenience. They preheat quickly, make amazingly authentic pizzas, and their compact size makes storage easy. Unless you plan to bake pizza constantly for large groups, a quality portable oven is likely the better choice over a fixed brick oven.
That said, even some portable pizza ovens are good for certain commercial uses. For example, the Gozney Roccbox is a popular choice because of its extra thick layers of insulation that help it retain heat. This is very useful when you need to make one pizza after another with minimal downtime for reheating between each cook.
In fact, I know several people who are currently using the Roccbox for food truck and catering service style businesses. But for larger scale businesses, you’ll likely need a fixed pizza oven to keep up with demand.
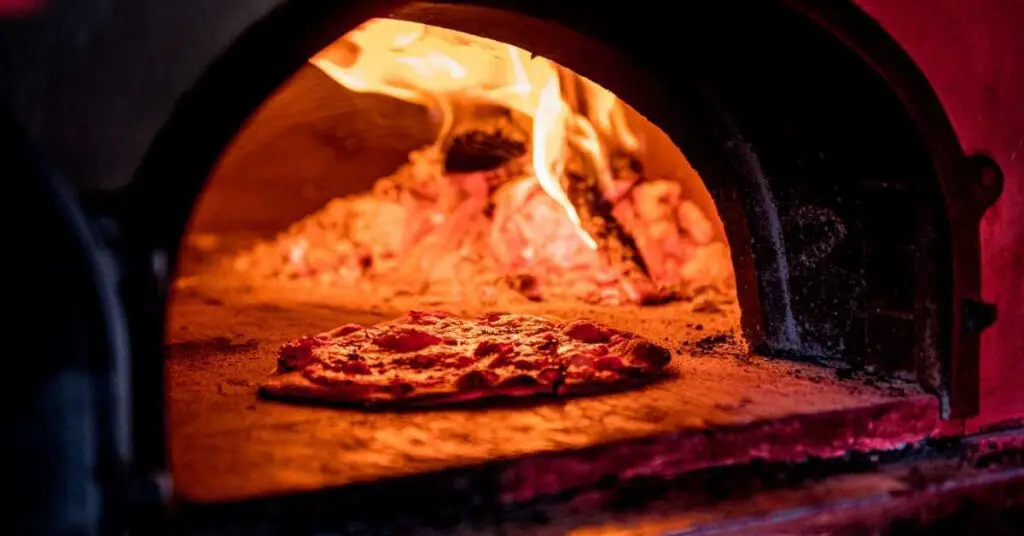
How To Safely Set Up Your Wood-Fired Pizza Oven
Once you’ve selected the right pizza oven for your needs, proper setup is crucial before you can start firing it up.
First, make sure you have adequate outdoor space for the oven with proper clearance from any buildings or combustible materials. Most manufacturers recommend at least 6 feet, but you can use your best judgment depending on your living situation.
Proper ventilation above and around your oven is also critical. Avoid placing it under low overhangs or ceilings. Opt for an open area instead.
Investing in a few optional accessories will make using your oven easier:
- A sturdy pizza oven stand or table designed for your specific oven model provides a safe, permanent home for your oven. Make sure it’s heatproof and noncombustible.
- A good infrared thermometer lets you check the floor temperature before launching pizzas. This helps ensure the oven is hot enough.
- At least one pizza peel is essential for sliding pizzas in and out of the oven. Opt for a perforated metal one which won’t stick. Make sure it’s not too big for the opening of the oven.
- Fireproof mitts and gloves protect your hands and arms when handling hot wood or adjusting the oven.
Take time to properly prepare your outdoor kitchen setup with a prep table or countertop near the oven for stretching dough balls and topping pizzas before they go into the oven.
Once your oven is safely in place, it’s time for the fun part – firing it up!
Prep Your Pizza Dough & Fuel Before Cooking
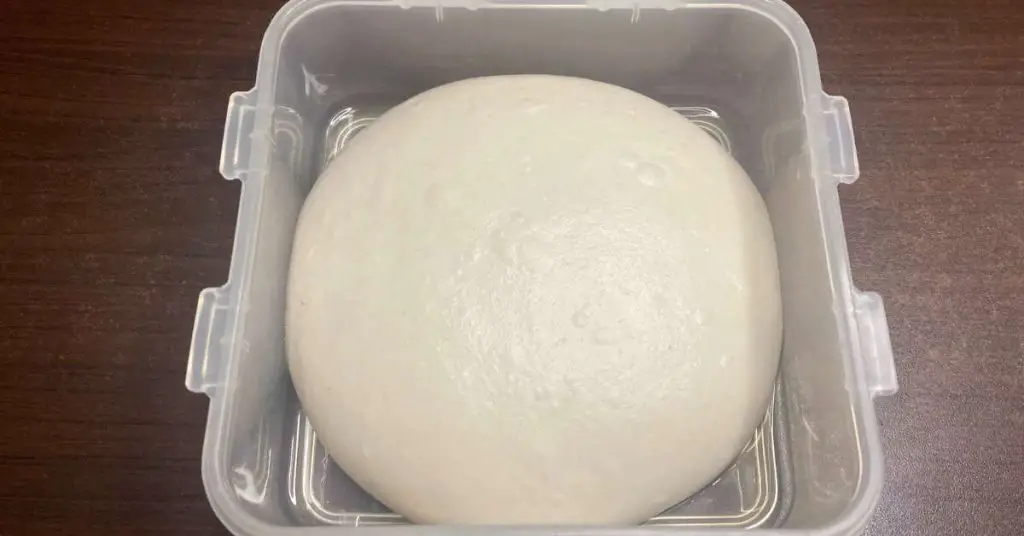
But not so fast! Before you can start baking, you need to prepare two key ingredients – wood for fueling the oven and dough for the pizzas.
Not all firewoods are created equal when it comes to wood-fired pizza ovens. Opt for dense hardwoods like oak, maple, ash or fruit woods like apple or cherry. Stay away from softwoods like pine which burn poorly and can give off a resiny flavor.
Start with small kindling and add larger logs once lit. Use fire starters strategically placed under the kindling to ignite the flames in multiple spots for even heating.
Give your oven adequate time to preheat before baking. For wood-fueled models, light the fire 45-60 minutes prior. You want the interior dome to heat until it is completely clear of black soot and the floor reaches 650-700°F.
While the oven heats, prepare the dough. You can make it entirely from scratch, use a pre-made fresh dough, or opt for pre-made frozen dough balls. Either is fine, but I recommend using a homemade pizza dough so you know exactly how much yeast it contains and how long it will take to proof.
If preparing dough at home, make sure to proof it properly in advance. This proofing process activates the yeast so the dough becomes airy and rises when baked. Depending on the recipe, proofing can take 1-6 hours after you shape it into a ball.
Right before baking, flour a wooden pizza peel, then carefully stretch and press the dough into a thin round, ideally 12-14 inches in diameter. The thinner it is, the faster it will bake, but if you like thick crust, you might want to invest in a deep dish pan and try Detroit style at a lower temperature.
Now the oven should be heated and the dough prepped. Time for the best part—making pizza!
Baking Pizza and Other Dishes
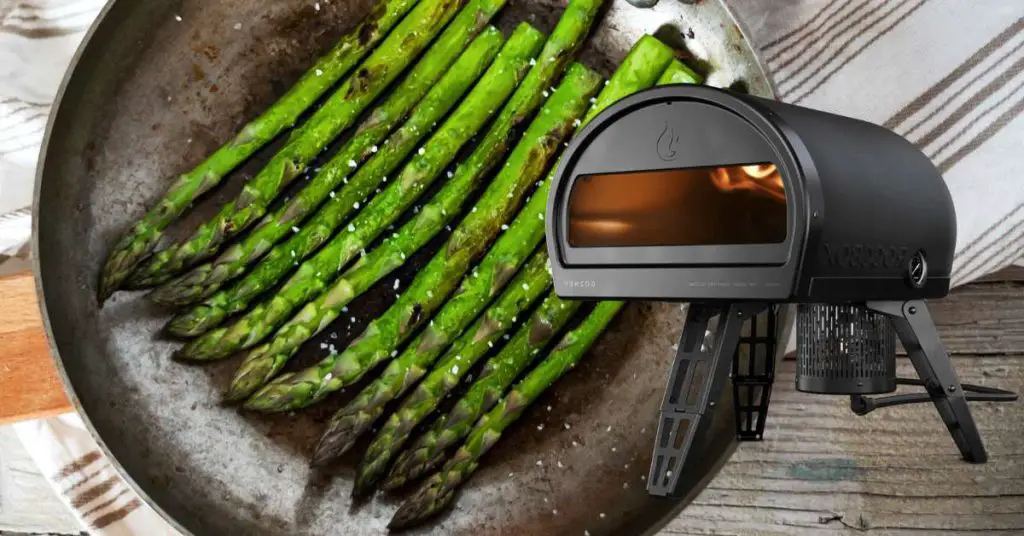
Once your oven floor reaches the target temp (around 800-900°F for Neapolitan pizzas), it’s time to start baking. Work quickly to prevent the dough from sticking to the peel, especially once you’ve added toppings.
- Double check the floor temperature with an infrared thermometer first. Adjust the fire if it’s not hot enough (or too hot, depending on the style)
- Lightly flour the pizza peel then transfer the stretched pizza dough onto it. Spread toppings evenly across the surface but don’t overdo it or you’ll end up with a soggy crust.
- Slide the pizza smoothly off the peel and onto the oven floor using a quick forward-back motion.
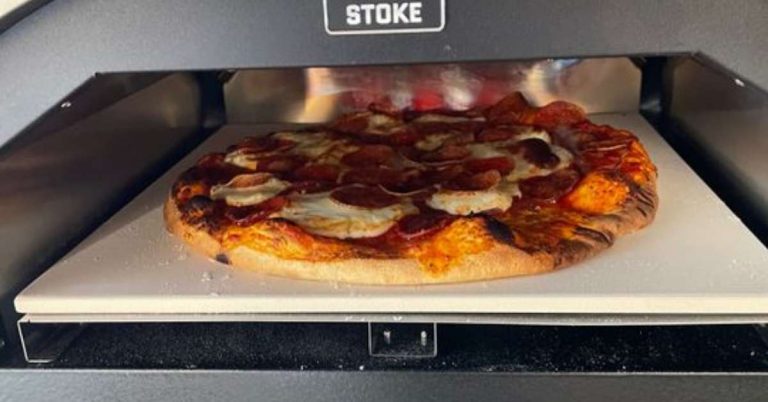
- Bake for 60-90 seconds, turning every 20-30 seconds with a turning peel until the crust and cheese are browned and charred along the edges.
- Use the peel to transfer the baked pizza onto a cooling rack. Let rest 1-2 minutes before slicing and serving..
For meats, roasted vegetables, or other non-pizza dishes, position them closer to or farther from the fire depending on the level of charring you want. This might not even be an option if you’re working with a smaller pizza oven.
The cook times will vary based on the temperature inside the oven and how often you rotate. Every pizza oven is a bit different, so get to know your oven through experimentation—this is the key to mastering all kinds of delicious wood-fired dishes.
How To Maintain A Consistent Oven Temperature
One of the keys to properly baked food is maintaining a stable oven temperature, which requires some effort when using a wood-fired oven. Expect to actively tend the fire, moving coals and adding more wood as needed.
Investing in an infrared thermometer makes it easy to monitor the floor temperature of your oven during cooking. If it starts to drop, add more fist-sized hardwood logs through the side or back openings to boost the heat.
Before launching a new pizza onto the oven floor, use your pizza peel to push the hot embers or coals away from the cooking area. This prevents the crust from charring too quickly.
Periodically shovel excess ash aside as well so it doesn’t impact airflow. Getting the hang of regulating temperature takes practice and patience.
Use these simple techniques to keep your oven heat consistent for beautifully baked goodies every time.
Clean Your Wood-Fired Pizza Oven Before & After Using It
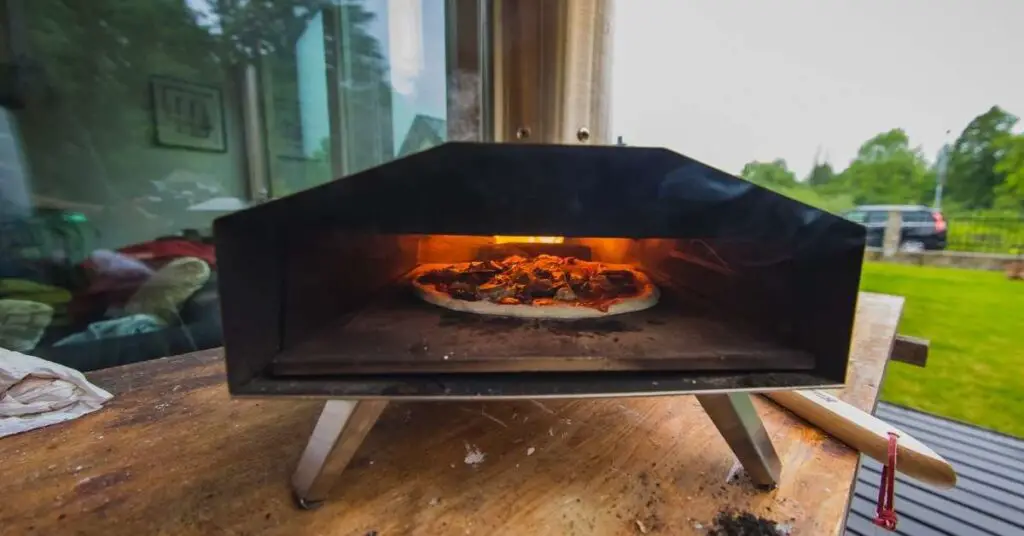
After you’ve extinguished the fire and the oven has fully cooled, take time to clean it thoroughly so it’s fresh for your next pizza night.
Use long handled brushes specially designed for ovens to sweep up excess ash and dispose of it. Store ashes in a metal container away from anything flammable.
Next, scrub the interior oven floor with a stiff brush. If any stubborn stains remain, create a gentle cleaning solution of white vinegar and water and apply with a damp cloth.
The cleaning process is much simpler for propane models compared to wood or charcoal fueled ovens which produce ash and soot. Just use soap and water once cooled.
Regular cleaning keeps your oven in top working condition so you can continue crafting incredible artisanal pizzas and other wood-fired dishes for family and friends.
Key Facts and Takeaways
- Choose an oven designed to reach the temperature your preferred pizza style requires.
- Allow proper ventilation and clearance when setting up the oven outdoors.
- Let the oven fully preheat before use and make dough in advance.
- Maintain consistent floor temps by monitoring with an infrared thermometer.
- Bake pizzas for 1-2 minutes, turning frequently, at 650-700°F.
- Add more small logs through back/side openings if temperature drops.
- Always fully extinguish fire and allow oven to cool completely before cleaning.
- Remove ash with special oven brushes and scrub interior with brush or cloth.
Using your own wood-fired pizza oven does take some trial and error. But the unparalleled flavor and total experience of biting into a crispy slice of homemade pizza hot from the oven makes it all worthwhile. Follow these guidelines to hone your skills and you’ll be hosting incredible pizza parties in no time!
Related Questions:
What temperature should you cook pizza in a wood-fired oven?
The ideal temperature for a wood-fired oven depends on what kind of pizza you’re making. In general, for Neapolitan style pizza, you want the oven to be between 850-950F. For New York style it needs to be considerably lower between 600-700F. But a lot of this depends on the specific pizza oven model you’re working with and how you like your pizza.
Should the chimney be open or closed on a pizza oven?
When you’re lighting up a wood-fired pizza oven, the chimney, door, and vents should be left open to allow oxygen to circulate and keep the flame lit. Beyond that, it really depends on how you’re trying to control the heat within the oven chamber.

