How to Make No-Knead Pizza Dough
This is one of my go-to recipes for making pizza dough—a slight variation of my master homemade pizza dough recipe. It’s relatively easy because there is no kneading required, and, just as important, it makes for a really tasty pizza.
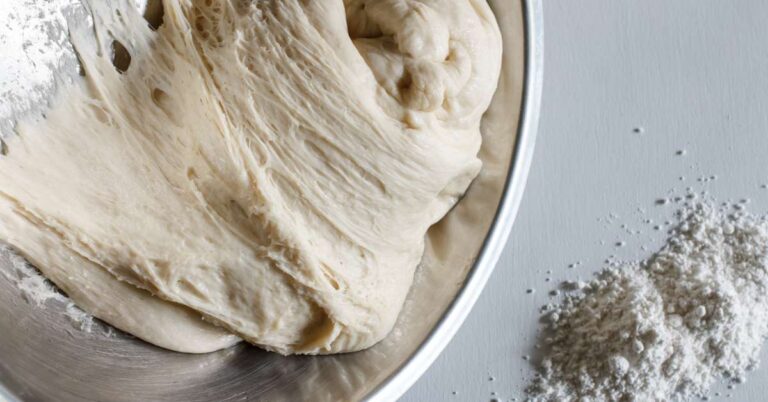
No Knead Pizza dough is made by combining water, flour, salt and yeast together in a mixing bowl and letting it rest at room temperature for up to 18 hours. With this method, no kneading is required because the gluten bonds form naturally over time while the dough rests.
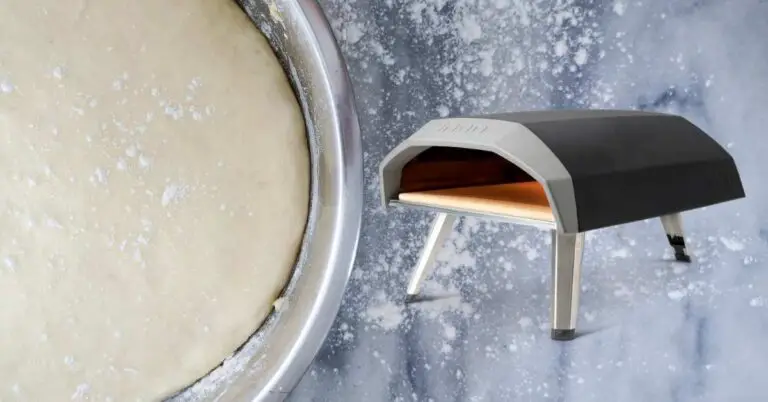
This recipe is perfect for making pizza at home, because it has a super-high level of hydration. This means it won’t dry out after being in the oven for 10-15 minutes at a time. If you have any experience trying to make pizza at home, then you know how important this is.
Note: I’ve also added honey and olive oil, which is not part of the traditional Naples style pizza recipe. I do this because it allows the crust to brown properly under lower temperatures in home ovens.
Remember, Neapolitan pizzerias use ovens that are at least double the heat of a conventional home oven. This means restaurants use drier pizza doughs that can be flash-cooked in only a couple of minutes.
So if you want to make a crisp pizza at home without actually drying out the inner crust, then you need to follow this recipe.
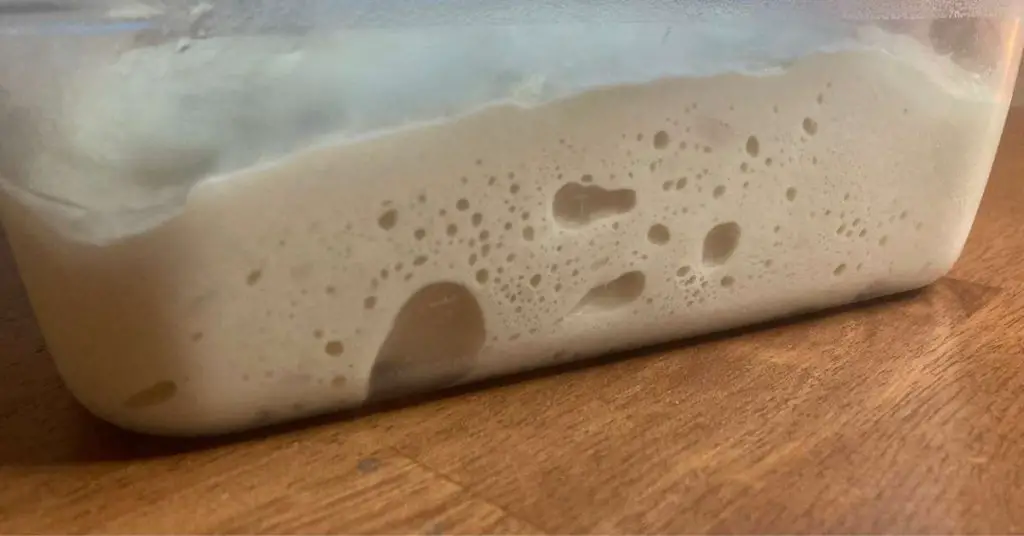
No Knead Pizza Dough Recipe:
This makes two 250g pizza dough balls, which each make an 11-12 inch pizza.
If at all possible, use a kitchen scale to measure the exact grams – when it comes to dough, you don’t want to guestimate. But I’ll provide approximate cup sizing if you don’t have a scale yet.
- 292 grams of “00” or all-purpose flour* (2.3 cups)
- 198 ml of water (0.85 cups)
- 8.5 grams of salt** (1/2 tablespoon)
- 0.5 grams of active dry yeast (1/4 teaspoon)
- 1 tablespoon extra virgin olive oil
- 1 tablespoon of honey
You’ll also need these tools:
- A mixing bowl
- A dough scraper or strong spatula for mixing
(See all the tools I recommend for making pizza at home here)
*00 flour is ideal for pizza because it makes for a lighter and puffier crust, and I’ve been able to find it at most grocery stores I frequent. But make sure it has the enough protein–preferably 13-14%. Otherwise your dough won’t be strong enough and may tear when shaped. If you can’t find any, just use all-purpose flour–it will work fine as well. Remember, Amazon has lots of 00 flours available.
**Try for sea salt if available, but any salt will do.
1: Mix Your Dough
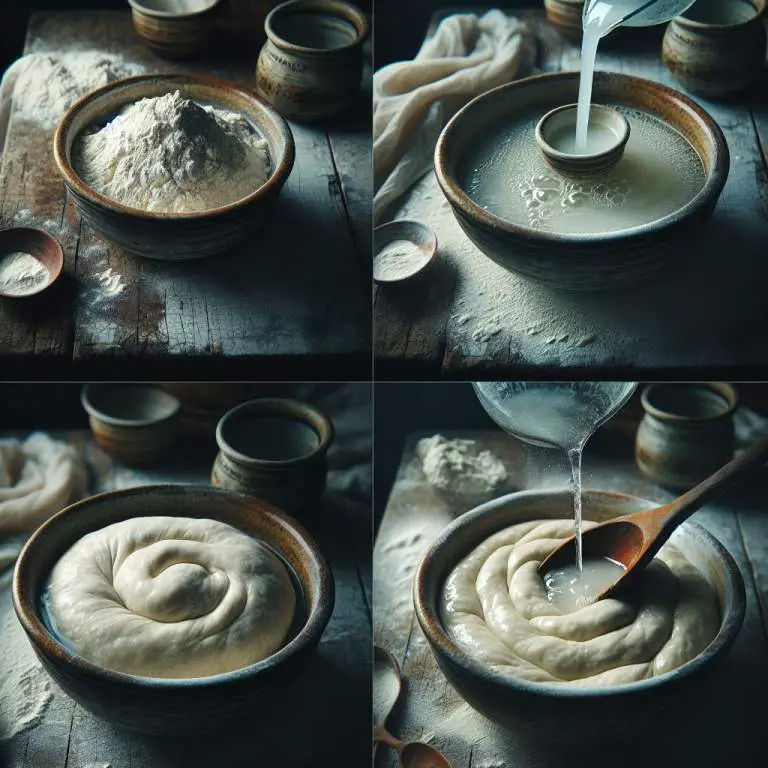
Begin by measuring out your water in a large mixing bowl and dissolve the yeast into it.
Please note that your water should be room temperature. Too hot or too cold and your yeast won’t dissolve properly.
Next, add your honey and mix it in as well as you can. Learn about water temperature and more common dough making mistakes here.
In another bowl, measure out your flour.
Using a spatula or dough scraper, slowly incorporate the flour into the water. Mix in 1/3 of the flour at a time, rather than dumping it in all at once.
Once 2/3 of the flour has been mixed in, add your salt and then mix in olive oil and the final 1/3 of flour.
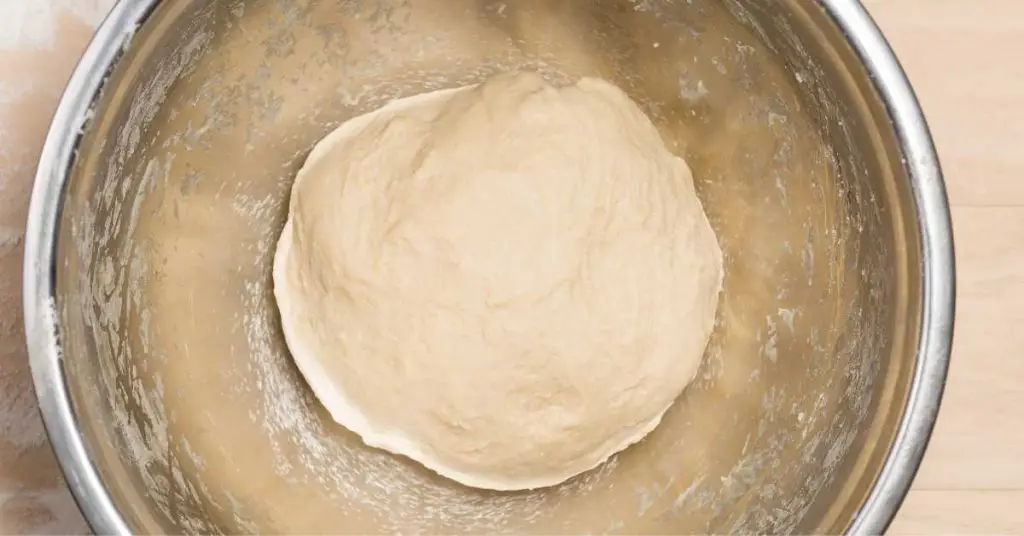
As this is a very well-hydrated dough, you will be left with a wet and sticky mess in your mixing bowl – don’t worry, this is normal! Continue to mix it until it has a smooth consistency and any dry flour is gone from the sides of the bowl. The bowl should look clean by the time you’re done.
It should take about 5-7 minutes or so for this mixing. Believe it or not, this is waaaayyyy easier and quicker than kneading a pizza dough.
That’s because mixing is very different from kneading, and much easier. Plus, dough recipes that require kneading require a lot of kneading. Trust me – this is about as easy as it gets to make and mix dough.
2: Grow Your Dough
Next, cover your mixing bowl with plastic wrap. I like to rub a small amount of olive oil along the rim of the bowl so that the plastic wrap makes an air-tight fit.
Let your dough sit at room temperature for 18-24 hours, depending on how warm or cold your room is. If your room is colder, feel free to let it sit a bit longer. It’s really up to you and won’t make much of a difference if you’re planning on letting this ferment for several days (which I usually do).
I often try to make my dough in the evening, so that I can let it sit overnight. But whatever works for your schedule will be fine.
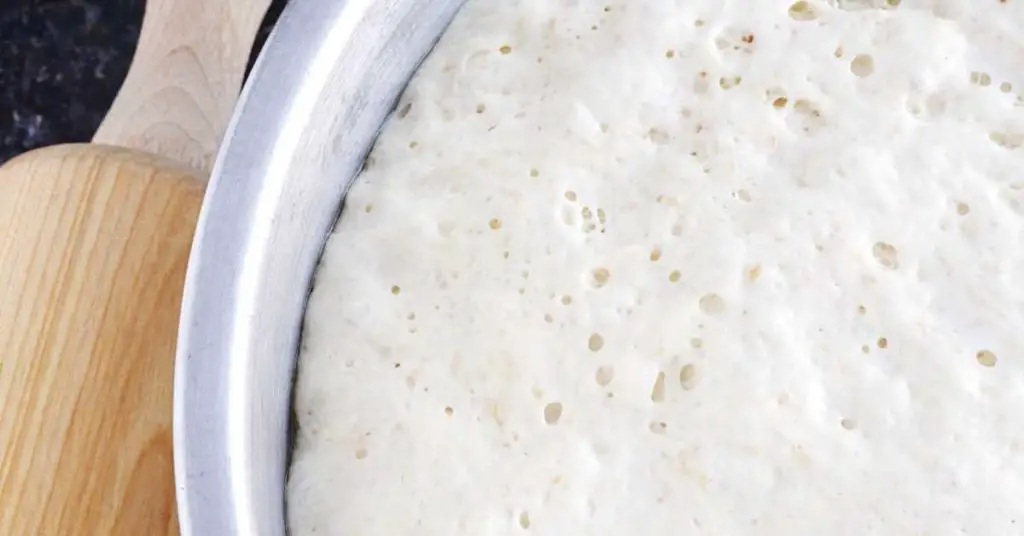
After several hours have passed, the dough will have risen, but not quite doubled (as many recipes call for). If your dough is overgrown and bubbling out of the bowl, you probably used too much yeast.
3: Refrigerate Your Dough
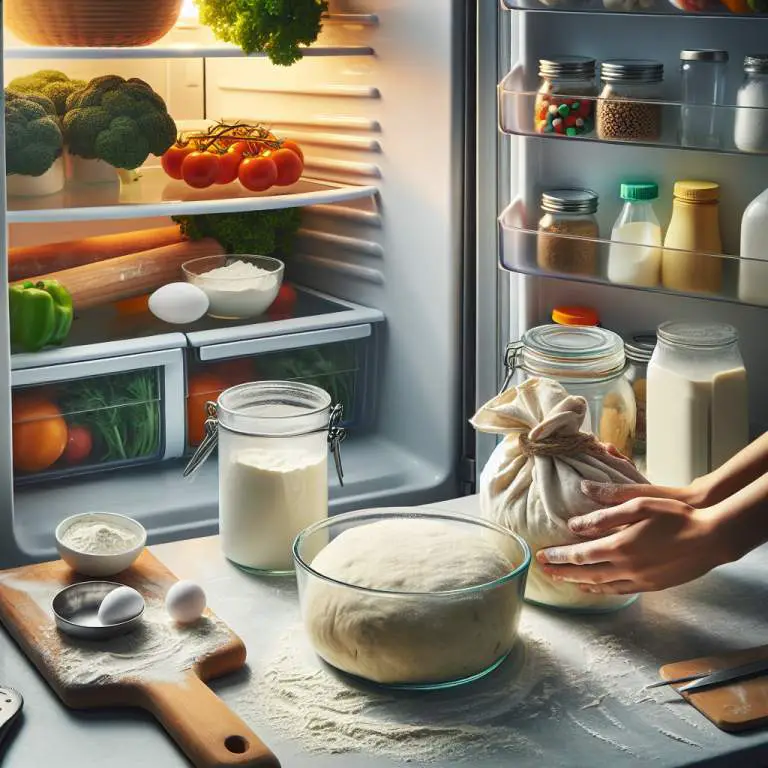
After 18-24 hours have passed, place your covered mixing bowl in a cold spot in the refrigerator. I try to put it as close to the back as possible.
You don’t need to punch down or kneed the dough at any point during this stage. Just let it sit and ferment.
Let the pizza dough sit in your fridge for as long as possible, preferably at least 24 hours for optimal taste and texture. I find, the longer I let it sit, the easier it is to digest the pizza.
4: Cut Up Your Dough
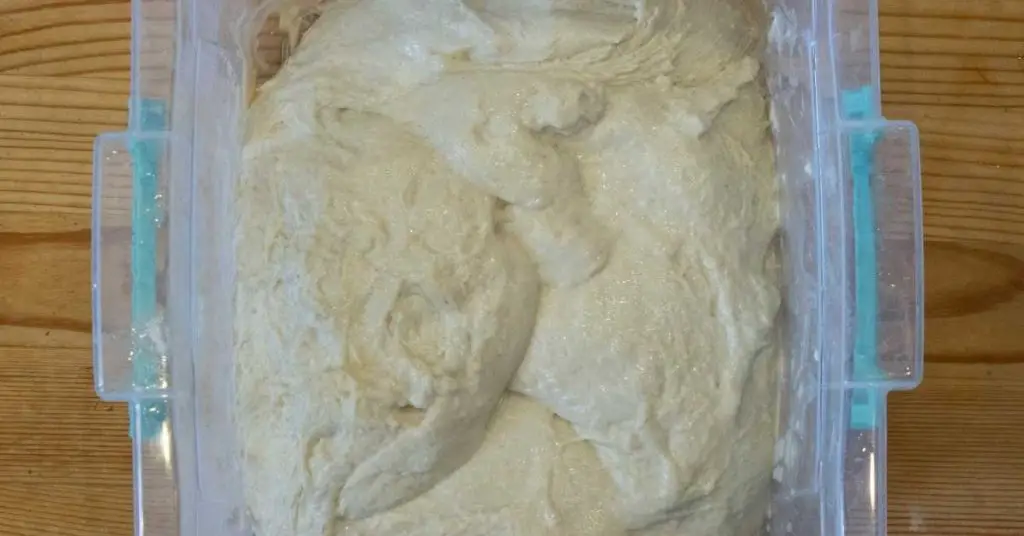
Retrieve your dough from the refrigerator and scrape it out of the bowl onto a lightly floured counter. Cut the dough into two 250g pieces. If you don’t have a scale, you can just eyeball it.
Place each piece into a lightly oiled bowl, cover it up and put it back in the fridge until you’re prepared to use it.
You can also freeze any extra dough you’re not planning on using within a few days. Just make sure to let it thaw completely before proceeding on to the next step.
5: Shape Your Dough Ball
When it’s pizza time and you’re ready to use your dough, remove one dough ball from the fridge at least 1 hour, and no more than 3 hours, before you plan on putting it in the oven.
This is key. Less than an hour and it will be too elastic to shape, and more than 3 hours and it will be overgrown and too delicate. You basically want your dough to be just at room temperature when you start cooking.
Scrape the dough onto a lightly floured counter, but do not cover the dough in flour.
Pull the corners of the dough out and fold them back into the middle of the dough, which should still be sticky and un-floured. Do this several times then pinch it all together.
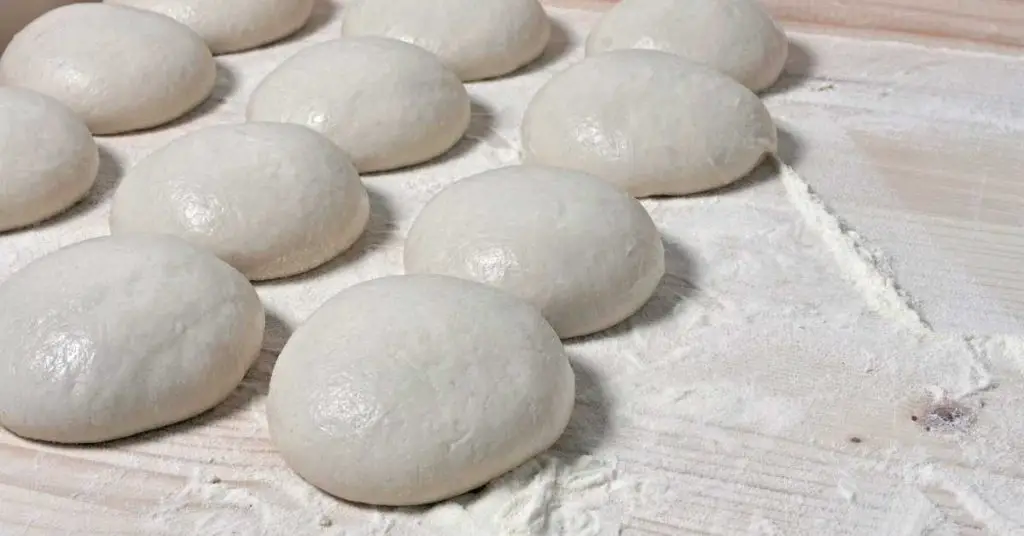
Next, flip the dough over and gently massage it into a ball using the palm of your hand and the counter. The goal here is to create a velvety smooth top, by twisting the bottom side you pinched together into the counter.
Another strategy is to use the sides of your palms going in opposite directions along the bottom of the ball and rotating on the counter. This also pulls the skin of the dough taught and creates that velvety smooth surface on top.
6: Rest Your Dough Ball
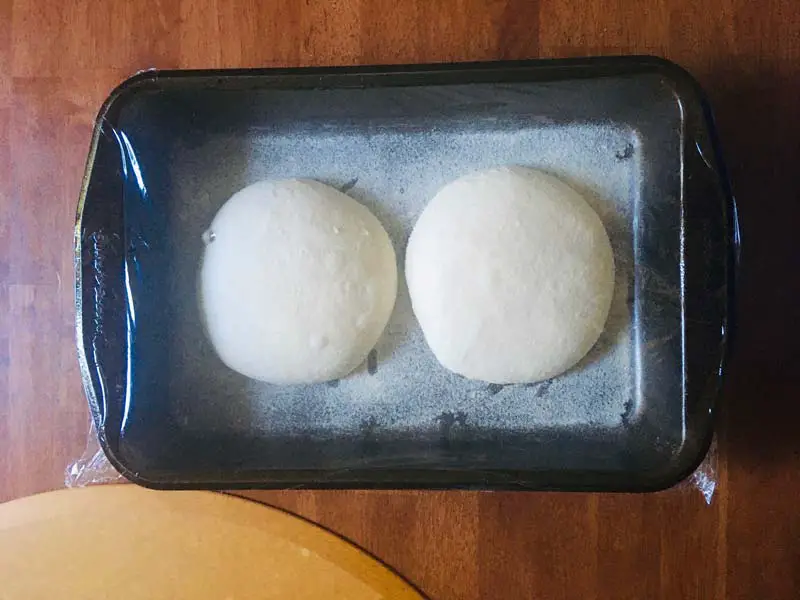
Carefully place your smooth dough ball on a lightly floured baking sheet and cover it with plastic wrap. You will now let it sit for 1-2 hours at room temperature.
As you can see in the pictures, I actually like to put mine in a dish, so that I can cover the edges. But whichever you prefer will work.
During this time the gluten structure of the dough will relax, which will make the dough ball very easy to work with. Don’t let it sit too long, though, or it will be very delicate and easily tear.
7: Shape Your Dough And Make Your Pizza!
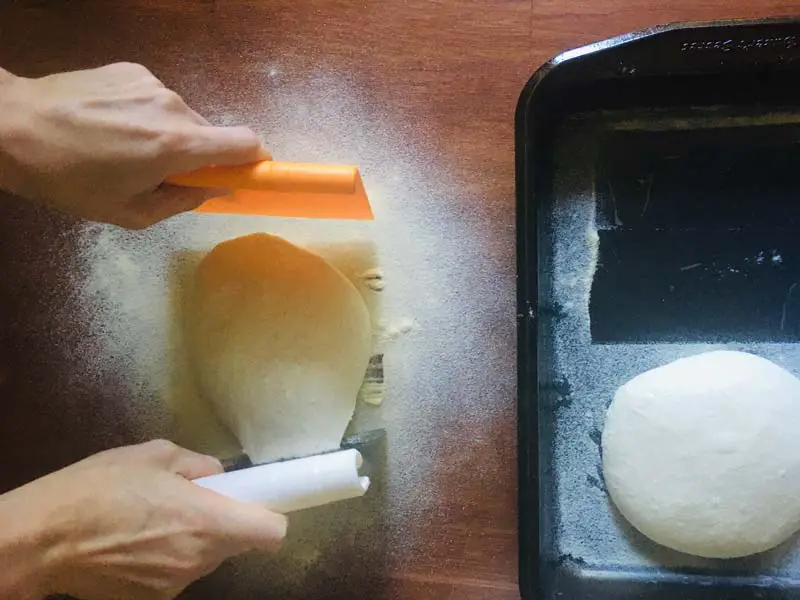
When your dough ball is nice and relaxed looking, carefully remove it from whatever you stored it in. You want to be very gentle at this point.
You probably want to use a dough scraper for this part, since we’re trying to disturb the dough as little as possible. Try not to pinch the edges as it will push the air out and ruin the outer crust of the pizza.
Place the dough ball into a generous pile of flour and carefully flour it on both sides. Turn it over and repeat as necessary.
And that’s it! You can begin shaping your dough to suit whatever pizza style you like.
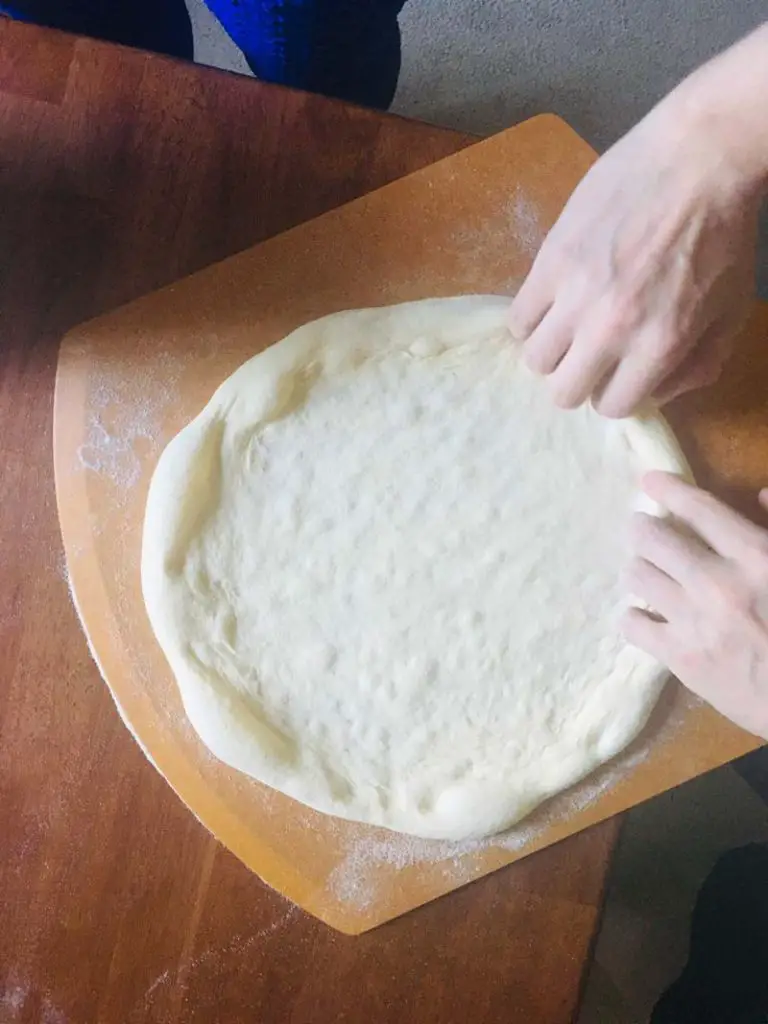
Begin by pressing the air from the middle of the dough to the outer crust. The goal here is to move all the air and gasses into the crust so that it bakes light, fluffy and soft.
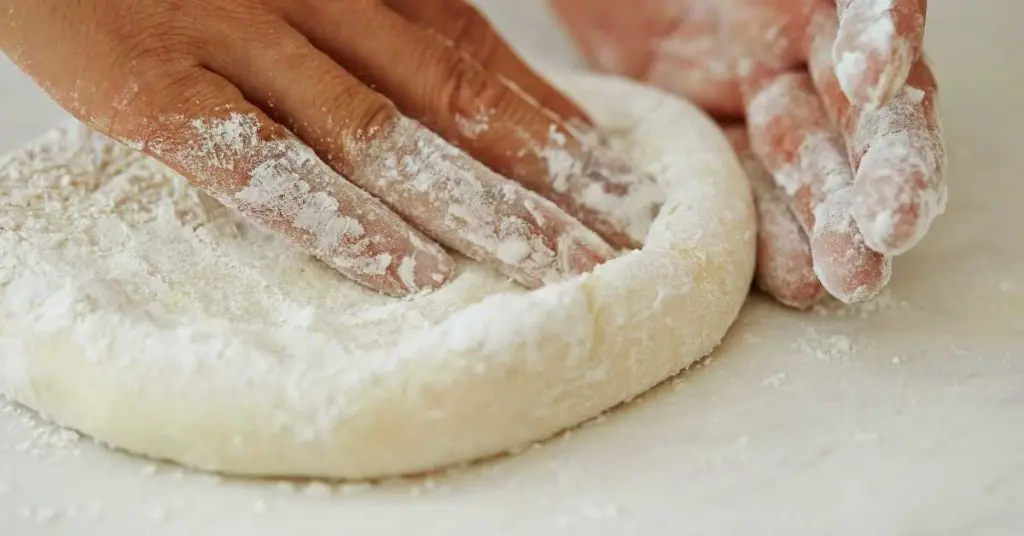
Once the dough is flattened a bit, gently pull and stretch the dough until you get about a 11-12 inch diameter. Be careful not to let the dough get so thin that it tears. Also remember that the thinner the crust the more difficult it will be to transfer onto your pizza stone.
I know it’s not as easy as throwing a frozen pizza in the oven, and it requires some patience. But believe me – it does get really easy with time. And this makes for really delicious home pizzas.
If you want to know how I make my favorite style of Neapolitan pizza at home, including tips on shaping the dough after Step 7, read here. Otherwise, check the rest of my blog for more recipe ideas.

Buon Appetito!


