Overnight Pizza Dough Recipe: Easy, Homemade, 24 Hours Fermented
This easy, fermented, overnight pizza dough recipe is made from common ingredients, is simple to prepare and requires no experience working with dough. It’s also specially formulated for use in a home oven. The big difference between my overnight pizza dough recipe and others you can find online is in the amount of yeast I use—almost none! You’ll be surprised what a difference minimal yeast makes in terms of texture and flavor. Yields two 250 gram (8.8 oz) dough balls and can be ready for use in less than 24 hours.
As an experienced pizza maker, I usually make specific kinds of pizza dough to fit a specific purpose, such as Neapolitan or Detroit style. Some pizza dough is even made specifically for use in a pizza oven. For this reason, I often use specialized ingredients, like 00 flour that isn’t typically found in a regular grocery store. This pizza dough recipe is different.
Made with regular All Purpose flour and standard instant dry yeast found in any grocery store, this high hydration pizza dough recipe is designed for average people with limited time who cook using a regular home oven. Here’s what you’ll need to get started making this pizza dough right away (don’t worry, the full recipe is further down):
Why Overnight Pizza Dough? Fermentation Is Key
You might be wondering what the benefits are of an overnight pizza dough recipe. After all, why wait for a 24 hour pizza dough recipe when you can just whip up a batch of dough and use it 1-2 hours later?
There are actually two main benefits to a 24 hour overnight pizza dough recipe: fermentation and automatic gluten development.
Leaving Pizza Dough Overnight Improves Fermentation
Fermentation is the process that occurs when yeast consumes sugars and starches in the dough and produces acids, alcohols, and gasses as a byproduct. These substances affect both the taste of the finished pizza crust as well as the texture.
If you’ve ever had a good quality sourdough bread before, you’ll recognize its unique taste compared to regular bread. This is because sourdough is made with a minimally yeasted preferment (wild yeast in this case) that builds up a mature flavor profile over time.
This is in stark contrast to the traditional way of making bread or pizza dough, which is to dump an entire package of yeast (5 grams or more) into a single batch of dough, let it double in size over the course of an hour, and then bake it.
Yes, this faster method works and will give you a functional pizza dough, but it will taste strongly of yeast and lack the mature flavors only attainable through fermentation. For reference, Neapolitan style pizza (known for its amazing tasting crust) is nearly always fermented for at least 24 hours. Low-end pizzeria pizza dough is often made and used in the same day, hence the difference in quality.
So all this is to say, it’s always best to use a minimal amount of yeast (only 0.35 grams in this recipe, or just 0.07% of the total recipe) and let it slowly build an incredible flavor profile over the course of 24 hours or longer.
A 24 Hour Pizza Dough Doesn’t Require Kneading
Perhaps the best part of an overnight pizza dough is that it’s basically a set it and forget it kind of recipe.
Normally, once you’ve mixed together the ingredients of your pizza dough, you’d then have to stand there and knead the dough for 15-20 minutes at a time. Then you’d have to hold the pizza dough up to a light to see if it passes the “window pane test” to determine if it’s kneaded enough.
This is because kneading is what develops the gluten in the dough and gives the crust its structure as it rises in the oven. The longer you knead, the more developed the gluten in the dough becomes and the more the dough can be stretched and expanded without tearing.

What most people don’t know, however, is that gluten development will happen whether you knead the dough or not. This principle is at the core of the “no knead” method that’s become very popular in recent years.
Instead of kneading to manually create gluten bonds within the dough, we simply let it sit so this network of gluten can continue to develop and becomes stronger naturally (albeit, very slowly).
In fact, in my experience, the quality of the gluten in the dough I produce by just covering up a loosely mixed batch of ingredients and letting it rest overnight is superior to anything I can knead by hand in a single sitting. Not only is the texture of the dough better, it tastes better as well for all the reasons I mentioned previously about fermentation.
The Ingredients
Most of the ingredients required for this recipe are fairly consistent across location and brands, like olive oil, salt, yeast, and even tap water. Of course, these ingredients do vary in terms of quality, but for the purposes of a pizza dough recipe it won’t make much of a difference.
The biggest variable when it comes to pizza dough is flour. Different types of flour sold by different brands can vary quite substantially in terms of protein and ash content, as well as the ability to absorb water. Even two different brands of AP flour can be the difference between a stiff, dry pizza dough and a wet and sticky one.
That said, if you stick the mainstream AP flour brands carried in most US grocery stores (like King Arthur), you should be fine. These brands have more or less standardized the amounts of protein and ash in their formulations.
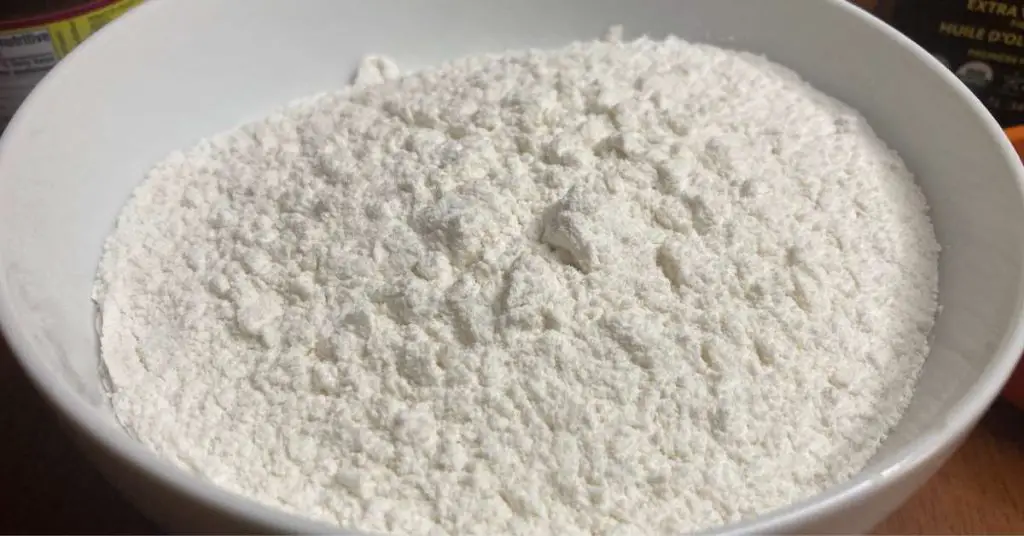
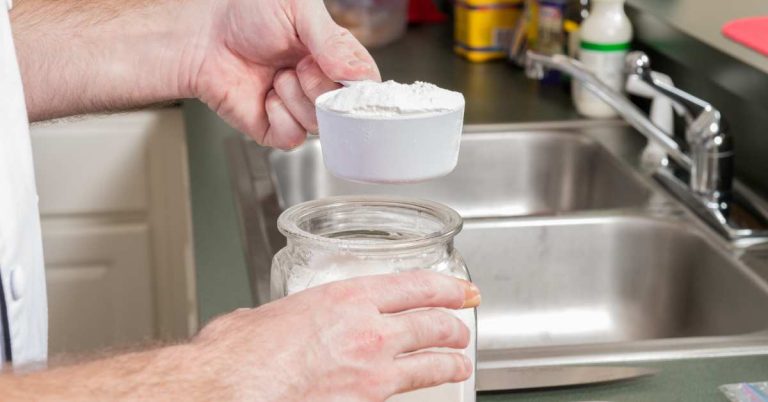
AP Flour:
I like to use 00 flour for my typical pizza dough recipes because I like the soft and delicate texture it gives to the crust—a hallmark of Neapolitan style pizza. I also love how strong the pizza dough becomes when using a high quality 00 flour like Caputo 00 Chef’s Flour (my personal favorite flour for making pizza dough).
But, not everyone has access to 00 flour, and if you use the wrong kind it can lead to a watery, sticky pizza dough that’s difficult to work with as a beginner. That’s why in this recipe I’m going to use regular AP flour. This flour works perfectly for most styles of pizza you can make at home.
What Makes AP Flour Different

All purpose flour and 00 flour are easily confused for one another, but there are actually some important differences. AP flour is generally made from a hard wheat flour blend, while 00 flour is always made from finely milled durum wheat—this is what gives Neapolitan pizza its delicate texture.
But that doesn’t mean that AP flour can’t be used to make a great pizza crust as well. In fact, some of the best pizza I’ve ever made was with AP flour, especially in the early days when I didn’t have easy access to top quality 00 flour.
AP flour is also great when first getting used to using high-hydration recipes because it absorbs water well and doesn’t feel as wet and sticky when shaping it.
Just be aware that AP flour generally has a medium protein content and can tear relatively easily when stretched.
Tip: If you have bread flour on hand, you can create a 50/50 AP/bread flour mix for an even stronger dough that’s still relatively soft and easy to work with. King Arthur All-Purpose Flour and King Arthur Bread Flour are both excellent flours that will work well for making pizza dough.
Semolina Flour
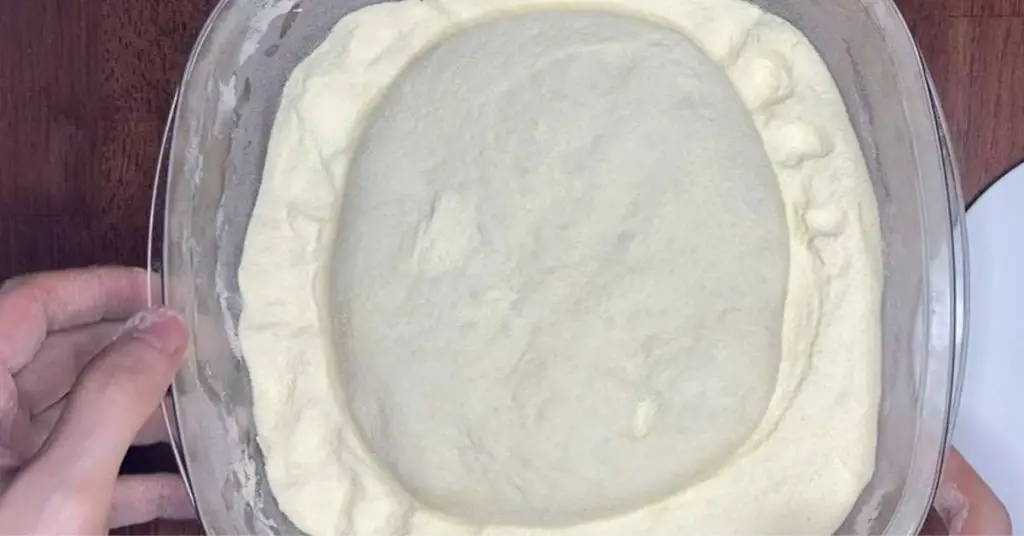
I use semolina as my “bench” flour, which is basically what you call the flour you sprinkle on the counter to prevent sticking as you shape the dough. I do this for two reasons—it absorbs more moisture than regular flour, and it adds a slightly crispy texture to the bottom of the crust when it cooks.
Need semolina flour? Caputo brand Semolina is available on Amazon, and it’s widely considered to be the best.
When using semolina flour, most of the flour doesn’t actually stick to the bottom of the crust, which is great since I’m not looking to add more flour into the dough and dry it out. In fact, most of the flour will actually fall off of the dough when it slides off the pizza peel and into the oven, especially if you’re using a perforated pizza peel.
Semolina flour will also add a nice texture to the underside of the crust, which is similar to the reasons why many pizzerias use cornmeal. Personally, I don’t use cornmeal because it adds a flavor that I don’t really like while semolina is mostly tasteless.
That said, if you don’t have access to semolina flour, cornmeal is readily available at most grocery stores. If you do go that route, I recommend using a finely milled cornmeal rather than the large grain variety. You can also make a 50/50 AP/cornmeal mix to minimize the taste of the cornmeal but still get the same crispy texture.
Note: If you don’t have access to semolina or cornmeal, you can use AP flour as your bench flour without any problems. Just be aware that AP flour will more quickly absorb into the dough, making it drier and more prone to sticking if it sits in one place for too long. AP flour is also more likely to burn on the pizza steel, giving the underside of the pizza a bitter taste. So, make sure to use only enough to prevent sticking and no more.
Working With Pizza Dough
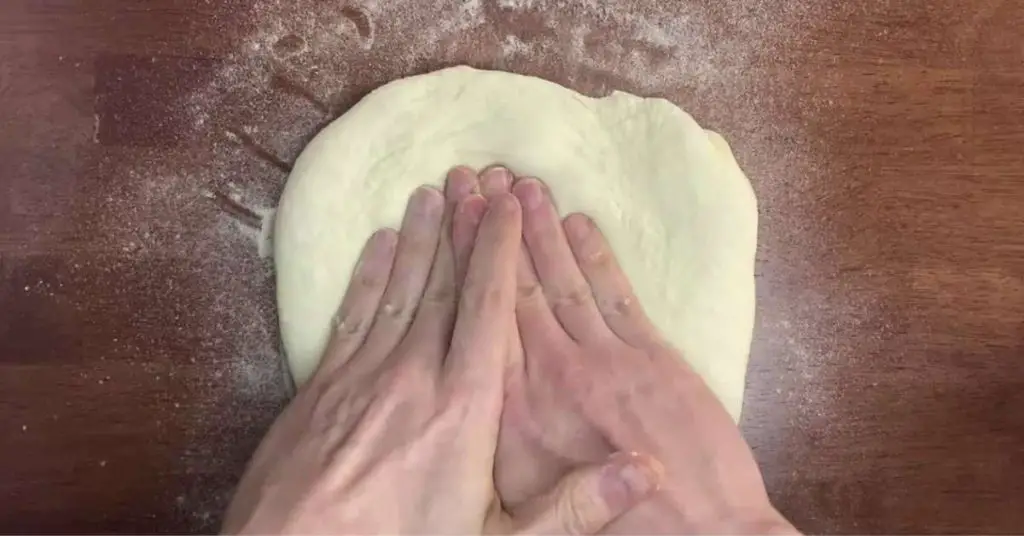
I think the biggest barrier when it comes to making pizza at home is not the recipe, but rather handling the pizza dough itself. Unless you have experience working with dough, getting it into the shape you want without it sticking to everything it touches can be a struggle. Hopefully, the instructions below can help you with that.
There are two main skills when it comes to working with pizza—shaping the dough into a ball for proofing, and then shaping the ball into a disk for baking.
To help you along with these skills, I’ve put together some tutorials including written instructions, step by step pictures, and several brief videos. Once you’ve mastered these simple techniques, you’ll be able to turn any pizza dough recipe into an amazing, pizzeria quality pizza.
- How To EASILY Hand Stretch Pizza Dough For Amazing Homemade Pizza
- How To Make Pizza Dough Balls For Proofing: Step By Step Guide
- How To Use A Pizza Peel: Step by Step Guide
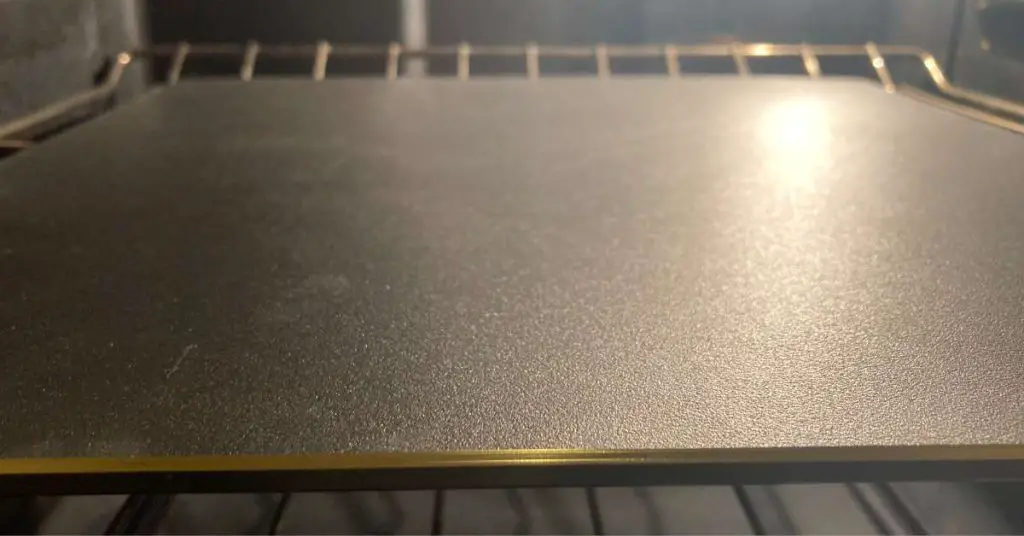
A Pizza Steel Will Make Your Pizza Way Better

You don’t need a pizza steel to make pizza at home, but I still highly recommend one. A pizza steel is designed to emulate some of the best qualities of a pizza oven (namely, a super hot, flat surface) right in your own home oven.
A pizza steel is worth it because it’s basically the only way to get anything close to the browning and charring you get from a pizza oven, compared to the pale and dry crust you find on average homemade pizza.
I recommend the Ooni Pizza Steel 13 for most people, or the Original Baking Steel if you want something slightly bigger. Either of these pizza steels are guaranteed to immediately improve your homemade pizza.
A Pizza Stone Works, Too
But if a pizza steel is out of your budget, a pizza stone will work as well and are usually much cheaper. A pizza stone won’t work quite as well as a pizza steel (because steel is better at conducting heat) but you can still make amazing pizza with one.
Many groceries stores carry pizza stones, but in general I recommend choosing a square shaped stone rather than round one. A square pizza stone gives you more flexibility with the size and shape of your pizza. I’ve used this rectangular Rocksheat Pizza Stone for years with great success.
Overnight Pizza Dough Recipe
Ingredients
Metric
- 202 ml Water
- 288 g AP Flour or Bread Flour
- .35 g Instant Dry Yeast (active works fine as well)
- 9 g Salt
- 9 g Honey
- 9 g Olive Oil
Imperial
- 7 oz Water
- 2 1/3 cup AP or Bread Flour
- 1/8 tsp Dry Yeast
- 1/2 tbsp Salt
- 1/2 tbsp Honey
- 1/2 tbsp Olive Oil
Instructions
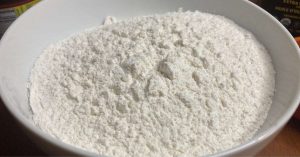
- Measure out the flour and salt, mix them together, and set them aside in a bowl for later.
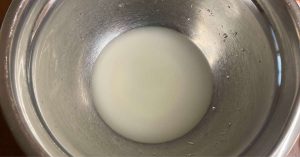
- Add the water, yeast, and honey to a large mixing bowl. Stir until the yeast and honey have been completely absorbed into the water.
- Add (roughly) half of the flour/salt mixture to the water and mix thoroughly with a stiff spatula. It’s easiest to add the flour gradually and mix as you go.
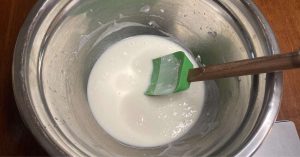
- When half the flour has been added, add olive oil to the dough. Mix until all of the olive oil has been incorporated into the dough.
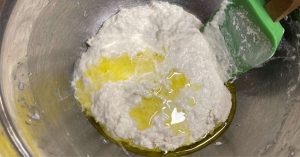
- Add the rest of the flour/salt to the mixing bowl and mix until all of the dry ingredients have been hydrated. After a short time, you should be left with a wet, lumpy blob of dough. Cover up the bowl with plastic wrap (or a wet towel) and let it sit for 30 minutes.
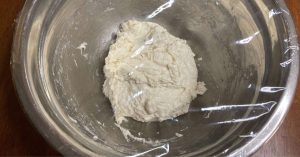
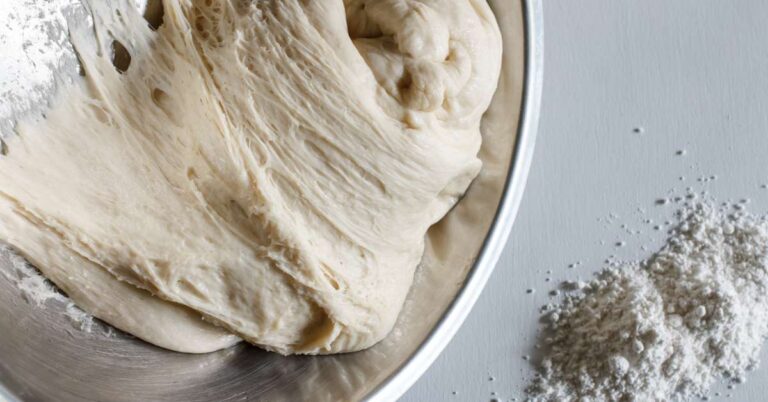
- After 30 minutes, give the dough another quick mix with a stiff spatula. You should notice that the dough is substantially smoother and less sticky than it was before. This is because a network of gluten is beginning to form.
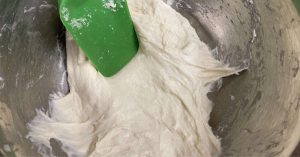
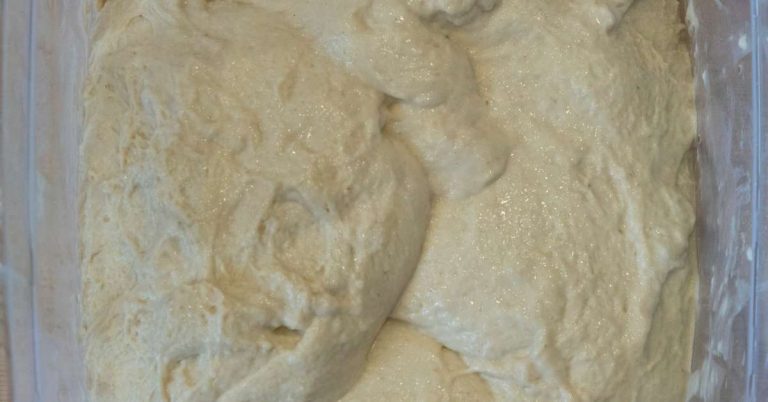
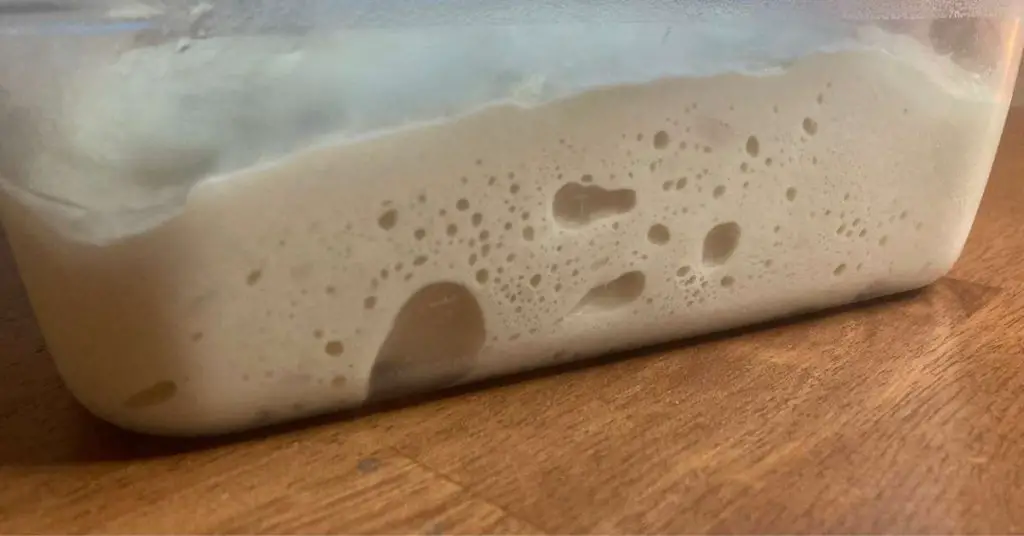
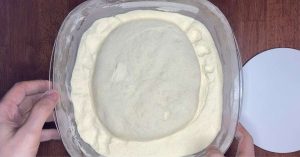
- The dough is now ready to rest and ferment overnight. Cover the mixing bowl back up and let it sit at room temperature for 12-16 hours. Feel free to transfer the dough to a resealable container for convenience if you prefer, like I’ve done here. Note: If you live in a hot climate, find a cool spot in your house to leave it so it doesn’t overgrow.
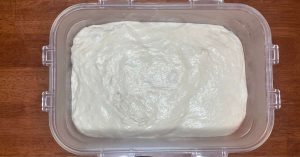
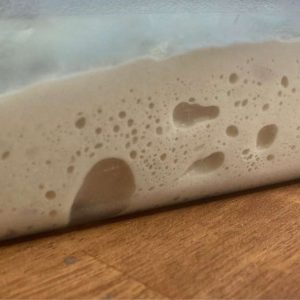
- The following morning, the dough should have expanded noticeably in its container. See the air bubbles in the plastic container in the attached picture: this is proof of fermentation taking place.
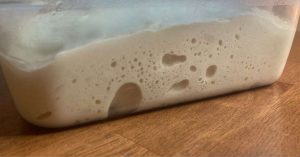
- At this point, you can place the dough in the fridge to slow the fermentation process down. Leave it in the fridge until approximately 3 hours before you’re ready to make the pizza.
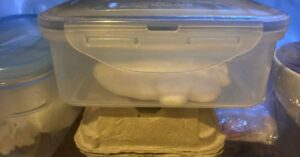
- 3 hours before you’re ready to start making the pizza, take the dough out of the fridge and divide it into individual pieces (250 grams in the case of this recipe). Form each piece into a tight ball and place it into a lightly oiled container for proofing. This step is absolutely crucial to making a proper pizza crust, so if you need help watch the instructional videos and posts I’ve linked to above.
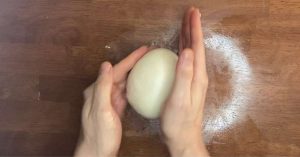
- Approximately 3 hours later, drop the proofed dough ball into a semolina flour bath and begin shaping it by hand. If you need instructions on how to shape a pizza dough ball into a pizza crust, follow the link above to my tutorial videos.
- Top and bake the pizza on a hot pizza steel. Enjoy!

Questions:
How long does pizza dough last in fridge?
In a cold refrigerator, pizza dough will last several days, sometimes longer. Just be aware that the longer pizza dough sits in the fridge, the more alcohols built up and the weaker the dough becomes. So, while you can probably still eat it, you might not want to. In any case, you’ll want to reball and proof the dough to restore the gluten to full strength.
How much pizza dough for a 12 inch pizza?
For a 12 inch pizza with a traditional or thin crust, 250-300 grams of pizza dough should be more than enough. But if you’re making a pan or Detroit style pizza, you’ll want to use 450-550 grams of pizza dough to account for the thicker crust.
Can I leave pizza dough out overnight?
You can leave pizza dough out overnight, especially in a cold room. For overnight pizza dough, I recommend using a minimal amount of yeast, or as little as .35 grams (1/8th of a teaspoon) of dry yeast for every 500 grams of pizza dough. This ensures that the dough doesn’t overgrow and also improves the flavor profile.
How much pizza dough for a 16 inch pizza?
To a make a 16 inch traditional crust pizza, you’ll need between 450-550 grams of pizza dough, or about 18 ounces.
Will pizza dough rise in fridge?
Pizza dough will rise in the fridge, but only very slowly. This is why I always recommend leaving your pizza dough out to rise at room temperature for at least a 2 hours before putting it in the fridge. This allows the yeast in the pizza dough to get a head start and still remain active for some time as it cools down.
Why is pizza dough sticky?
Pizza dough gets sticky because gluten is essentially a glue-like substance that forms when flour is combined with water. To prevent pizza dough sticking to the counter or a pizza peel, drop the dough ball in a flour bath before handling it. When balling the dough, it’s best to lightly coat your hand in olive oil to prevent sticking.
Why pizza dough won’t stretch?
If your pizza dough isn’t stretching, it means the gluten networks in the dough are too tight. The best way to relax your pizza dough is to proof it at room temperature for 2 hours or more, or as many as 3-4 if it’s coming directly from the fridge.
Where to store pizza dough?
The best place to store pizza dough is in the very back of the fridge, where it’s coldest so the yeast doesn’t get too active and blow out the dough. Even better, if you don’t plan on using the dough for several days, you can freeze it. When you’re ready to use the dough, just transfer it to the fridge the night before to thaw it then proof as normal.
Related Posts:
- How To Make Pizza Dough Balls For Proofing: Step By Step Guide
- How To EASILY Hand Stretch Pizza Dough For Amazing Homemade Pizza
- 70% Hydration Pizza Dough Recipe – No More Dry Crust
- Poolish Pizza Dough Recipe (Perfect Crust Super Easy)
- Improved Ooni Pizza Dough Recipe: 65% Hydration, Double Fermented, No-Knead Method
- 80% Hydration Pizza Dough Recipe – Fluffiest Pizza Crust Ever
- What You Need To Make Pizza At Home – Pizza Making Buyer’s Guide


