70% Hydration Pizza Dough Recipe – No More Dry Crust
This 70% hydration pizza dough recipe is specifically designed for home ovens. Pizza takes longer to cook in a home oven compared to a pizza oven, which causes the crust to dry out as it bakes. To get a crispy crust with a soft middle, you need to use a high-hydration recipe like this one.
This recipe will make a single 500 gram dough ball, which is enough for two individual sized pizzas or a single extra large pizza. I use metric measurements, but I’ve included cups and spoons below for reference.
70% Hydration Pizza Dough Recipe

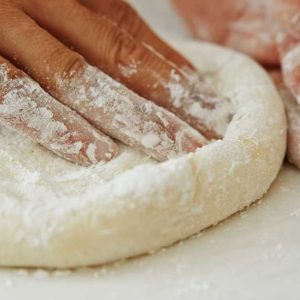
70% Hydration Pizza Dough Recipe – No Knead
Ingredients
Metric Measurements
- 290 g Tipo 00 Flour Can be substituted with a 50/50 blend of AP and Bread flour. Works best with high gluten, high protein flours.
- 205 ml Water (lukewarm)
- 9 g Fine Salt
- .35 g Active dry yeast If using dough within 24 hours, add 1-3g yeast. More yeast = faster rise, but worse taste. Adjust accordingly.
- 7 g Extra virgin olive oil Affects softness of the dough and crispiness of crust. You can skip this if you prefer, or if using a pizza oven.
- 9 g Honey Included only for browning. If using a pizza oven or malted flour, you can skip this.
American Measurements
- 2 1/4 cup Tipo 00 Flour Can be substituted with a 50/50 blend of AP and Bread flour. Works best with high gluten, high protein flours.
- 3/4 cup Water (lukewarm)
- 2 tsp Fine Salt
- 1/8 tsp Active dry yeast If using dough within 24 hours, add 1-3g yeast. More yeast = faster rise, but worse taste. Adjust accordingly.
- 2 1/4 tsp Extra virgin olive oil Affects softness of the dough and crispiness of crust. You can skip this if you prefer, or if using a pizza oven.
- 1/2 tbsp Honey Included only for browning. If using a pizza oven or malted flour, you can skip this.
Instructions
- Measure out water and yeast into mixing bowl. Mix well.
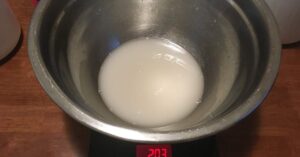
- Add a spoonful of honey to the water and mix well.
- Set aside mixing bowl to let the yeast activate and get another bowl to measure the dry ingredients.
- Measure flour and salt and mix well.
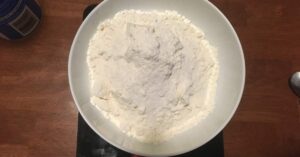
- Slowly start to incorporate the flour/salt mixture into the water/yeast/honey solution. Start by adding a few spoonfuls of dry ingredients at a time and mix it thoroughly using a stiff spatula or wooden spoon. It might be slower this way but it ensures that the flour is fully hydrated into the water.
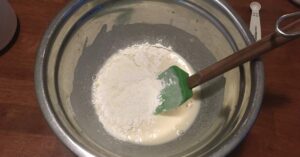
- When you’re halfway through the dry ingredients, add a few glugs of olive oil and mix it in well. Continue adding dry ingredients until everything is mixed together.
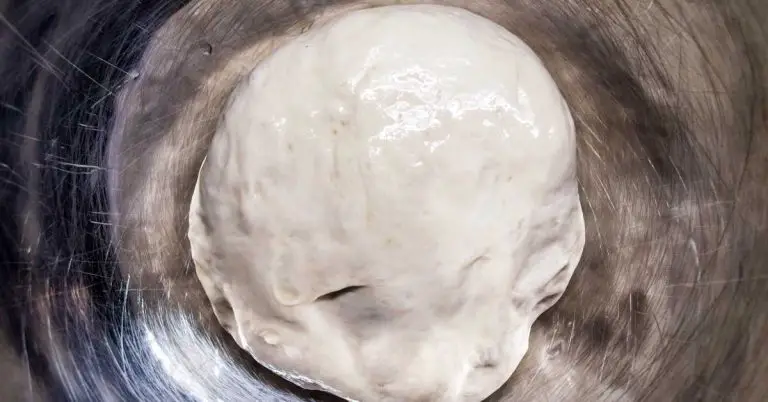
- When all the ingredients are incorporated, you should be left with a very wet and sticky ball of shaggy dough. Cover the bowl up and let it sit for 10 minutes.
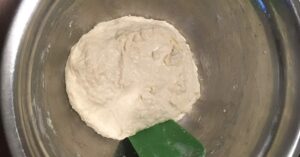
- With your spatula, mix the dough ball around again. You should notice the texture of the dough is now much smoother than before with less dough sticking to the spatula.
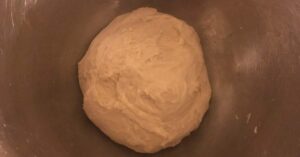
- No-knead method: Cover the dough or transport it to a plastic container and let it sit at room temperature 24 hours. If you want to use it sooner, you'll need to knead manually and double (or triple) the yeast. More yeast = faster rise, but the tradeoff is a yeasty taste.
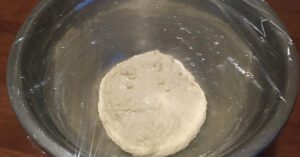
- Traditional method: Give the dough a 20-30 minute knead until it can stretch translucently without tearing (called the "window pane test"), then cover it up and let it rise for 1-3 hours, or until it's approximately doubled in size. The time will vary depending on the temperature of your room and how much yeast you use. Note: For this method to work, you'll need to use 1-3g of yeast. Less time = more yeast required to rise in time. The no-knead method is more reliable, less work, and tastes better.
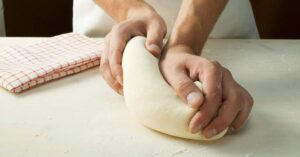
- For either method, once the dough is strong and stretchable, weigh and divide the dough into tightly rolled individual dough balls for proofing. This step is crucial and will have a big impact on your finished product. Check the video above for visual instructions on how to do this.
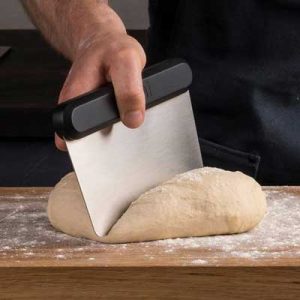
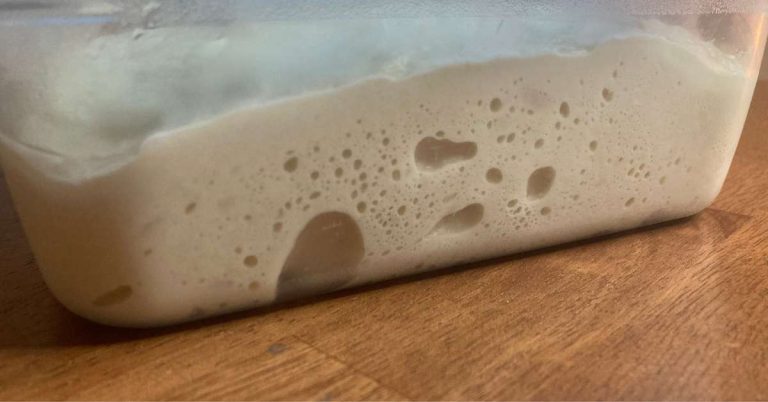
- Place the dough ball into a lightly floured (or oiled) container and cover it up tightly. Let the ball proof for 1-2 hours before using it to make pizza. If your dough is coming directly from the refrigerator, give the dough 6-7 hours to proof at room temperature. If huge bubbles start forming on during proofing, it's over-proofed: next time try a quicker proof, or do it in a colder room. Higher temperature = faster proofing.
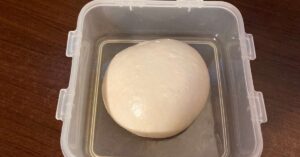
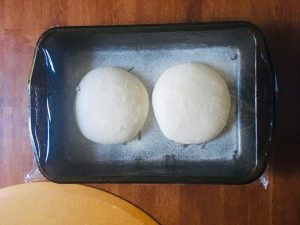
- Alternatively, place the floured container with the dough ball in the fridge for up to 3 days. When you’re ready to use it, make sure to give it 2-3 hours to reach room temperature before using it. If you live in a warm climate, this might take a lot less time.
Benefits of Using A 70% Hydration Pizza Dough Recipe
A 70% hydration level is quite high compared to most pizza dough recipes. Many commercial pizza doughs have a hydration level of only around 55%. That’s fine if you’re using a high-powered pizza oven, but for the home oven you want something with a lot more moisture. This is because the longer the pizza dough cooks in the oven, the more dry the pizza crust will be. We can counter this effect by using a pizza dough with lots of hydration.
Benefits:
- Crispy on the outside, soft in the middle
- Doesn’t dry out while baking
- Improved “oven spring” (how much the crust puffs up when baked)
- Easier to stretch
I find that 70% hydration is kind of the sweet spot that gets you all the benefits of a high hydration dough but isn’t so wet that you can’t handle the dough relatively easily.

How To use This Recipe: Timing of no-Knead vs Traditional Methods
When this pizza dough will be ready to use depends on what method you choose. I’m going to provide 2 methods here – traditional and no-knead.
No-Knead Method
No-knead is my preferred method for making pizza dough unless I’ve decided to make pizza at the last minute. With a no-knead method, you mix the ingredients together like usual, but instead of kneading it for 15-20 minutes, you simply let it sit for 11-18 hours (depending on the temperature of your room). You then divide the dough up into balls, give it a final proof, then use it.
The benefit of a no-knead method is the extra fermentation that occurs, leaving you with a tastier crust. You also don’t have to worry about getting your hands messy or worry about dealing with a sticky dough.
Ideally, if you have time, you can put the dough straight into the fridge for another 24 hours of cold fermentation.
Traditional Method (optional)
The traditional method isn’t much different to the one above, just quicker and messier.
You start by mixing the ingredients together in a bowl then kneading the wet dough ball on a floured countertop for about 10 minutes. When the dough is silky and smooth, place it back in a covered container for 2 hours or until it increases in size. How fast and how much the dough expands will depend on the potency of your yeast and the temperature of your kitchen.
When the dough has risen, divide it up into individual pizza dough balls. This recipe will create one (1) 500 gram batch of pizza dough which you can divide in half for two (2) 250 gram balls . I find 250 grams is perfect for most styles of pizza and fits easily into most home ovens. But feel free to change the math on the recipe to make bigger or smaller dough balls.
Tip: This pizza dough is extremely wet and will be difficult to knead by hand. This is why I prefer the no-knead method of letting the dough sit overnight. If you do knead by hand, be sure to very lightly oil your hands, or use a dough scraper to stretch and fold the dough onto itself. Be sparing with table flour as well or it will absorb and dehydrate the dough.
How To Proof 70% Hydration Pizza Dough
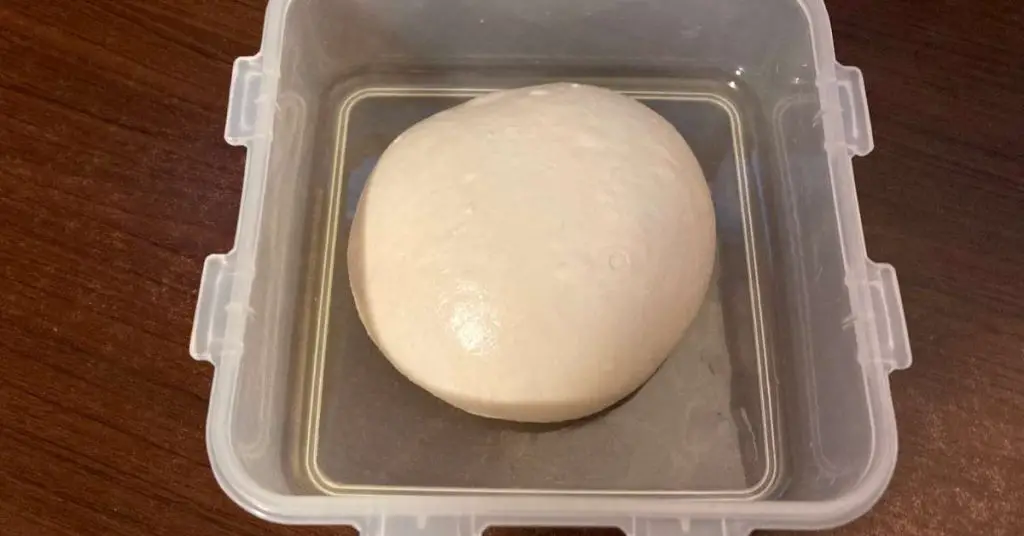
After you’ve mixed your pizza dough and let it rest until the gluten is fully developed, it’s time for the most important step: proofing. Proofing is the final stage just before you actually stretch the dough into a pizza and bake it.
To proof the dough, you first need to divide the dough into individual portions and form them into a tight balls. You’ll then place the dough balls into sealed plastic containers and let them proof at room temperature until the dough is fully relaxed and full of air. If you’re following my recipe, this will take about 6-7 hours. If that’s too long for you to wait, you can always add more yeast to the original recipe. More yeast generally means less time proofing, but it won’t taste as good as using minimal yeast like I do.
For more information, just follow my tutorial on balling and proofing pizza dough.
How to Handle & Stretch A 70% Hydration Pizza Dough
Making a recipe is easy: just mix the ingredients together and wait. But actually using a pizza dough with this much hydration is the challenging part.
That said, working with high hydration pizza dough is super simple if you know what you’re doing. It helps to use lots of semolina flour on the surface where you’re working. I also like to give my proofed dough balls a “flour bath” before stretching, which basically just means covering all sides with flour to prevent sticking.
In terms of stretching, you just want to be very gentle compared to working with a regular low hydration pizza dough. I recommend gently pressing from the middle of the dough outwards to push the air into the outer crust. You can then gently stretch the dough over your knuckles until it’s the right size.
For a full set of instructions on how to do this, you can refer to my full tutorial (including video) on stretching high hydration pizza dough here.
What Flour To Use For 70% Hydration Pizza Dough
You can use any kind of flour you want to make a good pizza dough, as long as it contains gluten. That said, I prefer to use a high-quality 00 flour because its high protein content extra fine milling gives you a strong dough with a delicate texture. This is the essence of Neapolitan style pizza crust.
You can find a full list of which flours I prefer when making pizza here.
But not everyone has access (or the budget) for expensive 00 flour. In those cases, I recommend using bread flour or a mix of bread flour and All-Purpose flour. Bread flour is high in protein and gluten, which is necessary for a strong and bubbly crust. All-purpose can work as well, but the dough will be weaker because of its lower protein content. This is why I recommend mixing all-purpose with bread flour if you have it.




At what temperature and for how long should the pizza be baked in a home oven?
Hi Emily! Thanks for the question.
I’m going to assume that you’re using some kind of a pizza steel or pizza stone here. If that’s the case, preheat the oven at 500F for at least an hour, then set a timer for 10 minutes. It won’t necessarily take the full 10 minutes, but it’s an easy way to keep track of things.
What I usually do is rotate the pizza at around the 5-6 minute mark, depending on how it looks. I then let it cook for another couple of minutes, just enough so the cheese is bubbling but not browned or separating. By this point, you should have some nice brown spots along the edge of the crust and some charring on the underside. I usually take the pizza out with 2-3 minutes left on the timer, but it can be longer if you frequently open the oven door to check it.
If you’re just using a regular pizza pan, you won’t get the same results, and the timing might be longer. I recommend placing the pan on the bottom rack and taking it out when the toppings and cheese look done. If the crust is underdone, you can try par-baking it for a few minutes then adding the toppings.
Good luck!
I’ve been playing around with different dough recipes and am used to working with wet doughs. I started both versions and just made a pizza using the same day dough (2x yeast.) This is a lovely dough! Lots of lovely air pockets, chewy and crispy. The only deviation was that I kneaded for 2 minutes, rested for 5 minutes and kneaded for two more. Thank you for a great recipe!
Hey Joan,
Thanks for the kind remarks, and I’m so glad you liked it!
-Dom
I used this dough to make a pan pizza. It was delicious!
First tried this dough last year. Came back to try it again and leave a comment. Silky smooth!
Thanks, Raj. When you get the hang of it, it’s the only recipe you need! -Dom
I made this twice. The first time, the dough was way too wet to work with. Even after letting it sit overnight it was too “liquidy” to stretch. This was with all-purpose flour. Then I tried again using bread flour mixed with all-purpose (50/50, like you mentioned in another post) and it was AMAZING. It was a little tricky getting the hang of the high hydration but so worth it in the end. So light and delectable. Would use this recipe again! But next time I’ll probably try 00 flour like you do.
Hey Mark. So glad you liked the recipe. It’s definitely a bit more difficult than your average pizza dough, but like you said, the results are worth it.
I suspect your first try was with an all-purpose flour with a really low absorption rate. That’s common with cheaper AP varieties, especially in the US, and it can turn your dough into a soup with so much hydration (lowering the hydration level can help as well). I include it in the recipe because it’s what most people have access to, but the truth is not all AP is created equal.
You did exactly the right thing mixing it with bread flour, but I think you’ll like it even more with 00. Just make sure to use a good quality 00, like Caputo Chef’s flour, because (similar to AP) not all flours are created equal. Happy baking!